My Dollar Store Homeschool Room
So you want to level-up your learning space.
Maybe you're even ready to Reggio-fy it. {What is Reggio? Learn more here}.
You see all the inspiration on Pinterest, on blogs and your imagination, but there's one problem.
You have a LIMITED budget.
As a former classroom teacher, working in Inner City, I know what it's like to work with a meagre budget.
But we're resourceful, practical educators right? We know how to stretch our dollar!
We know the importance of creating a space that feels cozy, warm and inviting.
We probably have a vision for creating a learning environment that's responsive to our kids' emerging interests; a space that is inspiring enough to pique curiosities and promote engagement, and cheerful and bright enough to promote happy learning.
So how can we begin to take steps to transform our learning space - whether that's the dining room, classroom, garage, or dedicated homeschool room - so that it is more inviting and inspiring?
So that children will feel more engaged in and responsible for their learning?
Where do we start, given our limited budget?
Well, on a recent trip to the Dollar Store, I documented 15 finds that I've used in my practice to inspire and engage learners {and make the space feel more inspiring!}, that won't break the bank.

*I will preface this post with a disclaimer: A Reggio-inspired practice is so much more than the environment, and so much more than the materials we choose for our children. It's about a way of viewing and honouring children as capable, brilliant and full of potential: as co-constructors in the learning process. These Dollar Store finds are simply tools {mainly organizational in nature} to help you look differently at your physical space, with intention and thoughtful critique with the child at the centre.*
Here they are:
1. Glass Jars | Cost: $1.00 - $2.50

How to use them
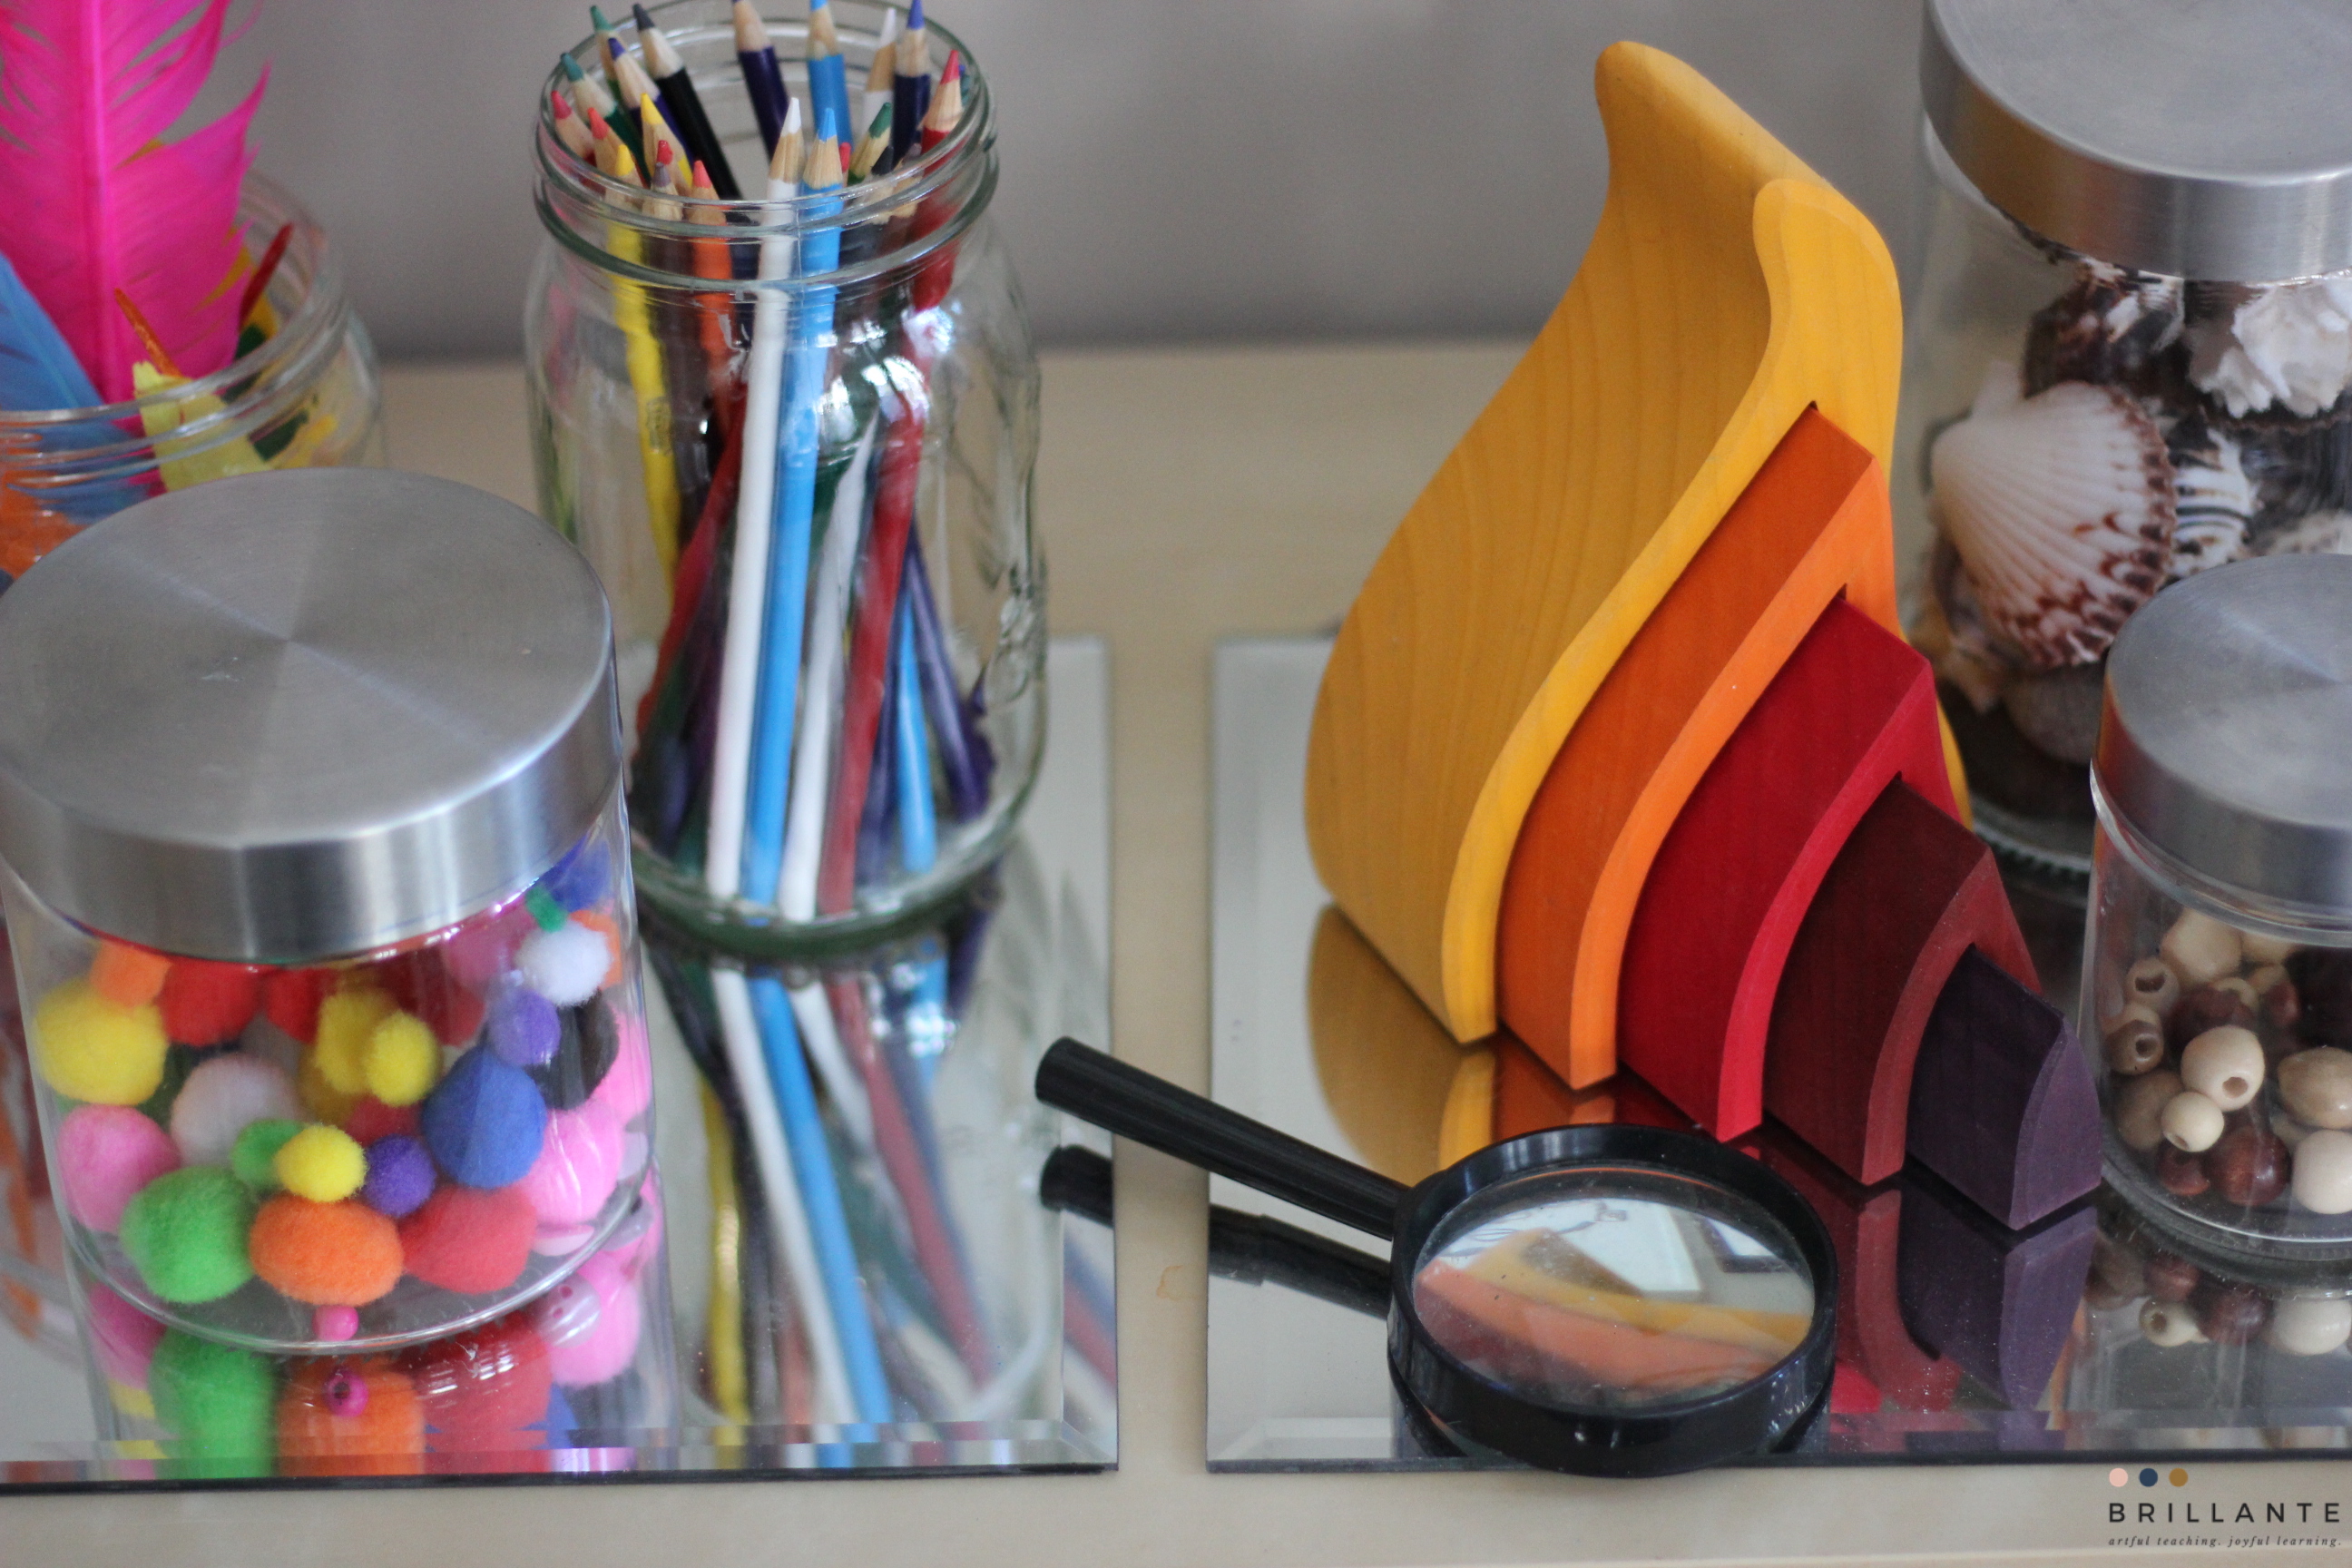
I use glass jars a LOT in my classroom designs, and in my own Reggio-inspired practice. Glass has a beautiful light, transparent quality.
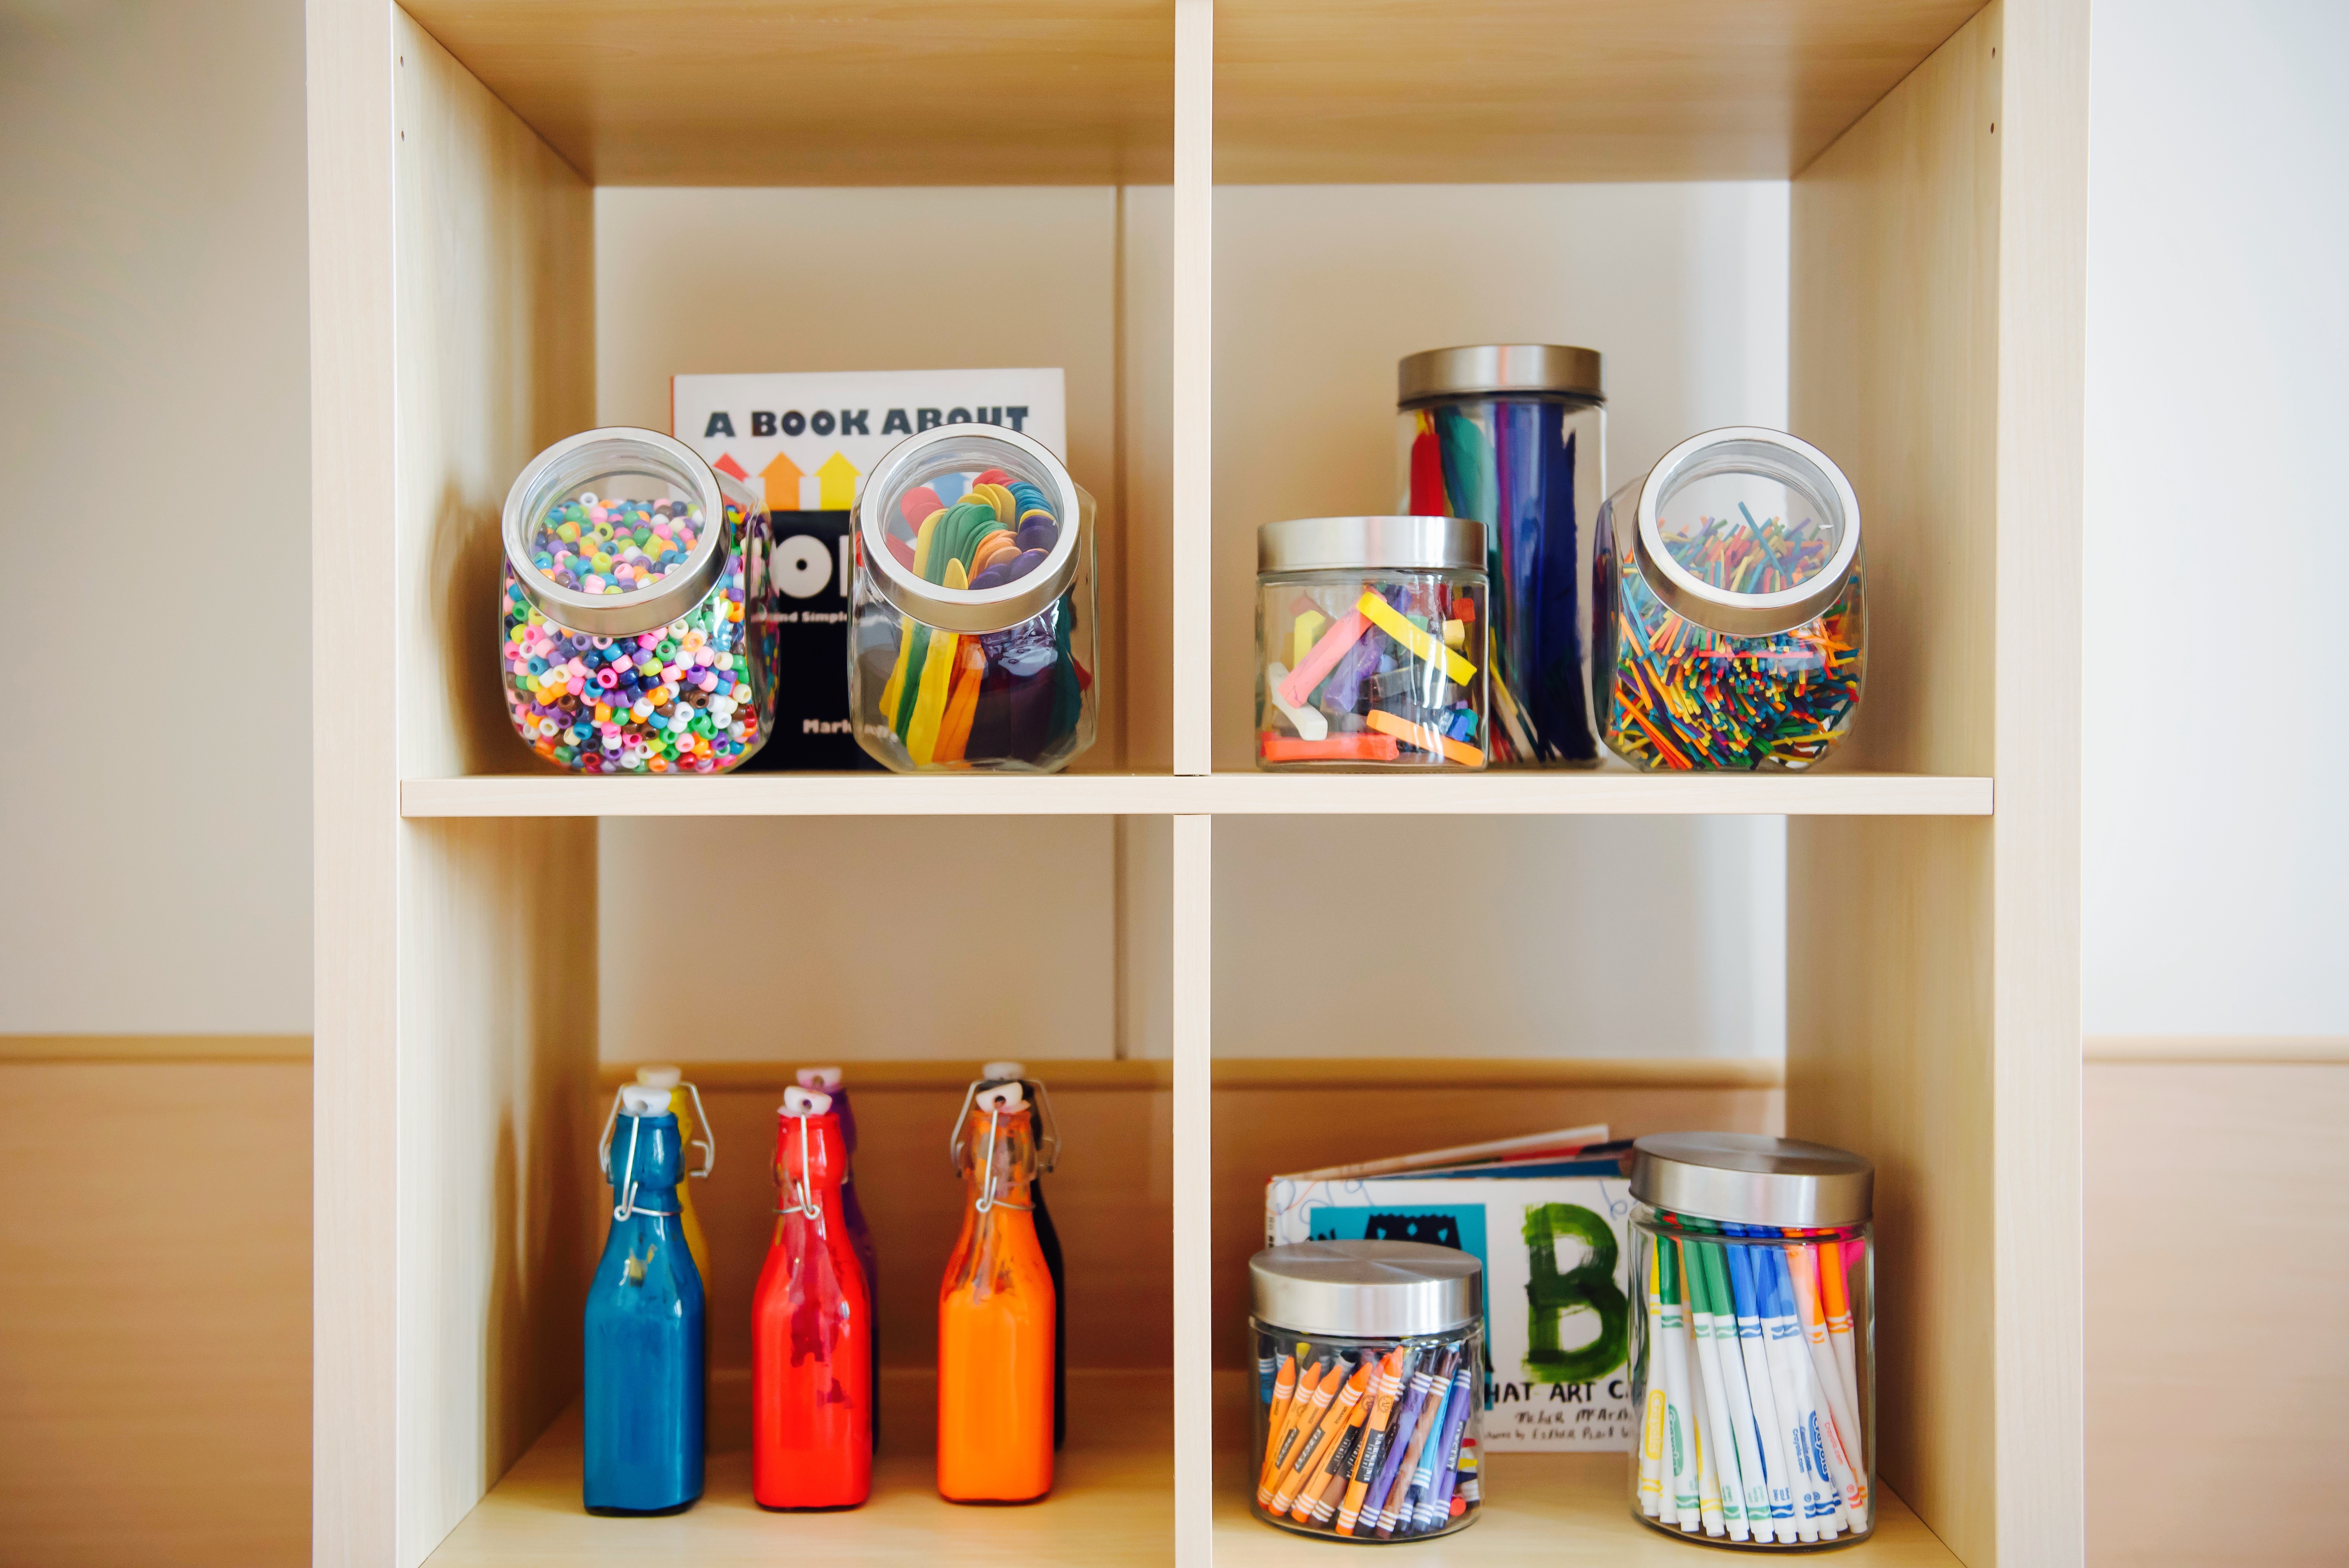
When materials are displayed carefully in glass jars (think markers, pencil crayons, crayons, paints), they allow the beautiful colours of the materials to shine through, bringing vibrance and interest to the space. Displaying items in glass jars is like a beautiful invitation, encouraging children to "read" the contents so they can independently make choices about how to best express themselves. Now think of those same supplies being stored in old plastic margarine containers. Not quite the same allure, right?
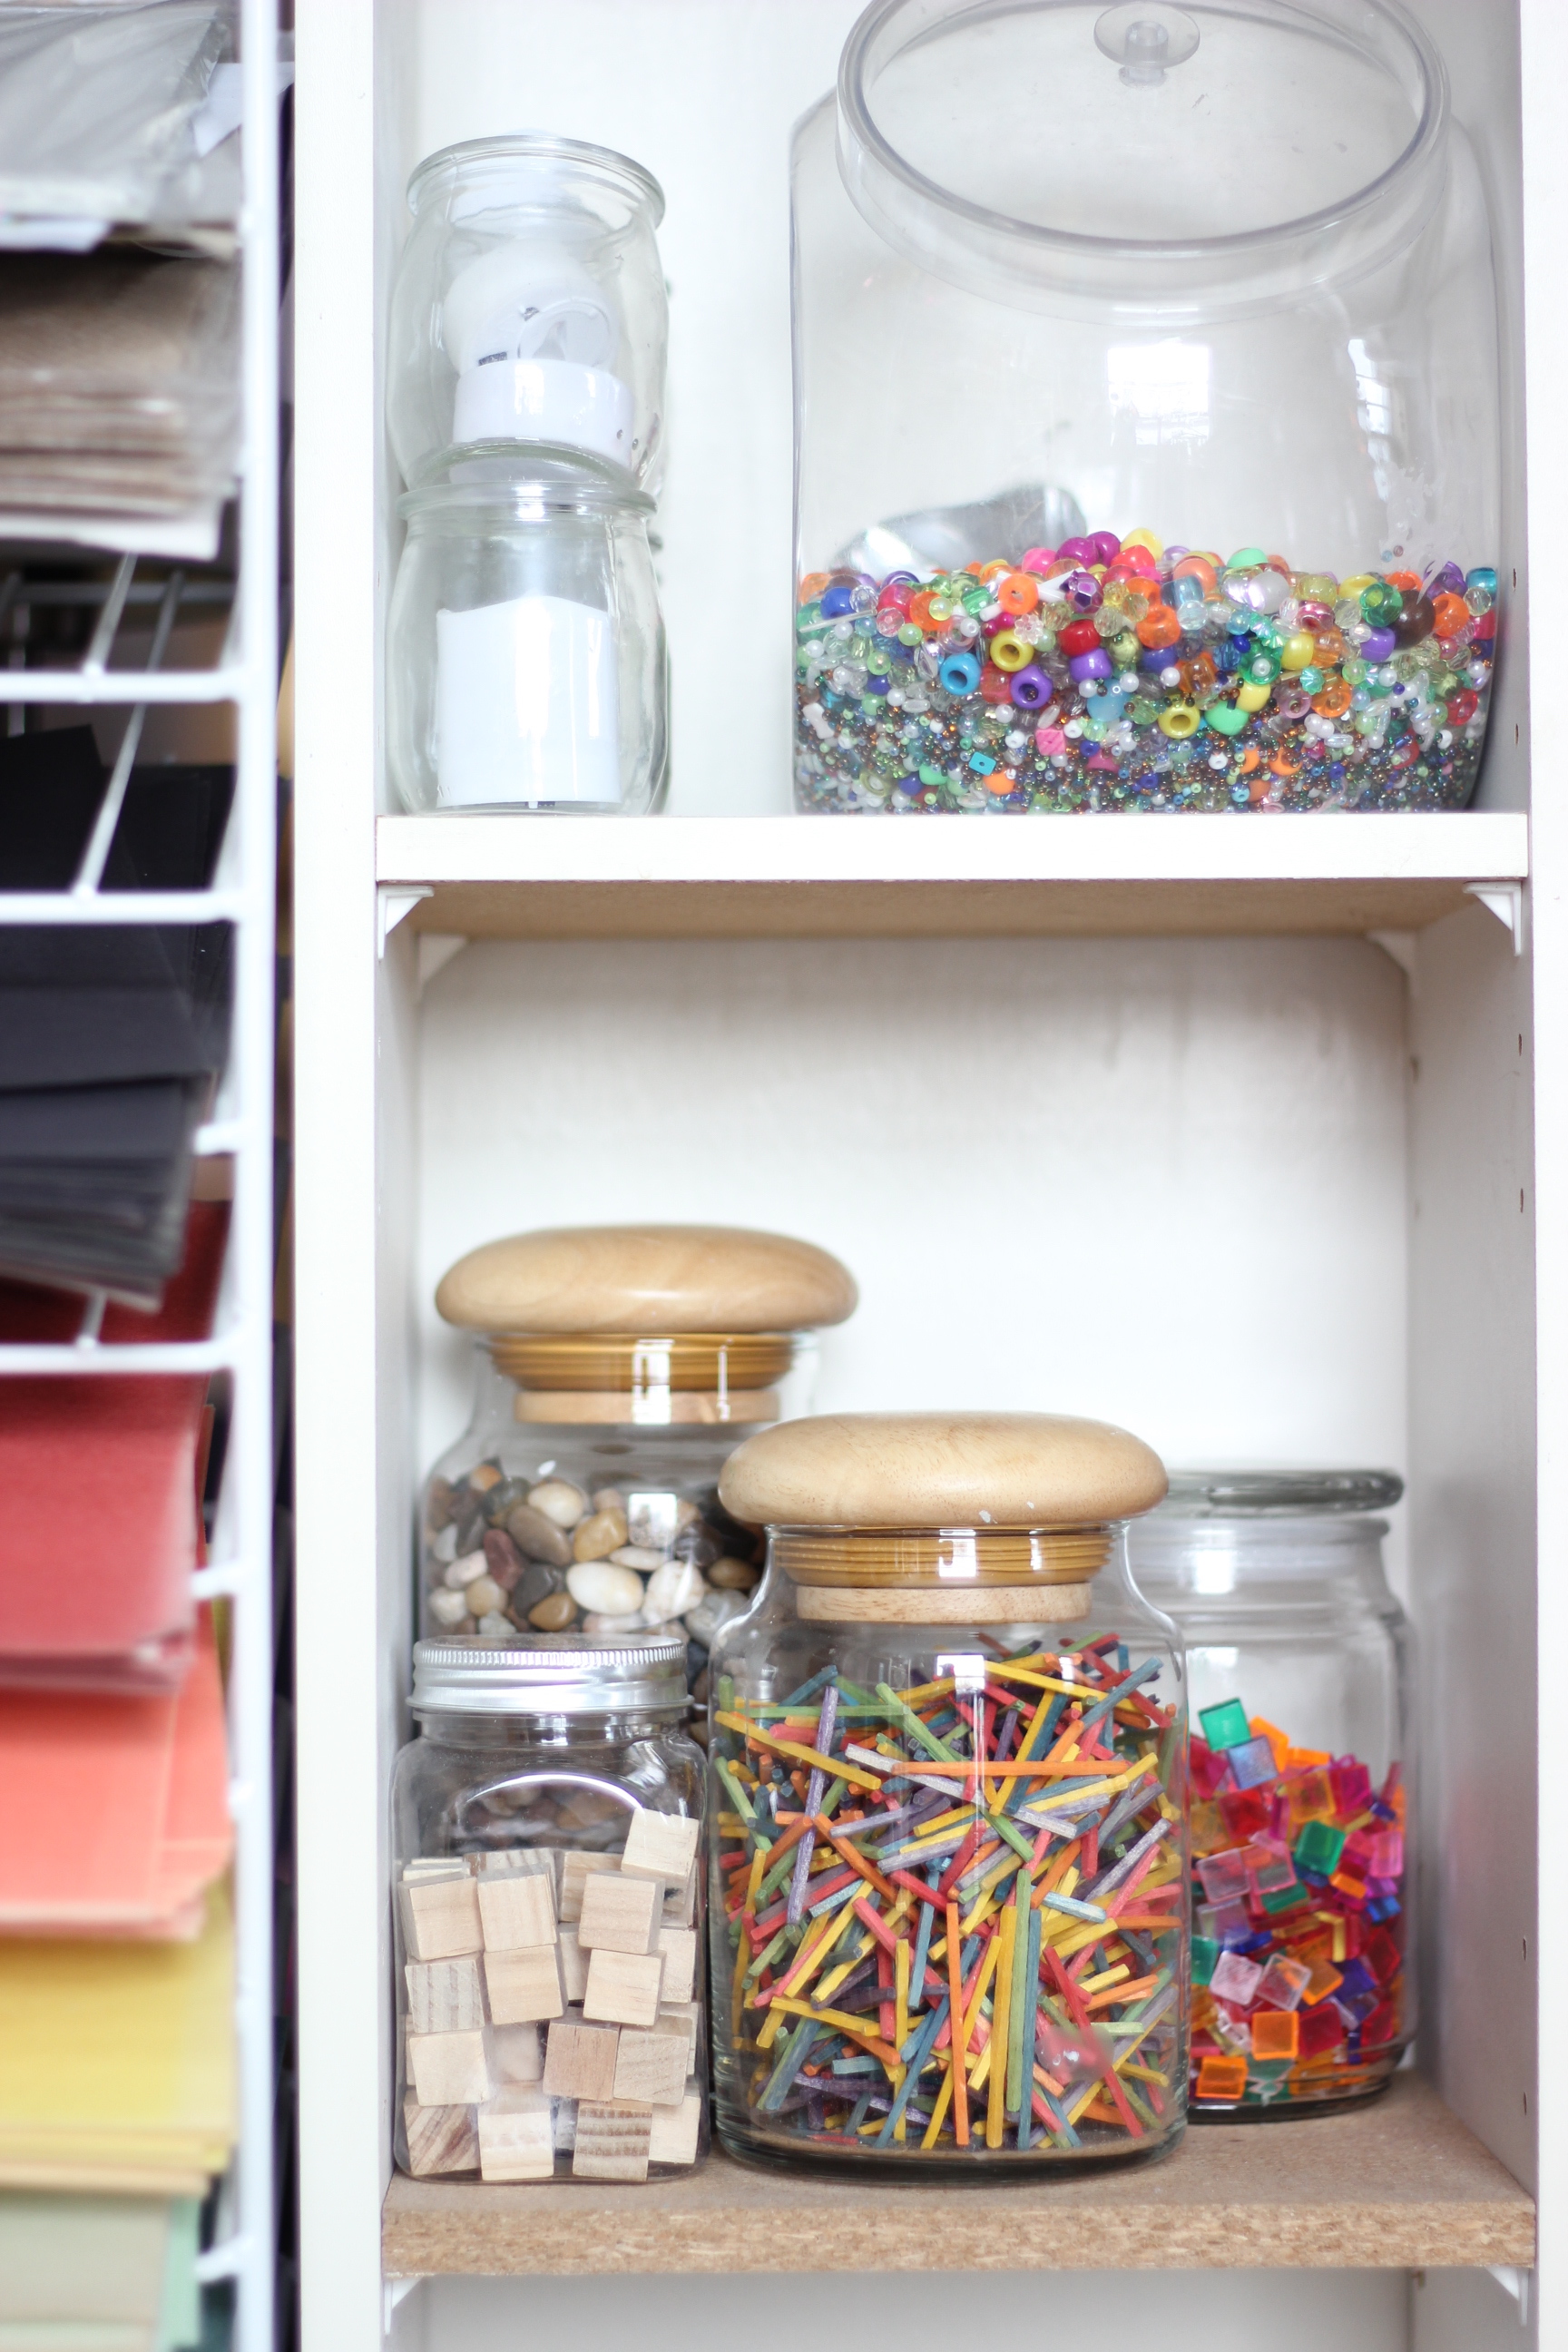
Loose parts displayed in Bela Luis' classroom
Glass also encourages children to show respect and responsibility for materials. If a child is only ever allowed to use plastic, he is not given the opportunity to practice the skills for showing care and respect of belongings. There are no consequences for dropping a plastic container. But the consequence {and ensuing lessons} of dropping a glass jar are plenty!
2. Mirror Tiles, Metallic Trays and Plates | Cost: $2.00 - $2.50
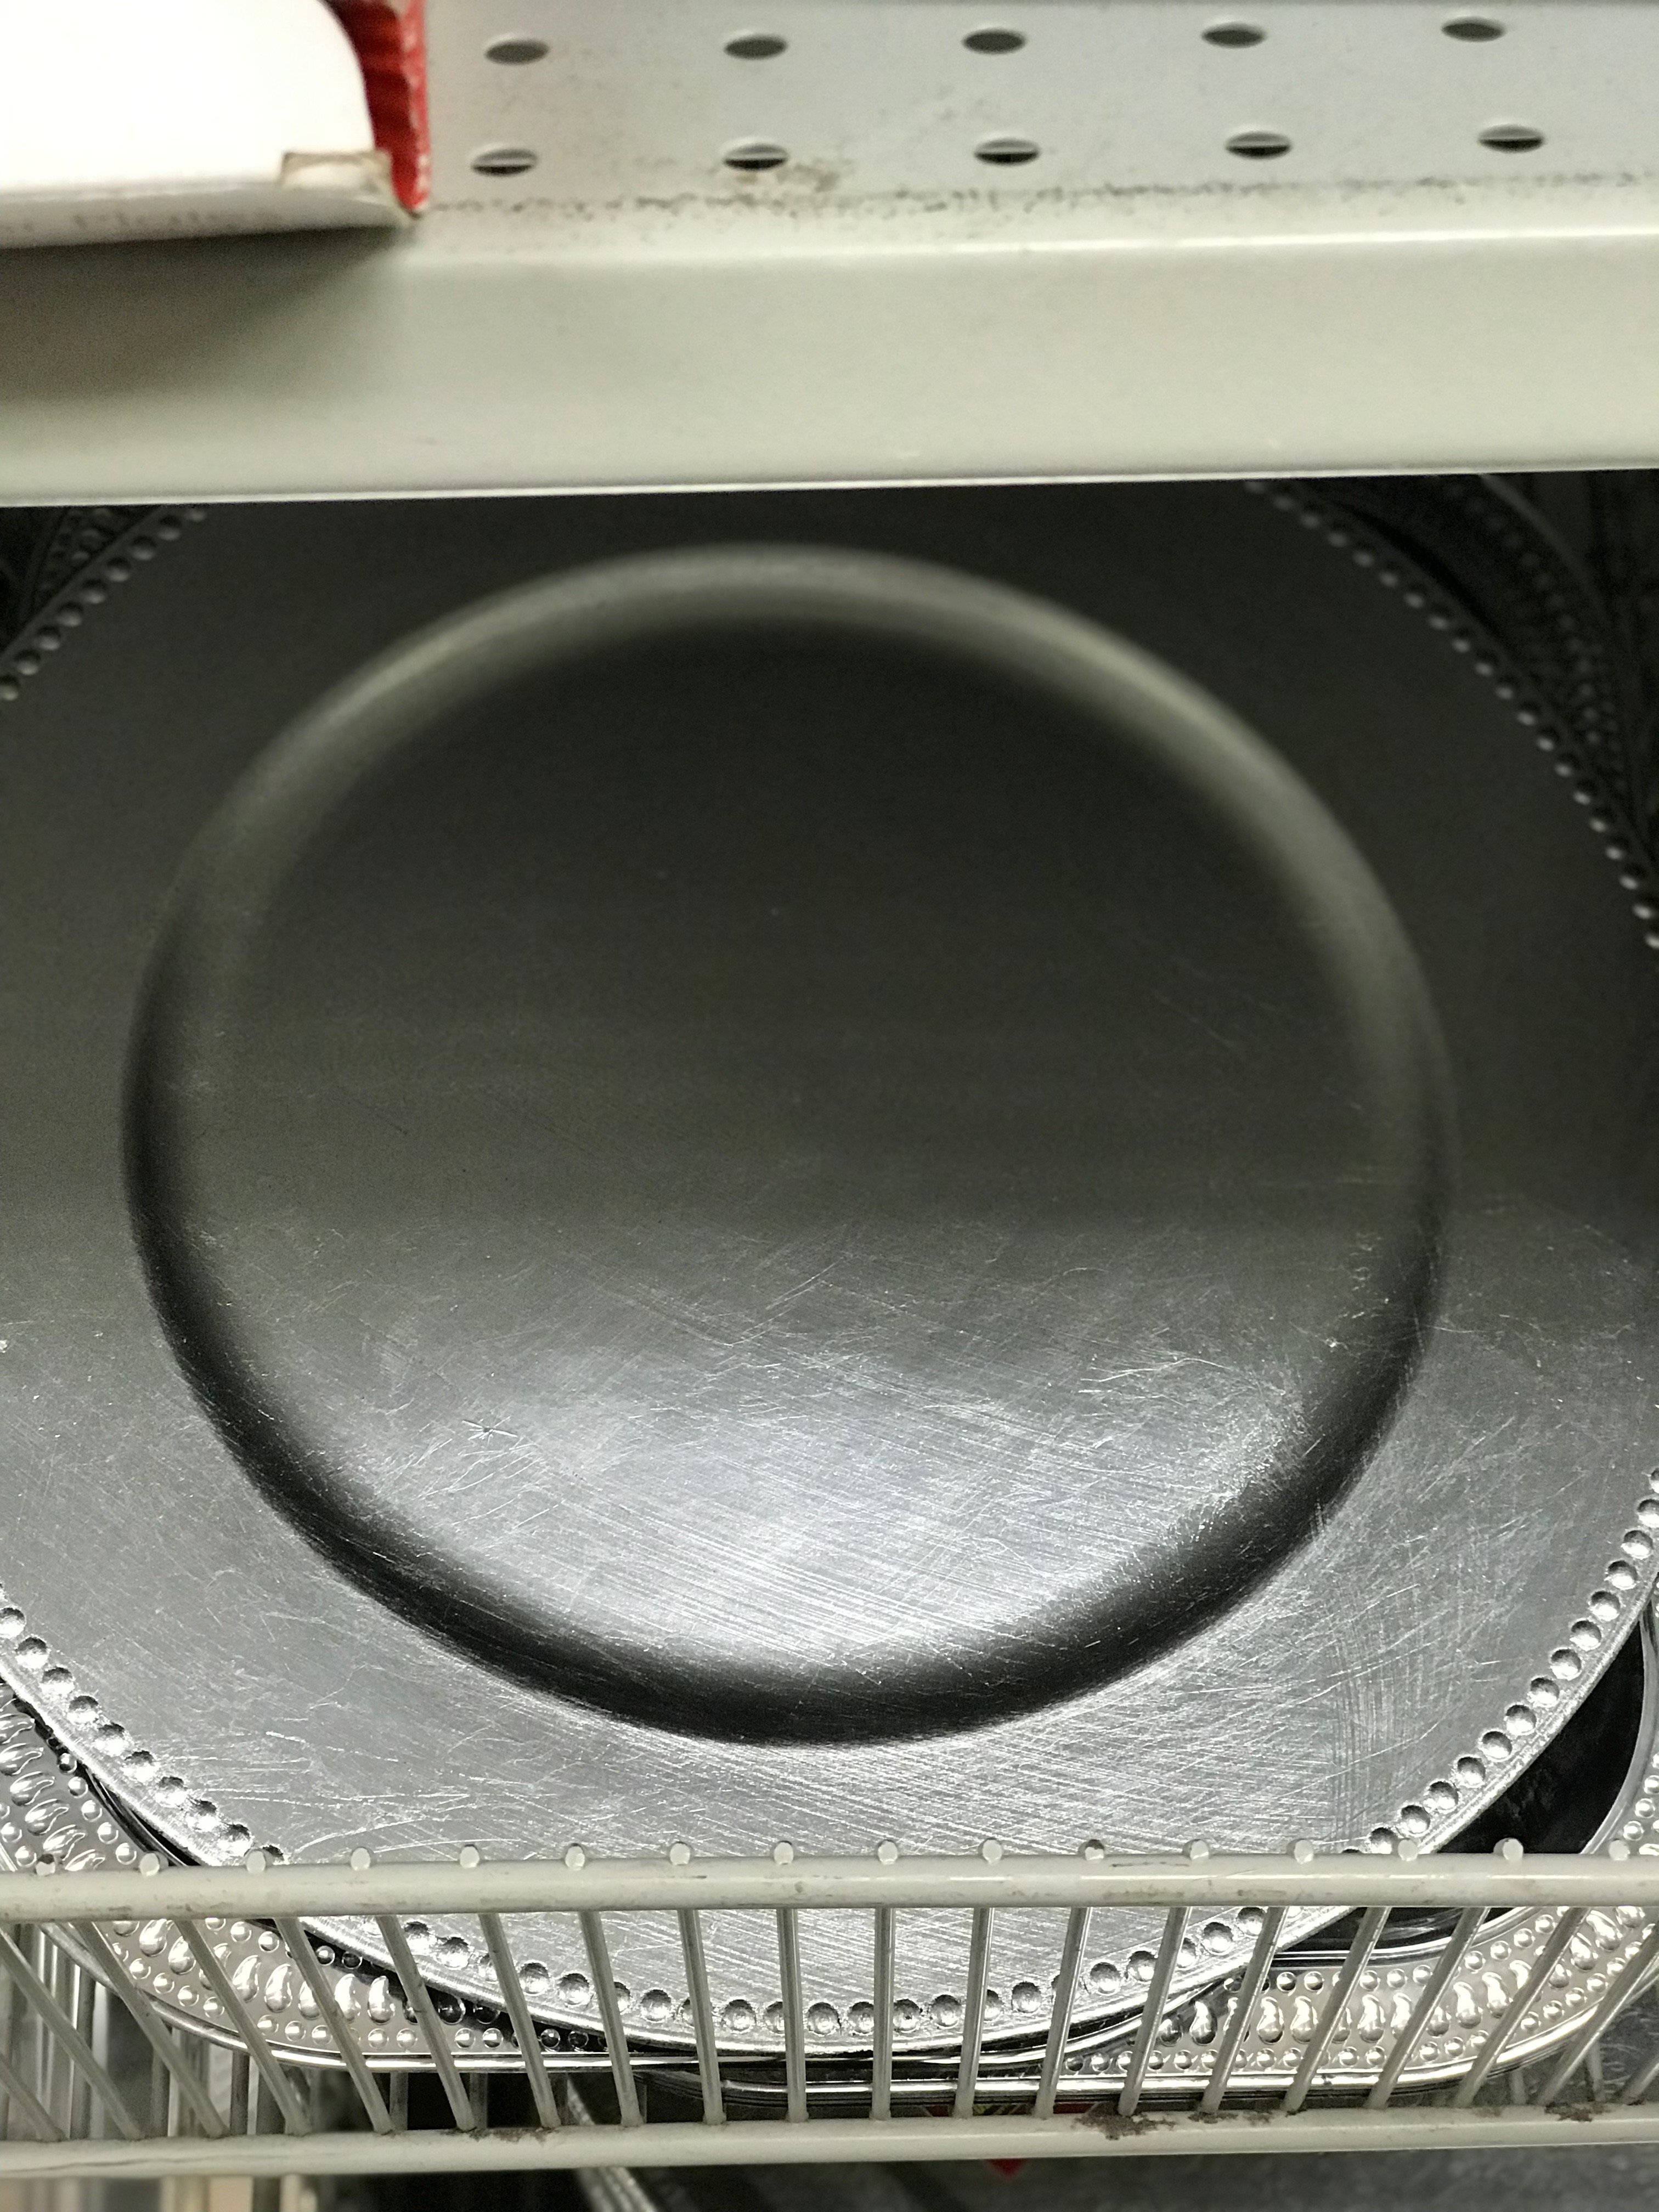
How to use them
Mirrors and metallic objects have a reflective quality that children are innately drawn toward. When I set up an invitation to wonder for a mini-inquiry, I anchor materials on a mirror tile. It automatically makes the invitation more interesting and exciting.
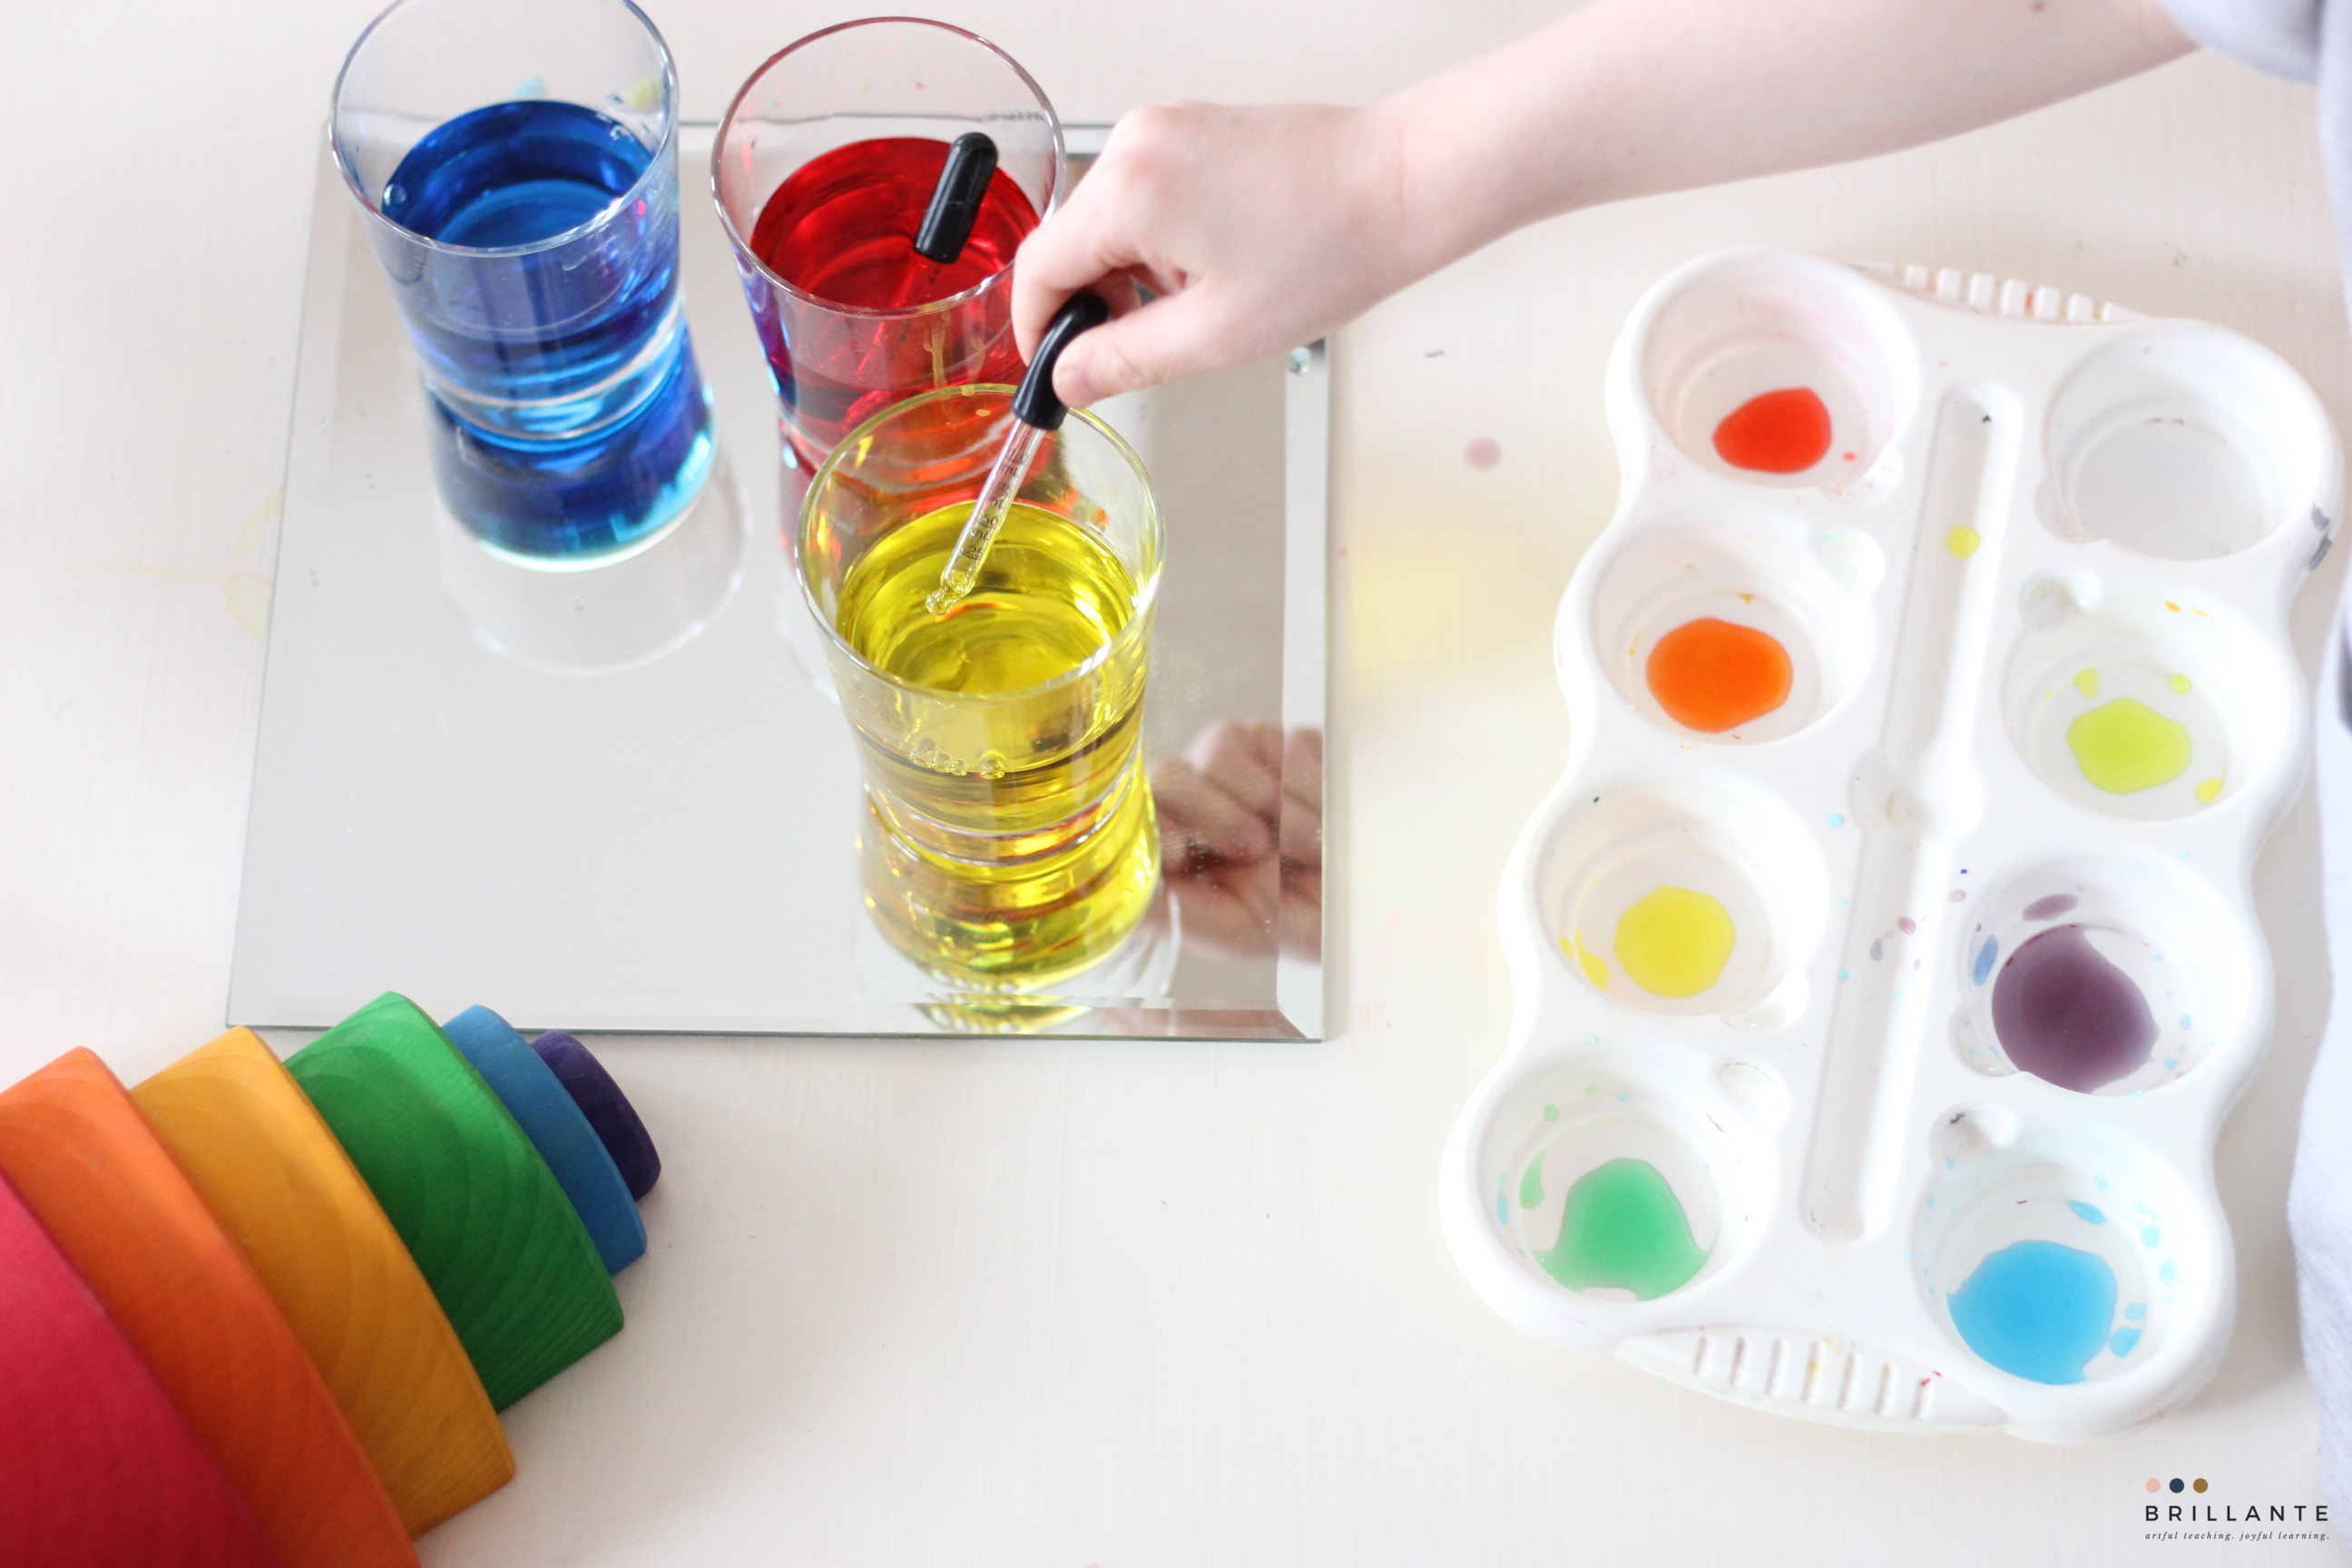
Displaying your art supplies {in glass jars}, layered on top of mirror tiles brings an added dimension of depth and interest, as children naturally want to dive into the materials to explore and create.
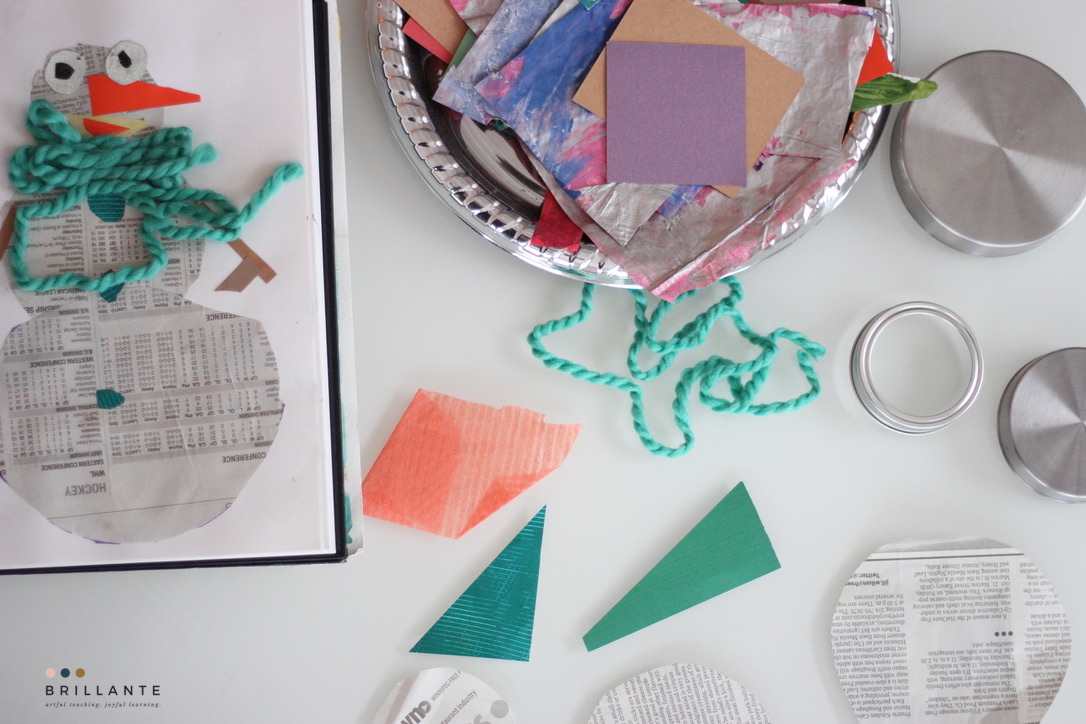
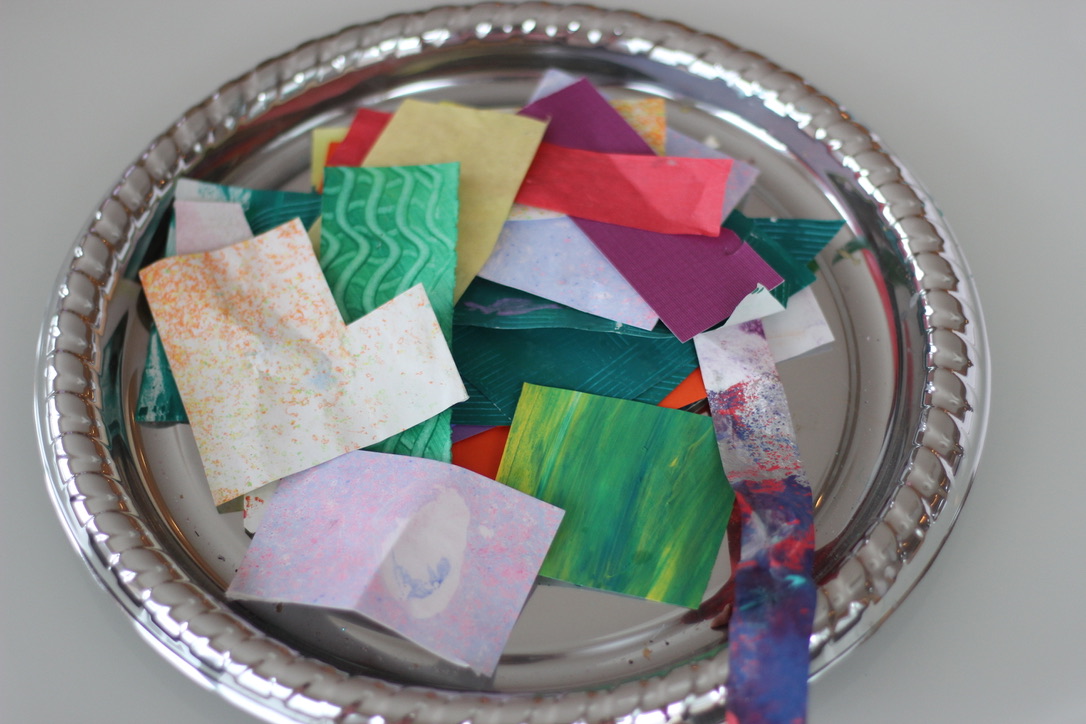
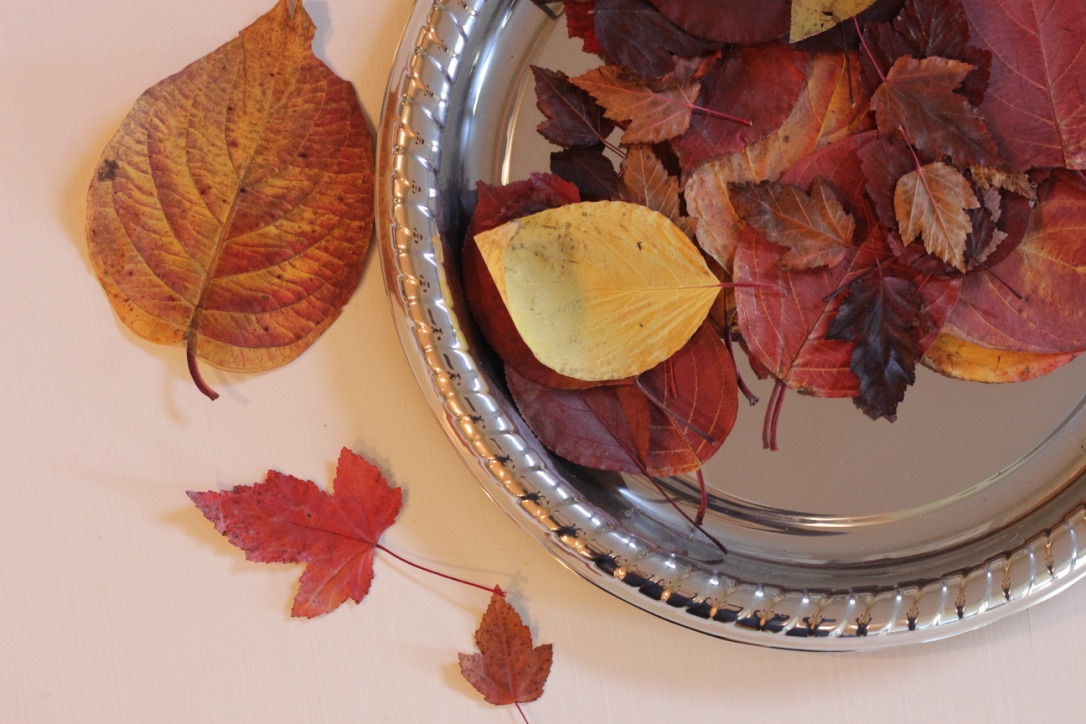
Metallic trays and plates (usually made of plastic) are used in learning invitations, like coloured rice for sensory printing practice, cut-up collage pieces for this snowman math experience, or a display of beautiful autumn leaves. They are a lovely way to store the materials needed to complement the learning activity.
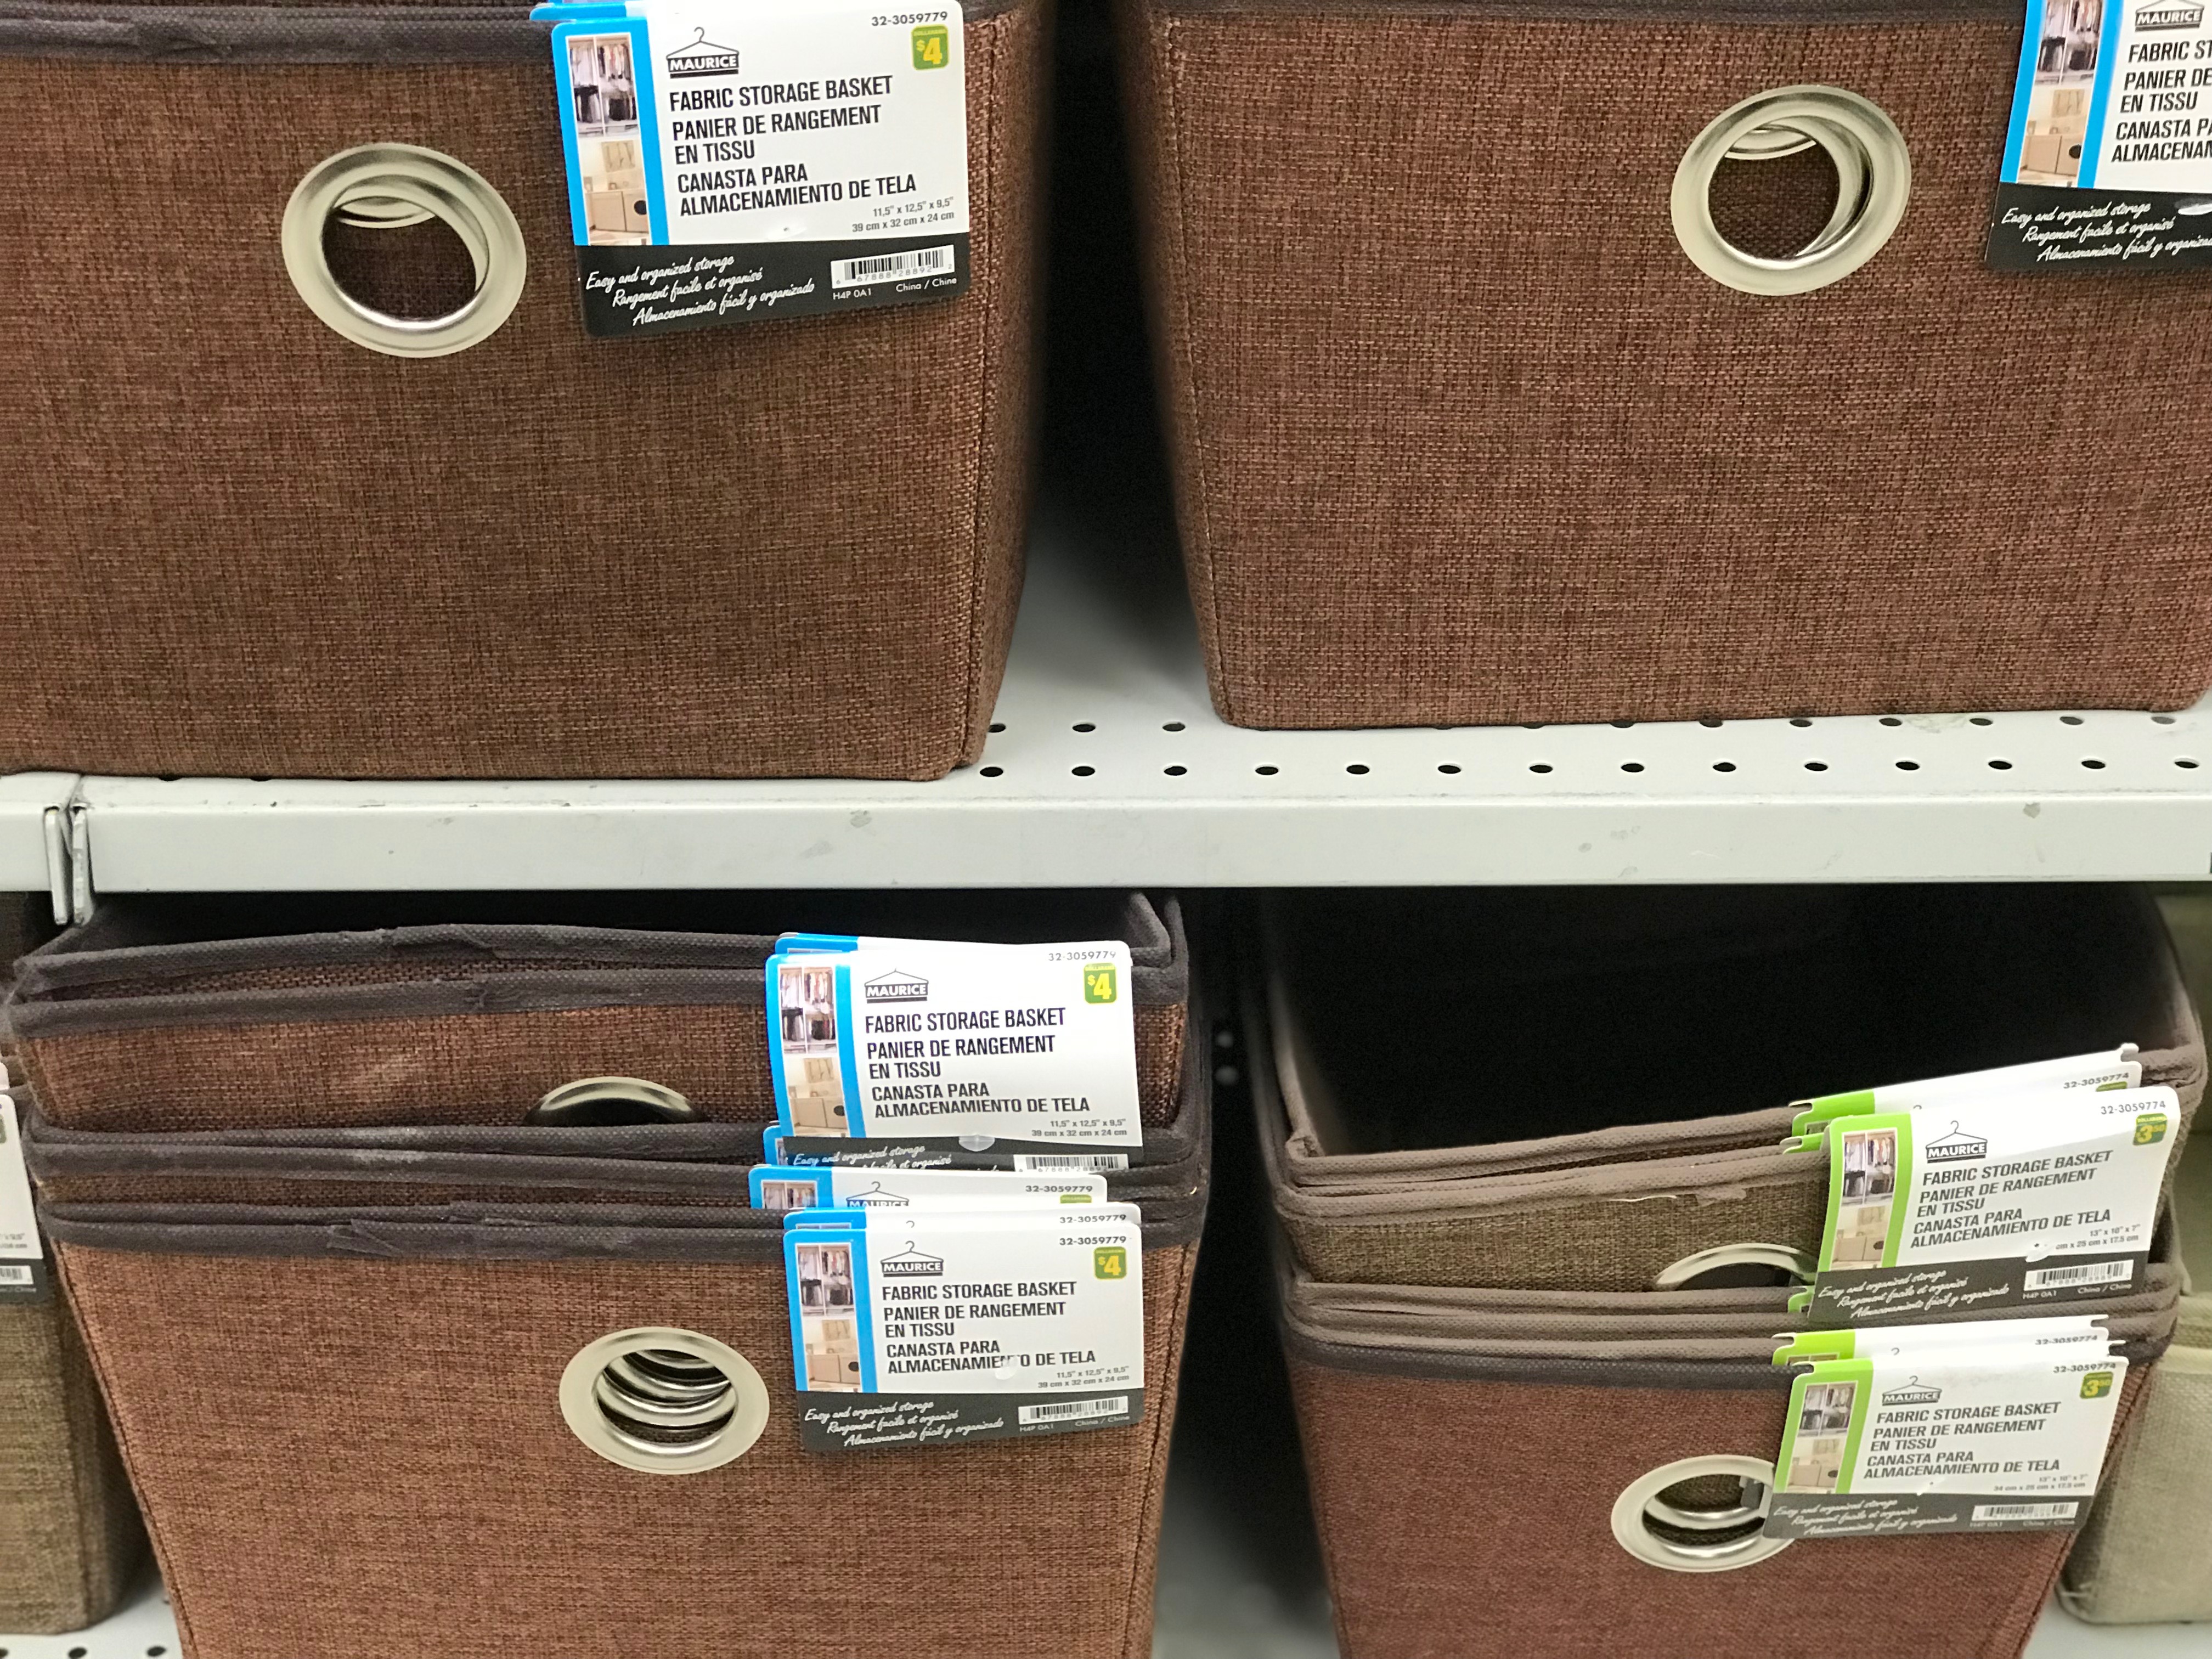
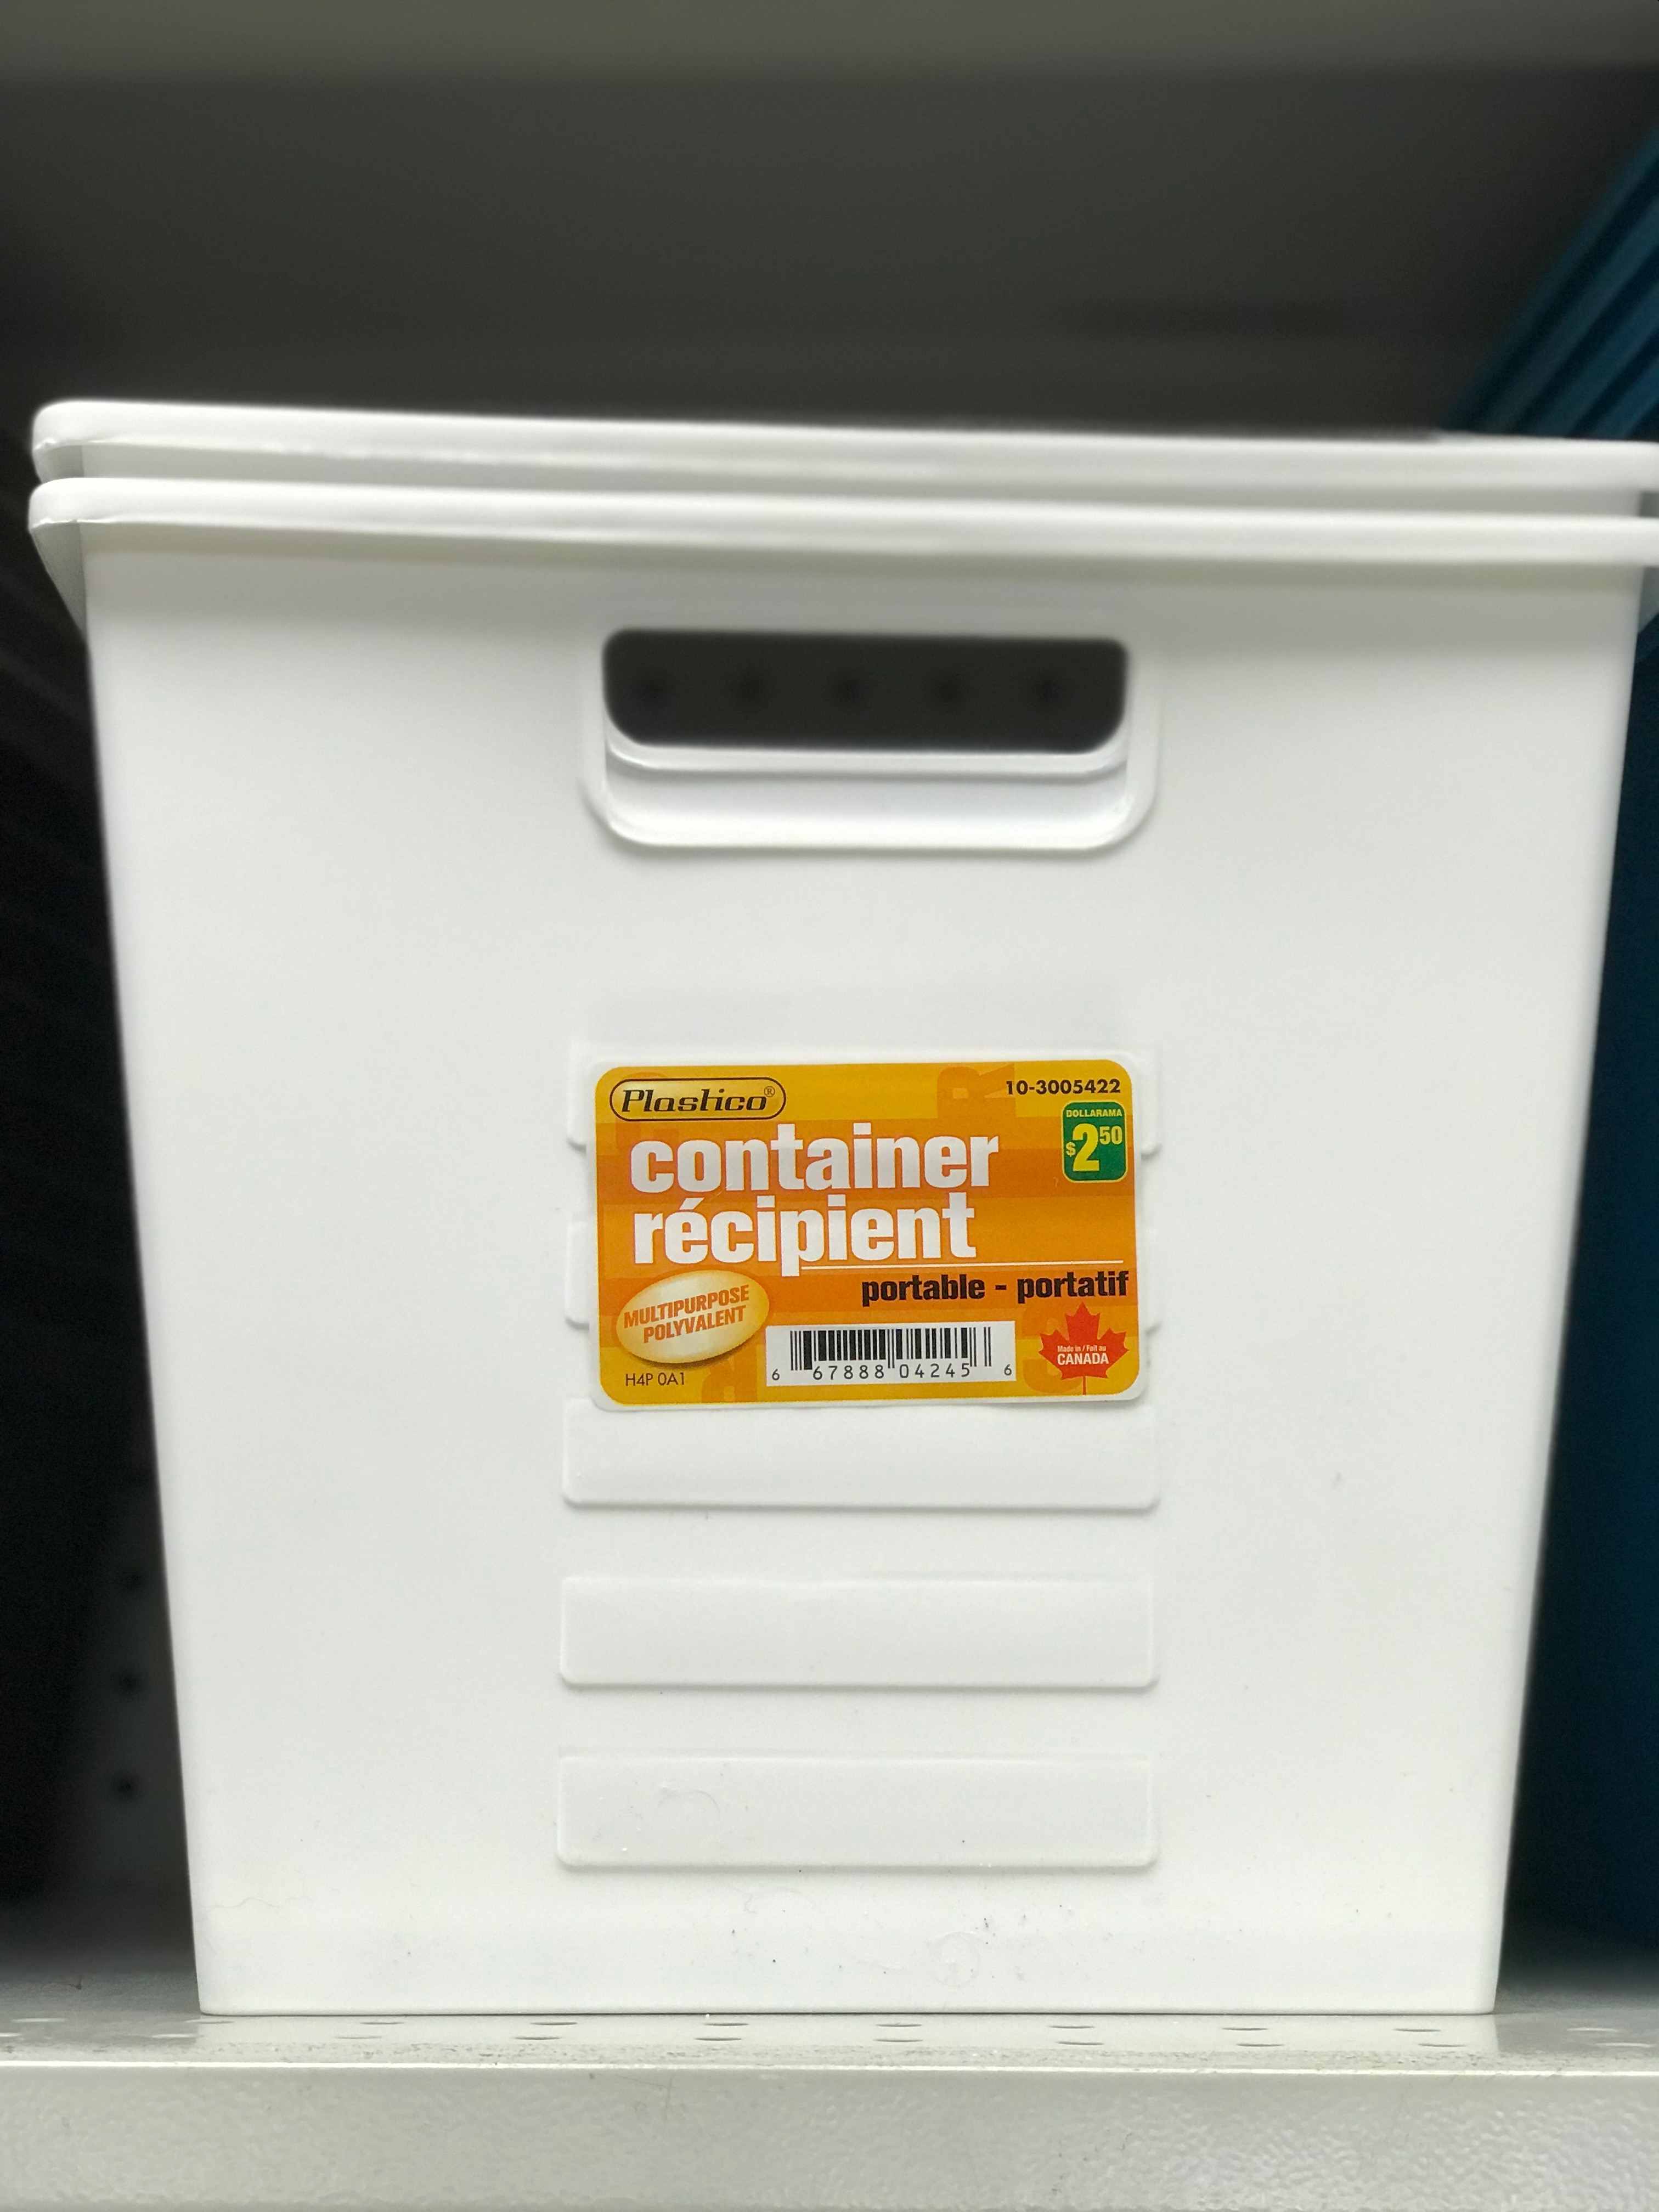
3. Storage Baskets and Locker Bins | Cost: $2.50 - $3.50
How to use them
We all *wish* we could have matching natural woven baskets, but at $15+ per basket, it would take us a decade to complete an organized class set! The alternative? Matching bins, woven plastic or canvas baskets. I like white, because they are easy on the eye, and can be "dressed up" with watercolour labels. There are brown plastic woven baskets and canvas are great, durable alternatives that stand the test of time.

My home learning studio storage shelf
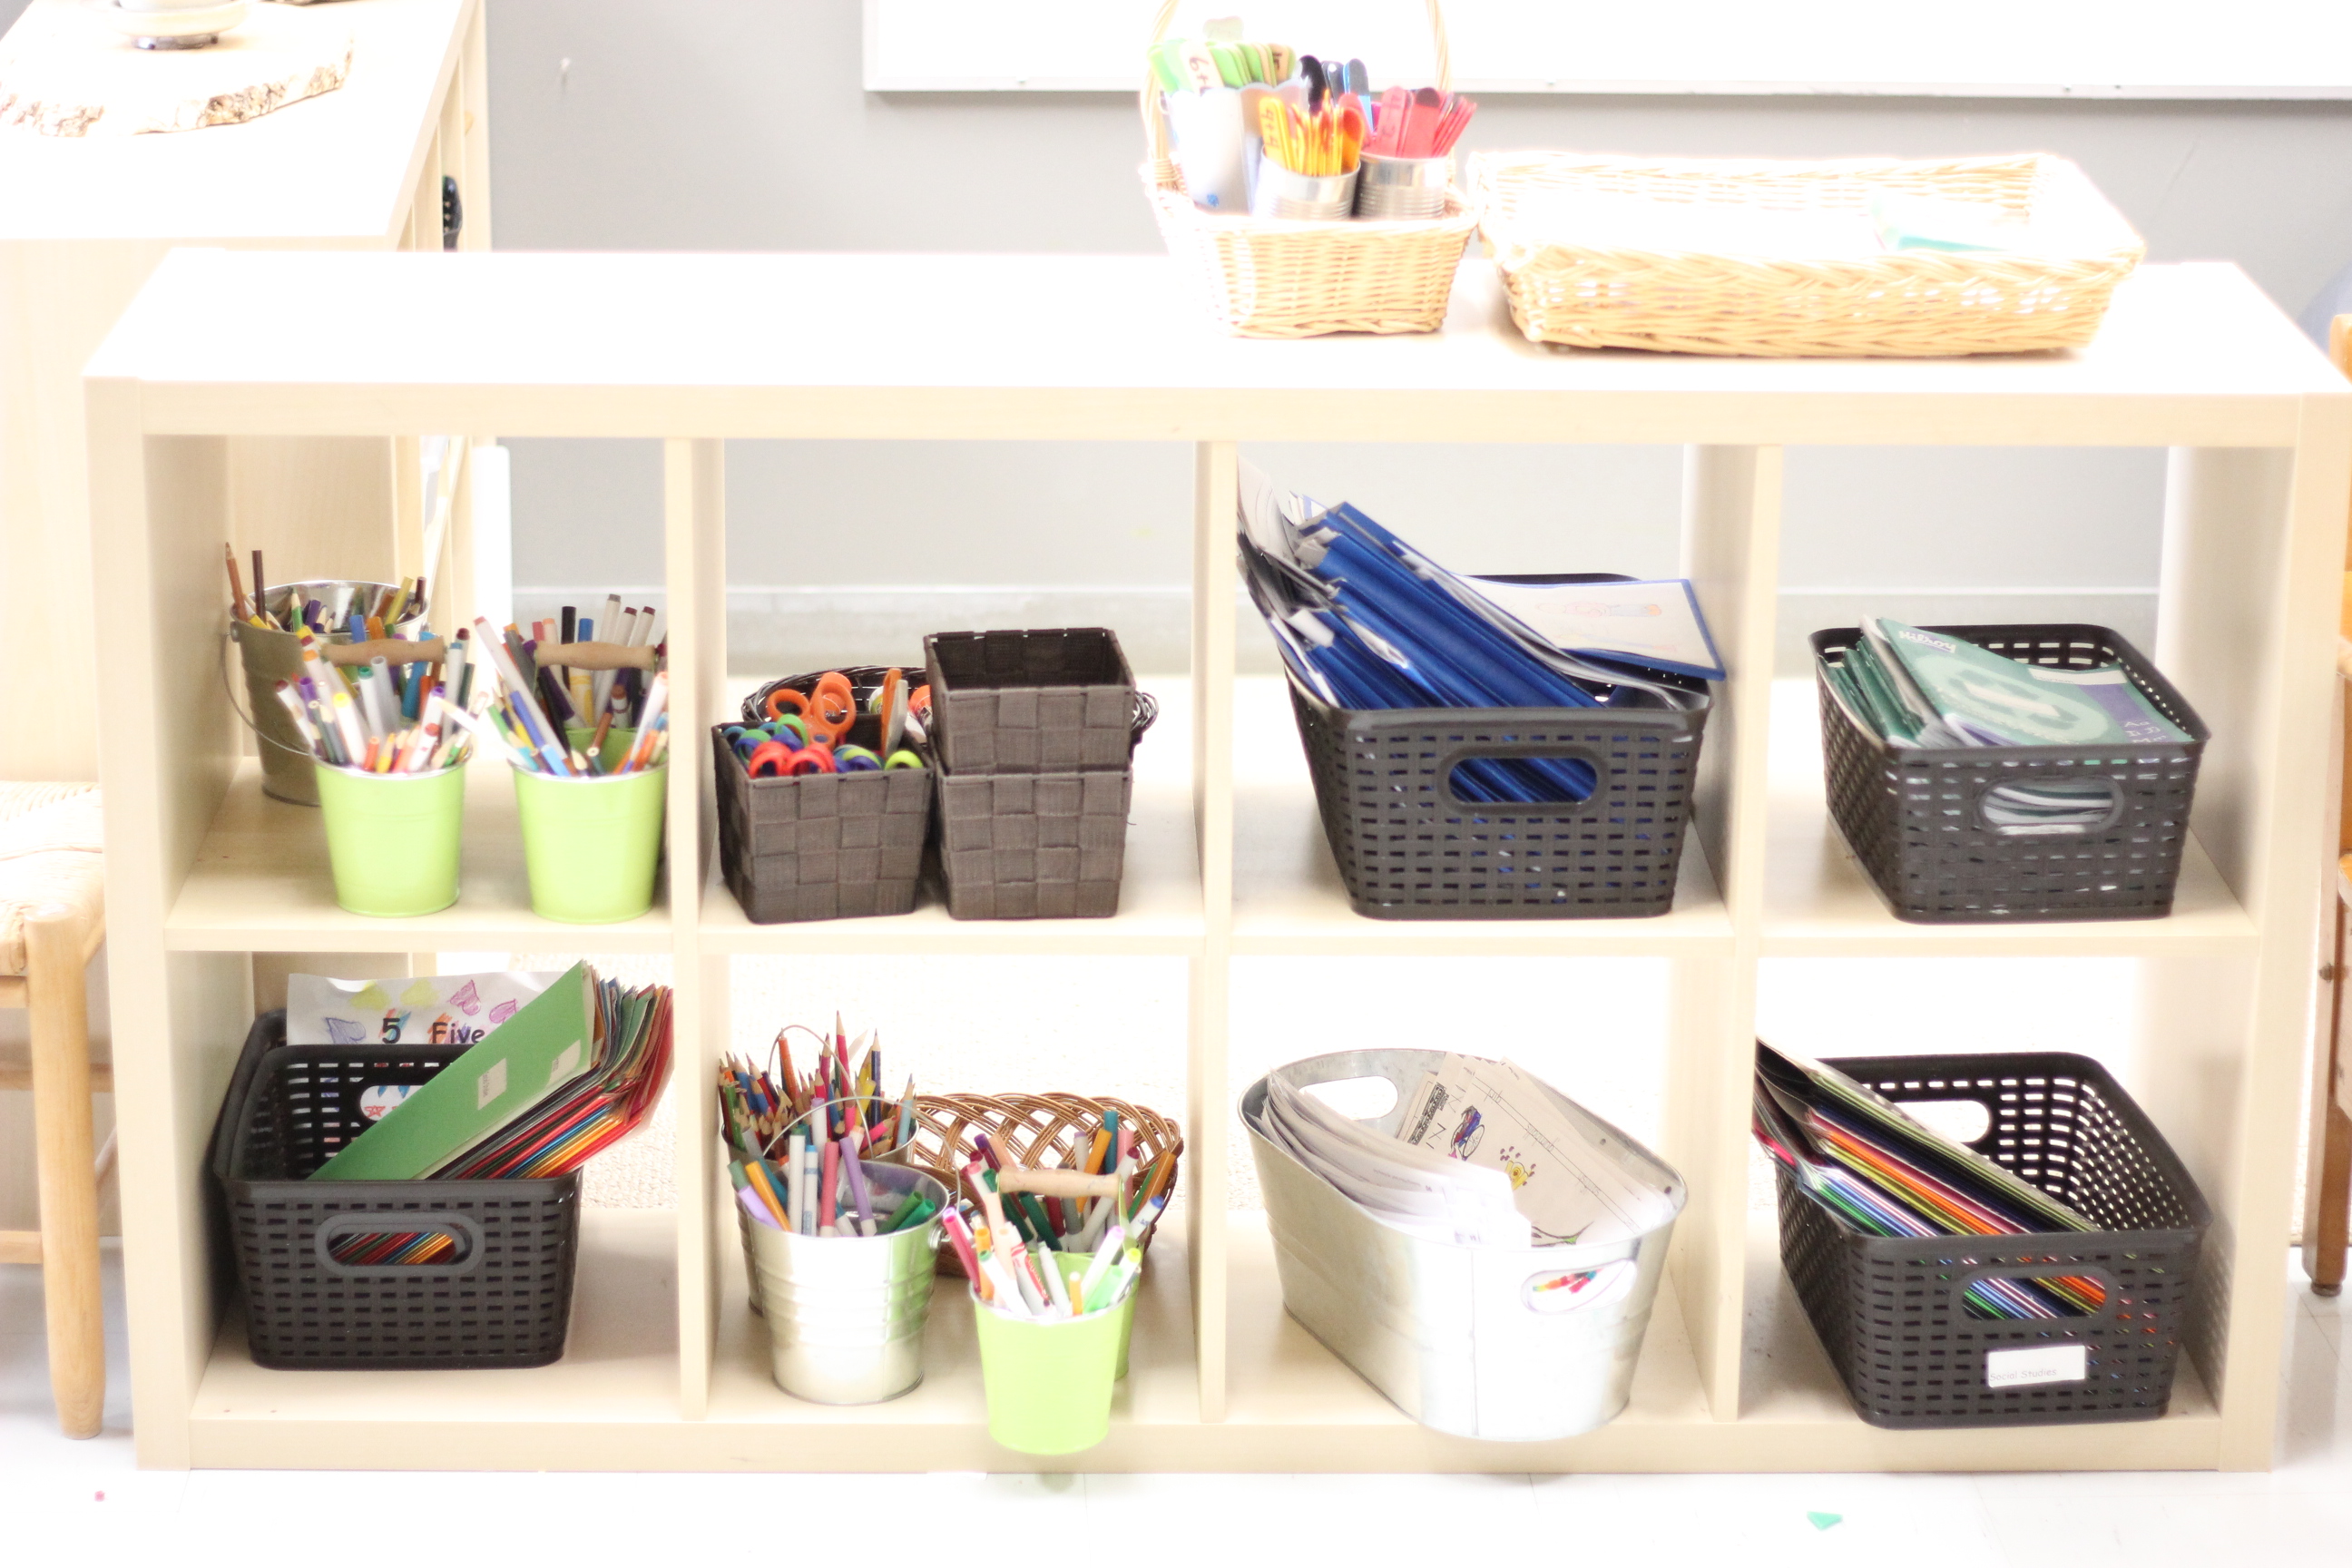
Writing Centre at Parc La Salle School
Used for organizing and storing math games, manipulatives, children's work, books... basically anything that requires a storage solution.
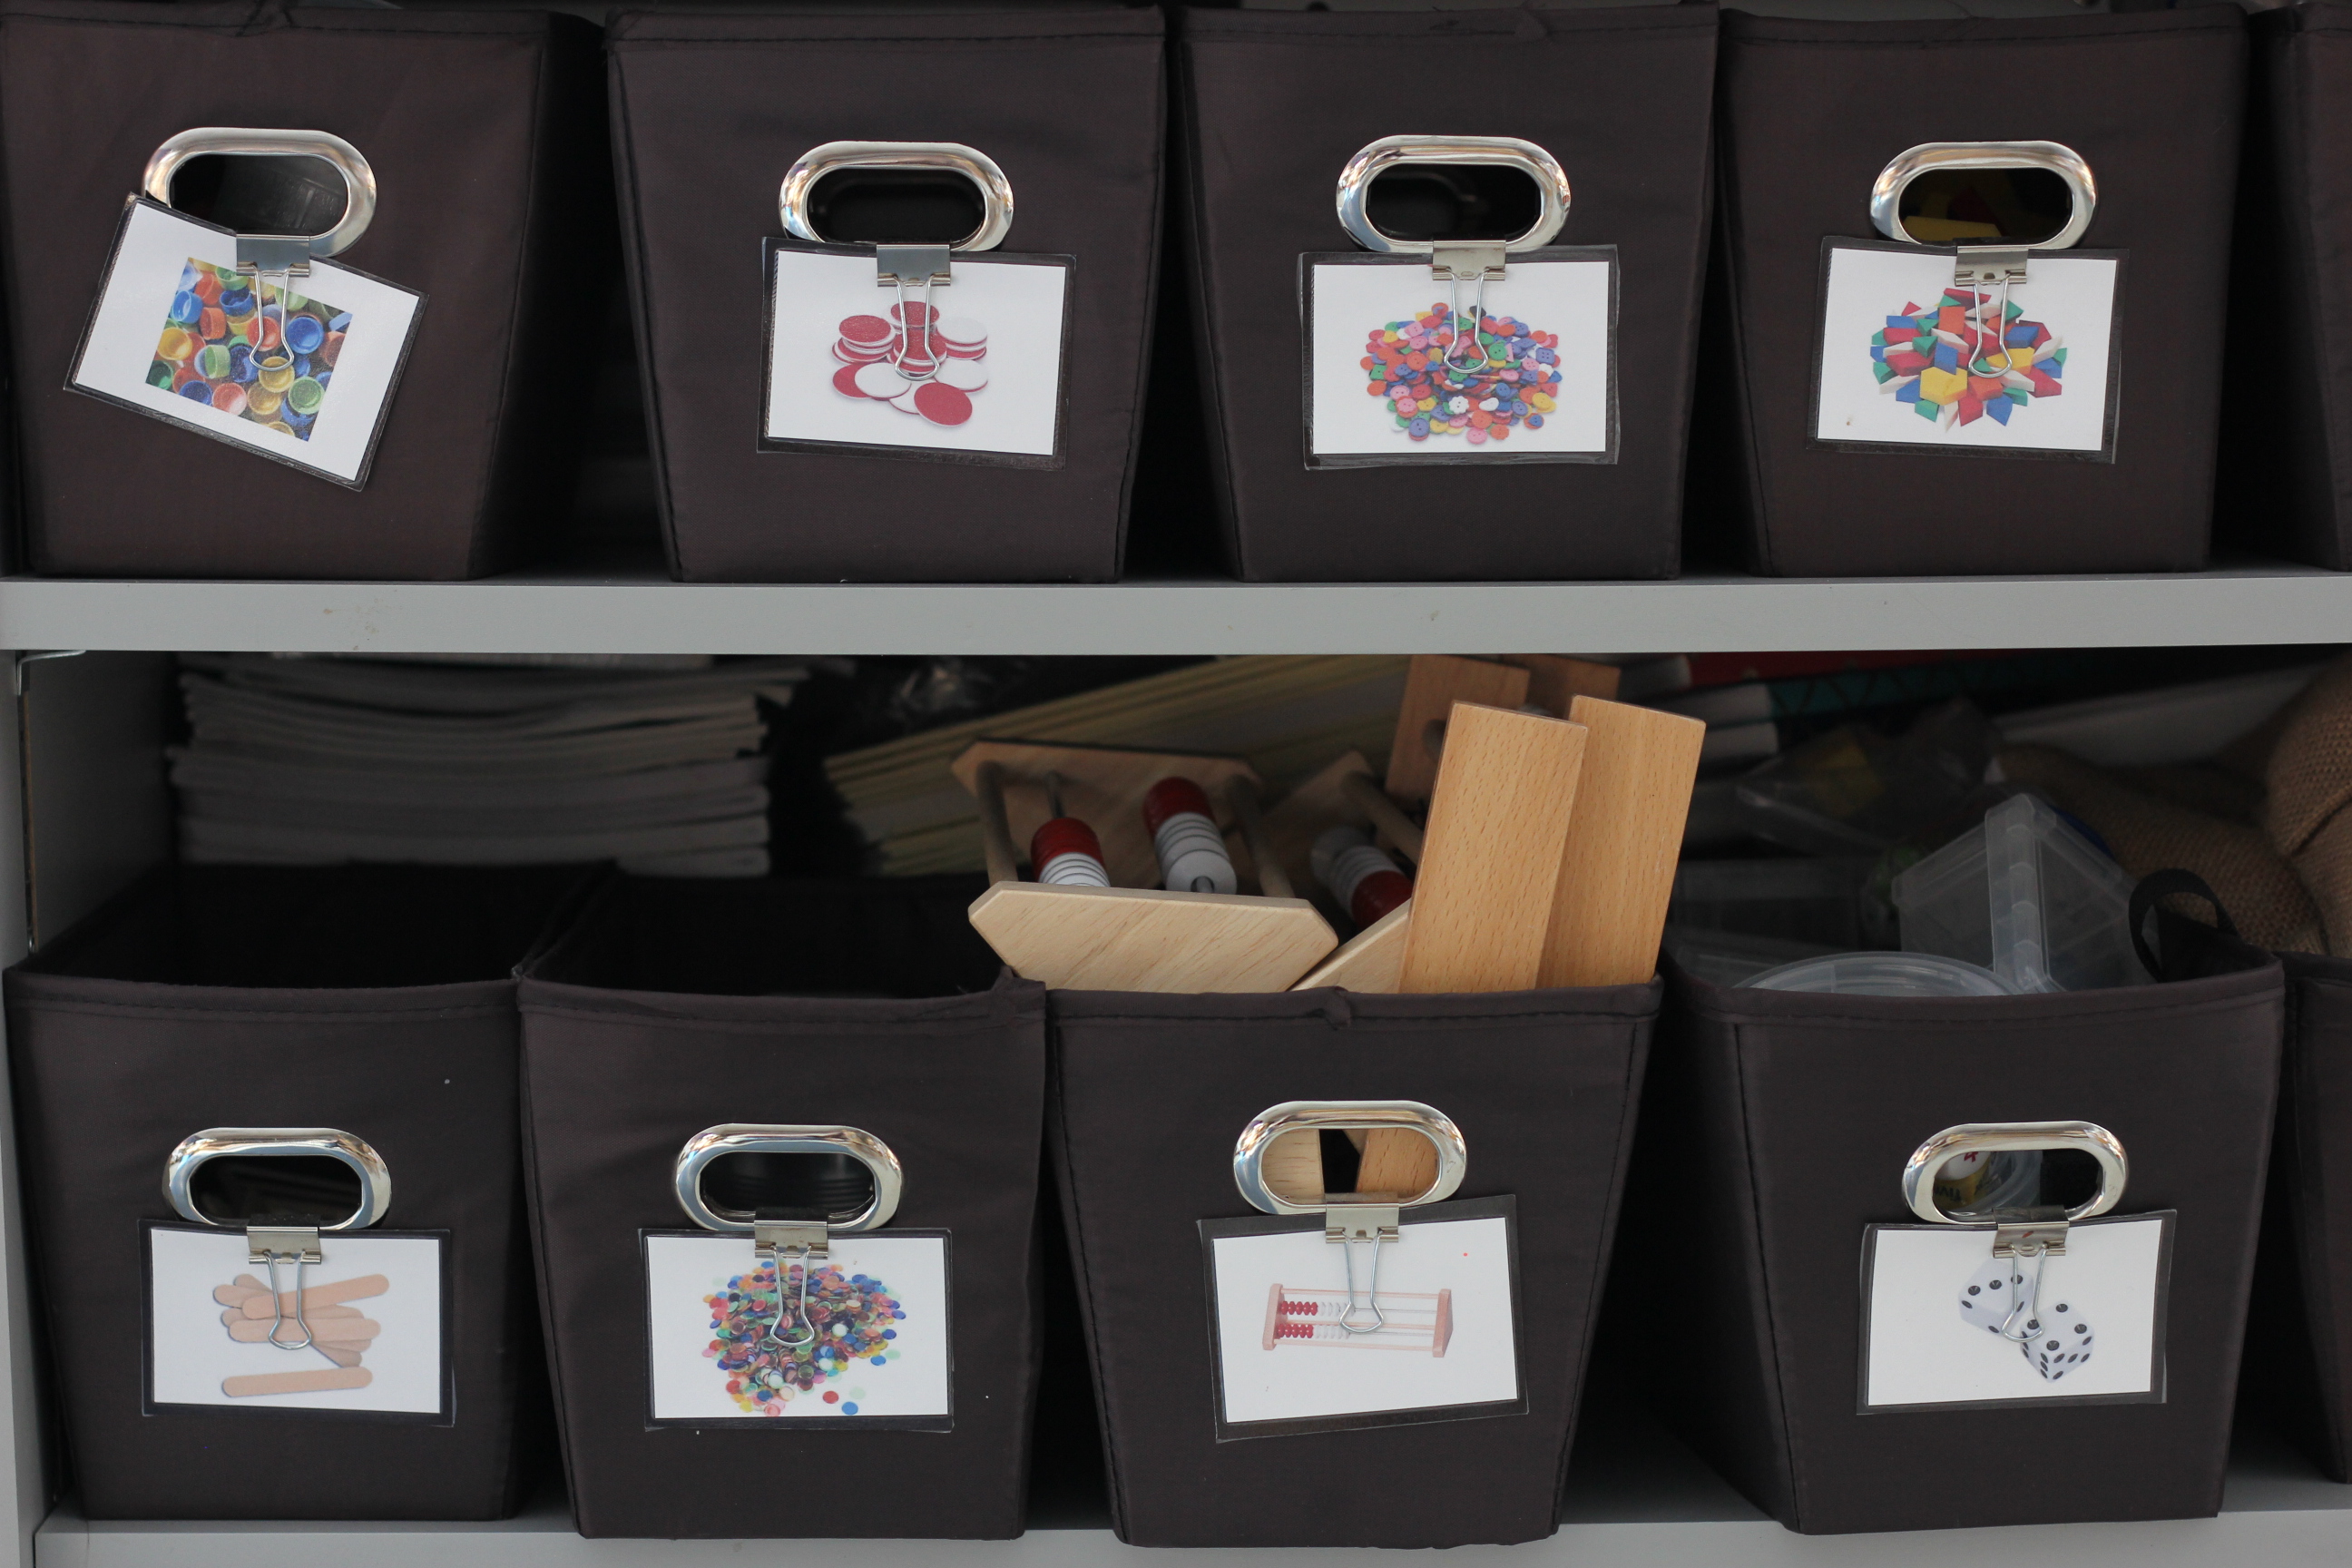
Bela Luis' math manipulatives storage
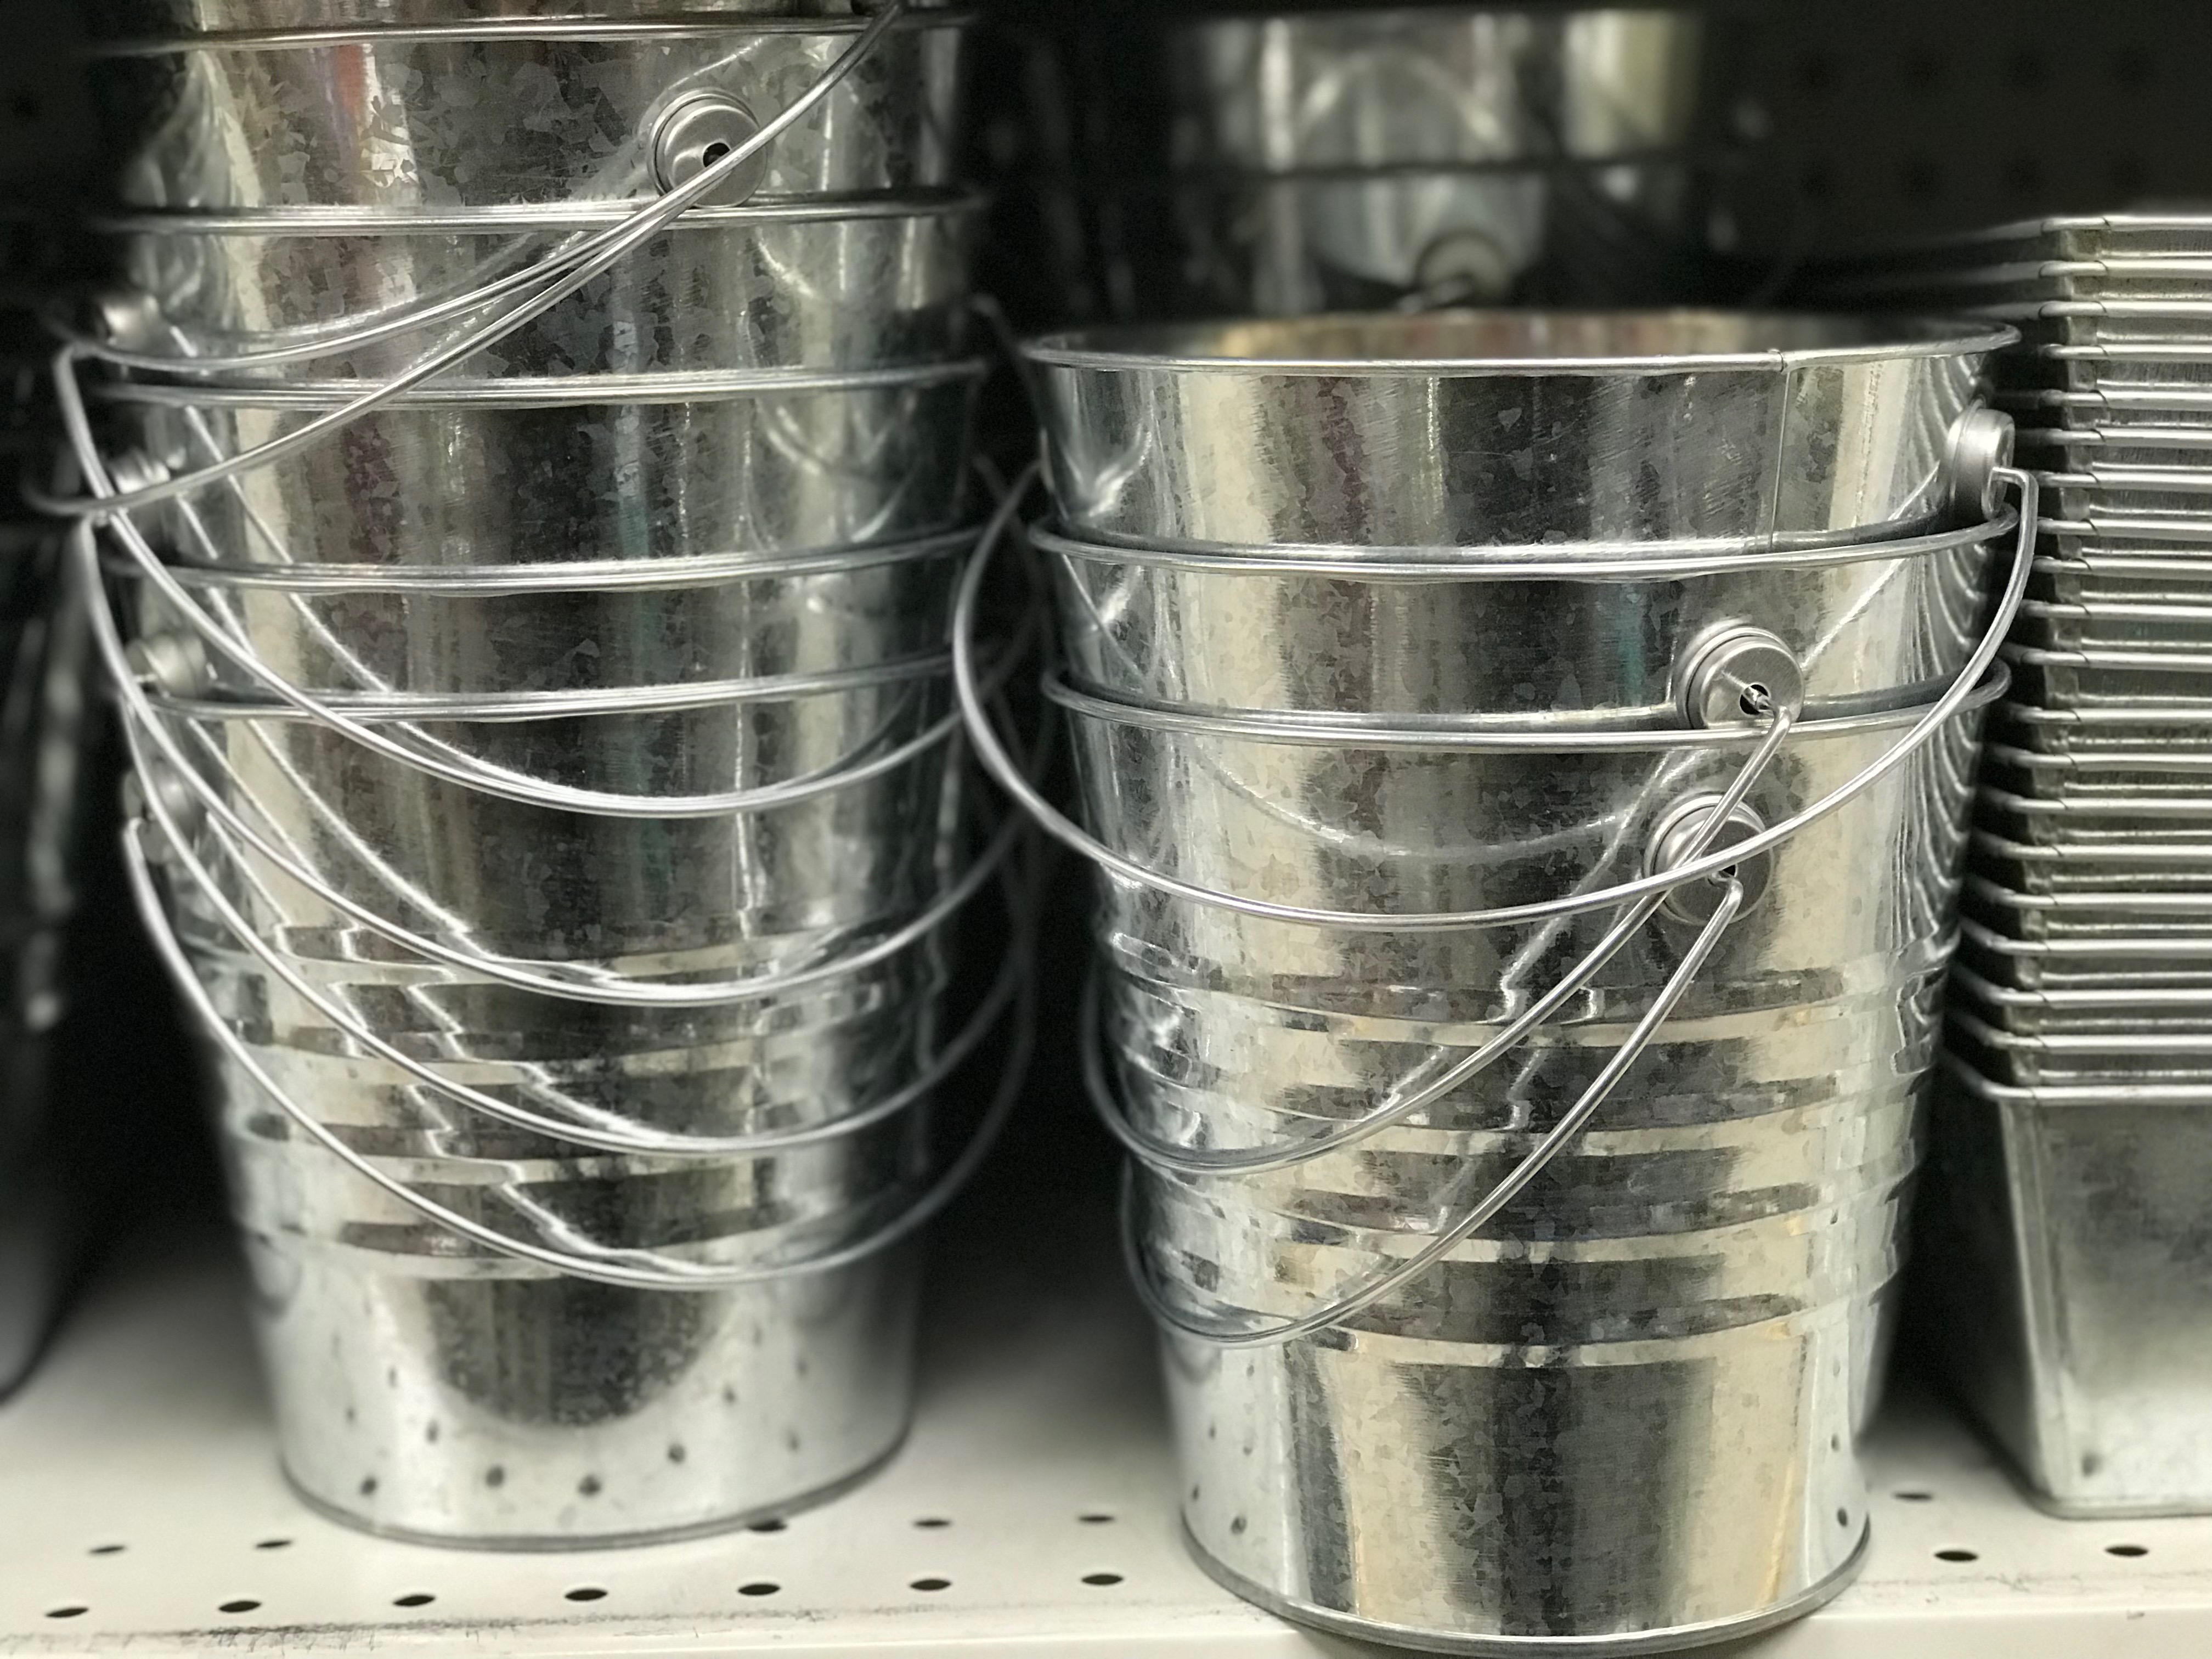
4. Galvanized Metal Buckets | Cost: $1.50
How to use them
As a compliment to glass jars, I love using galvanized metal buckets for things like dice, pencils, Sharpies, little plants {bottoms lined with rocks to avoid saturating with water}.
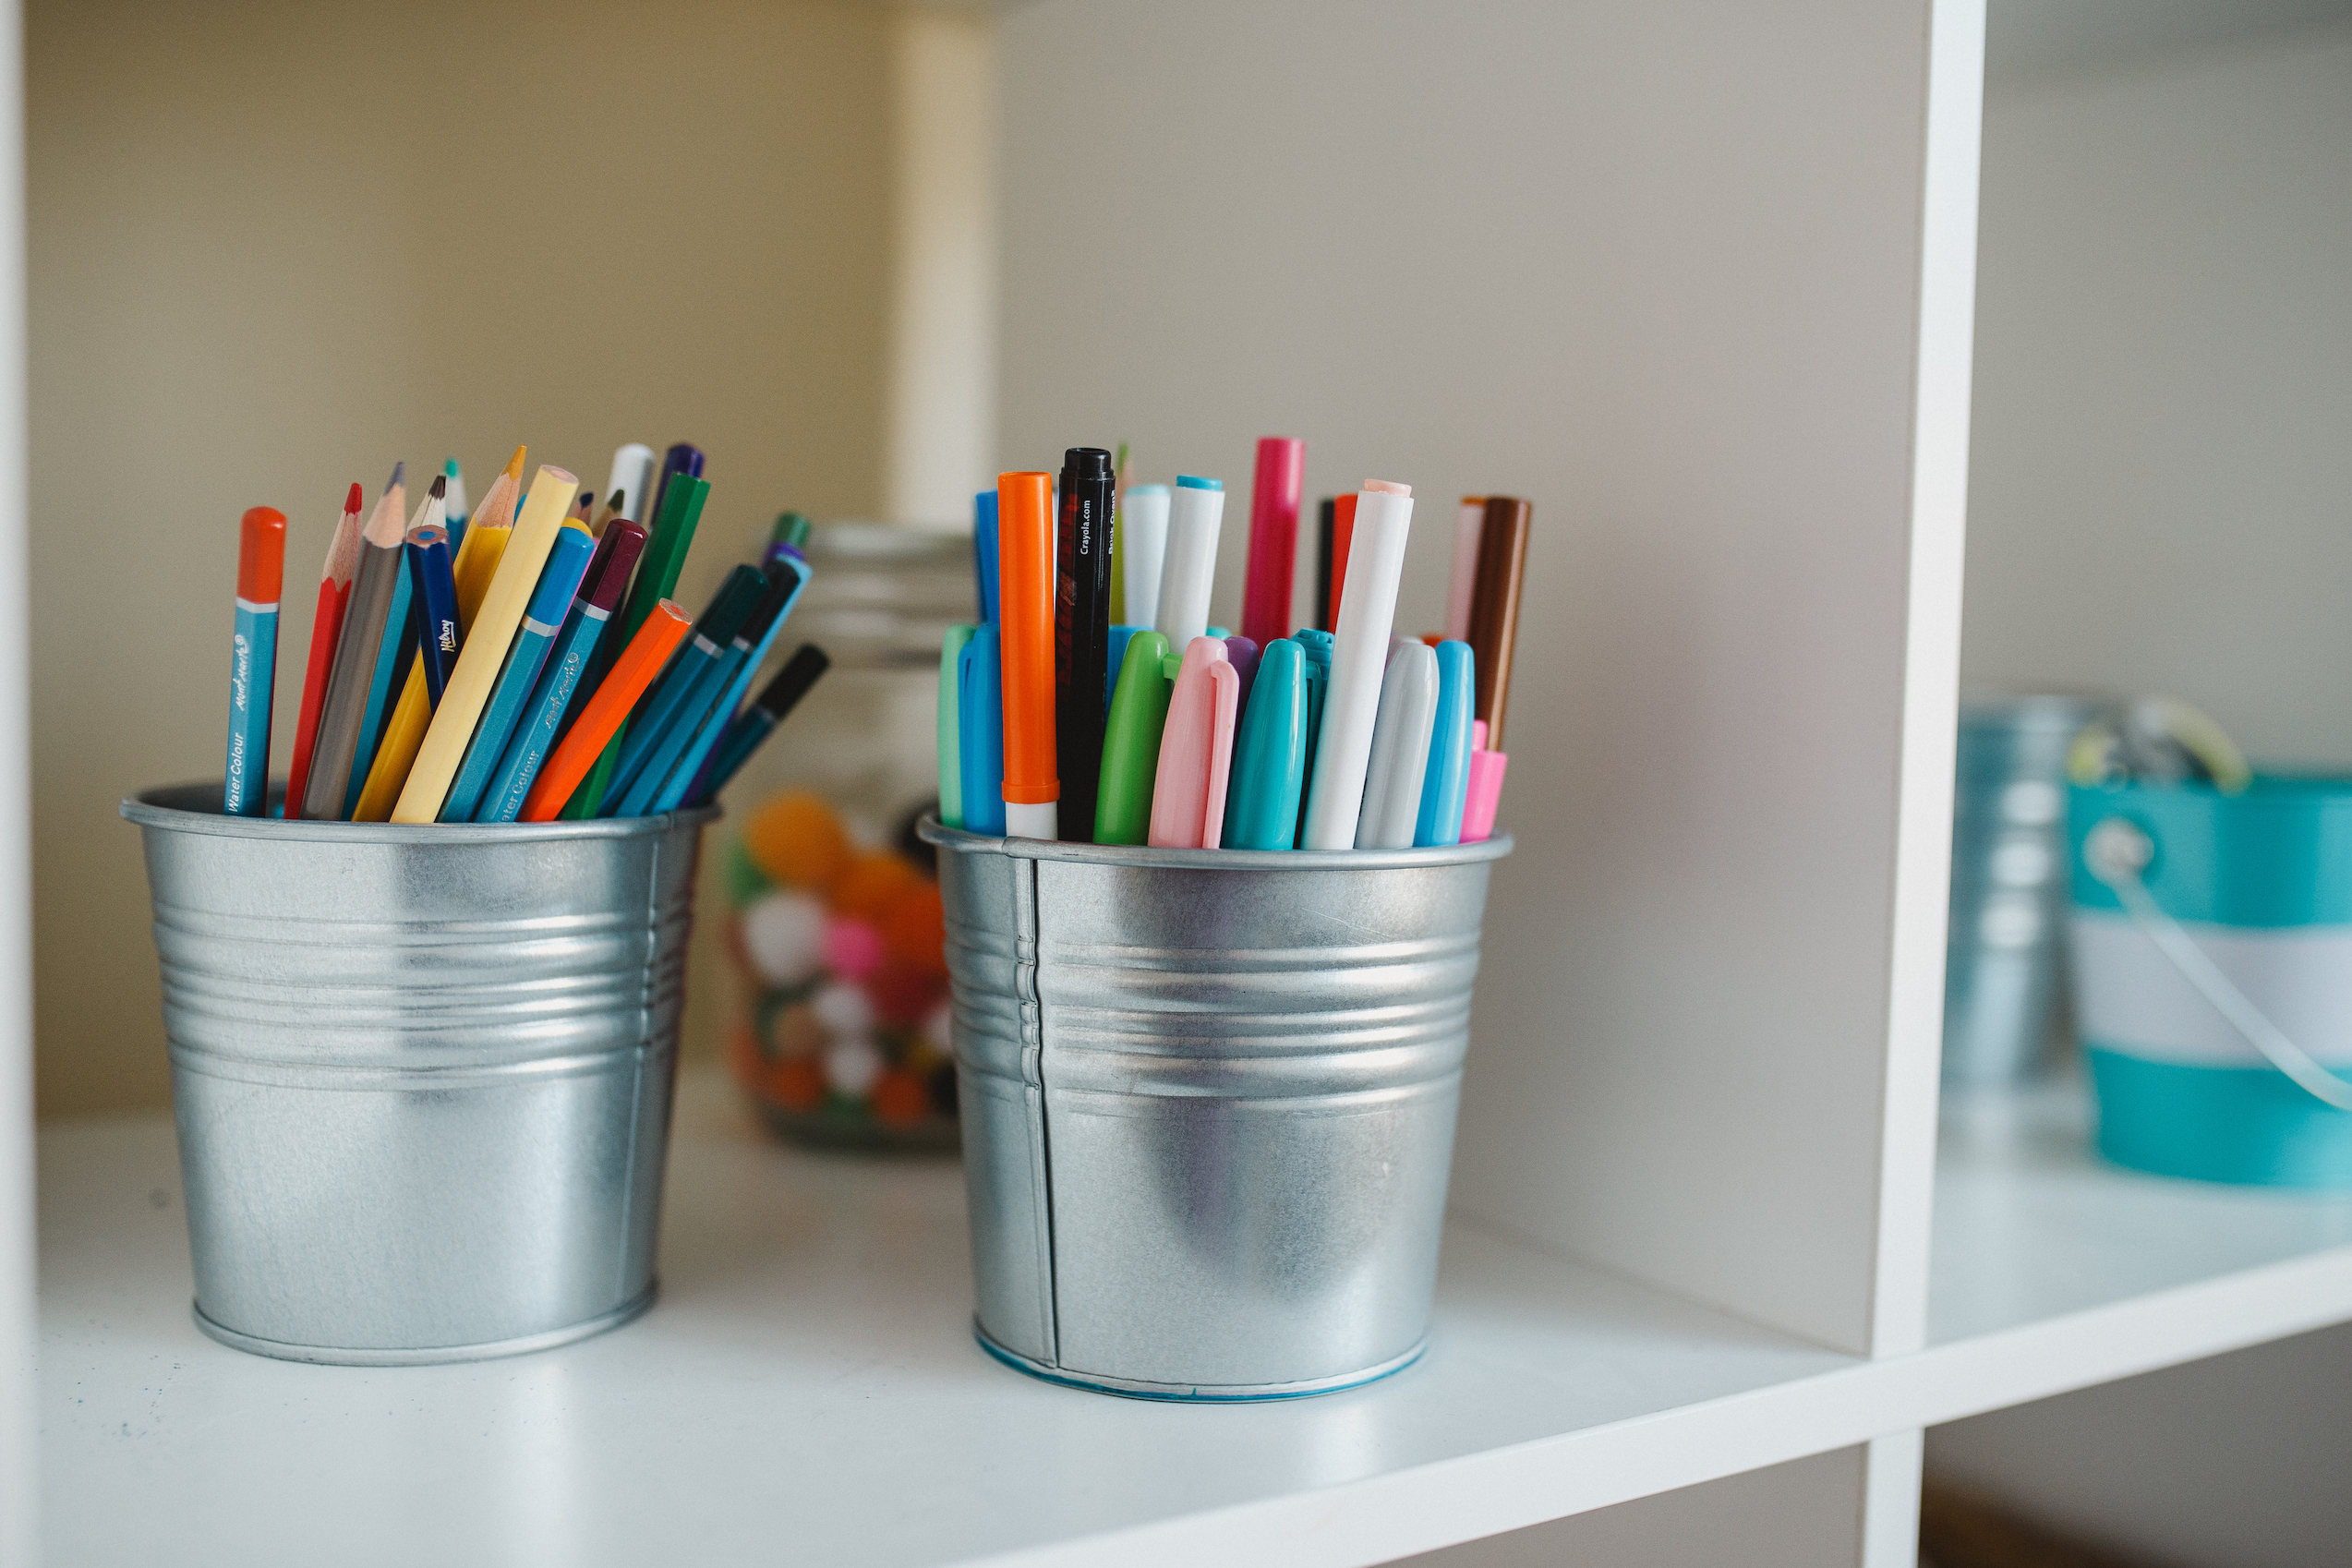
Labelling these buckets is a great way to keep your items organized, and to remind your students that yes, indeed...everything has a home. Another clever storage solution is to hang these buckets from hooks {think of your writing Centre - stamps, pens, pencils, markers, craft tools...}
5. Chalk Labels | Cost: $1.25

How to use them
Early years teachers know the importance of creating a print-rich environment, and labels are a great way to reinforce reading, but also instilling a sense of responsibility. Labels remind all learners, "A place for everything, and everything in its place."

6. Pebbles, Gems, Beads and other Loose Parts | Cost: $1.25 - $3.00
How to use them
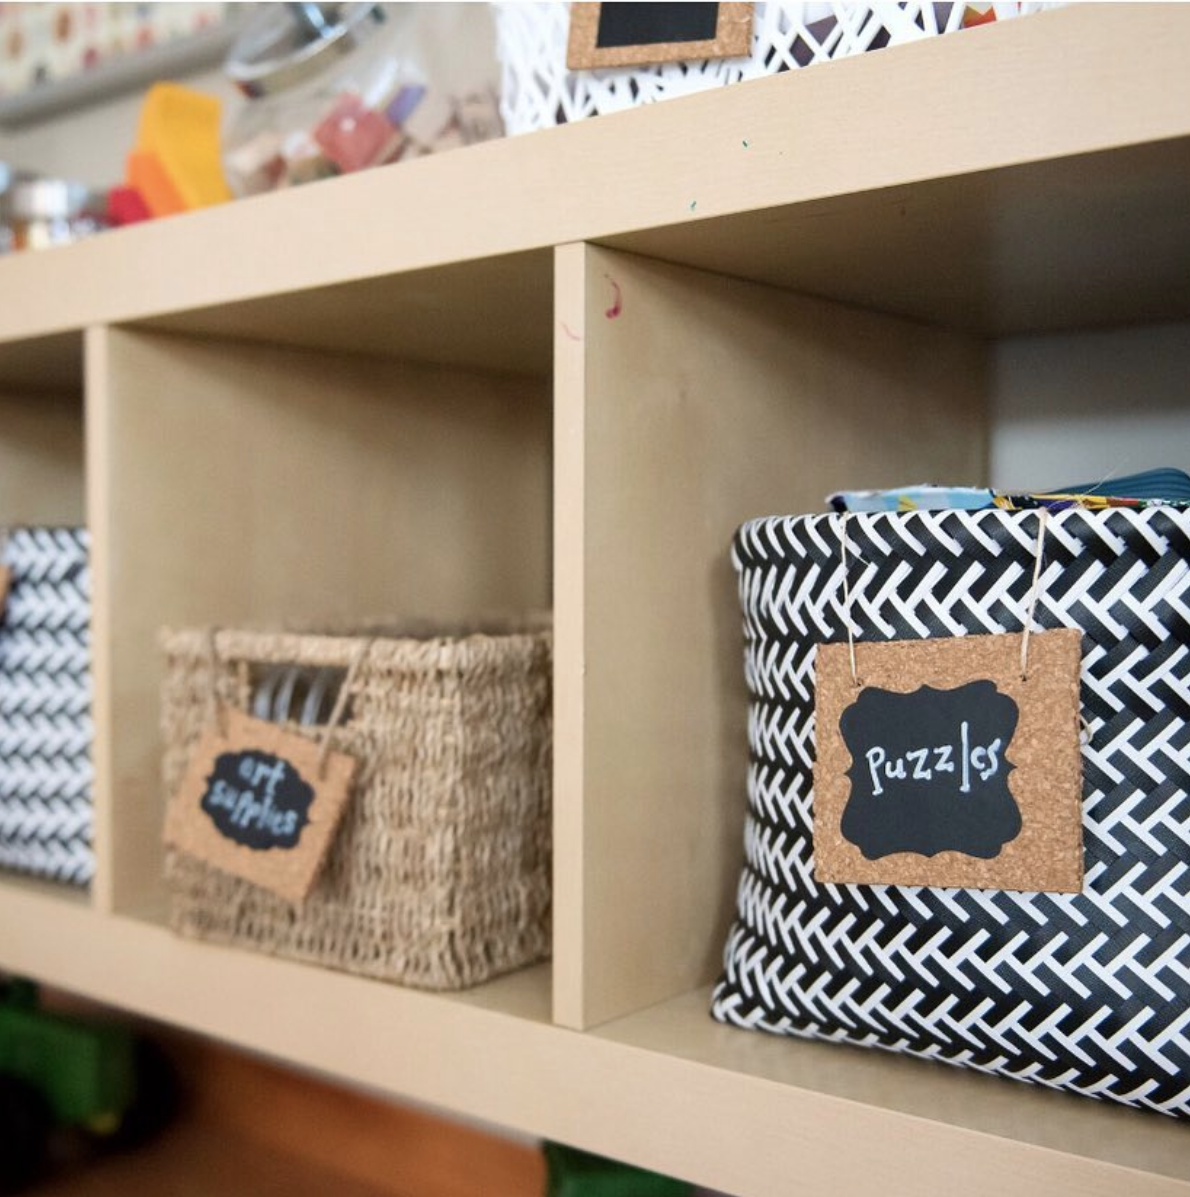
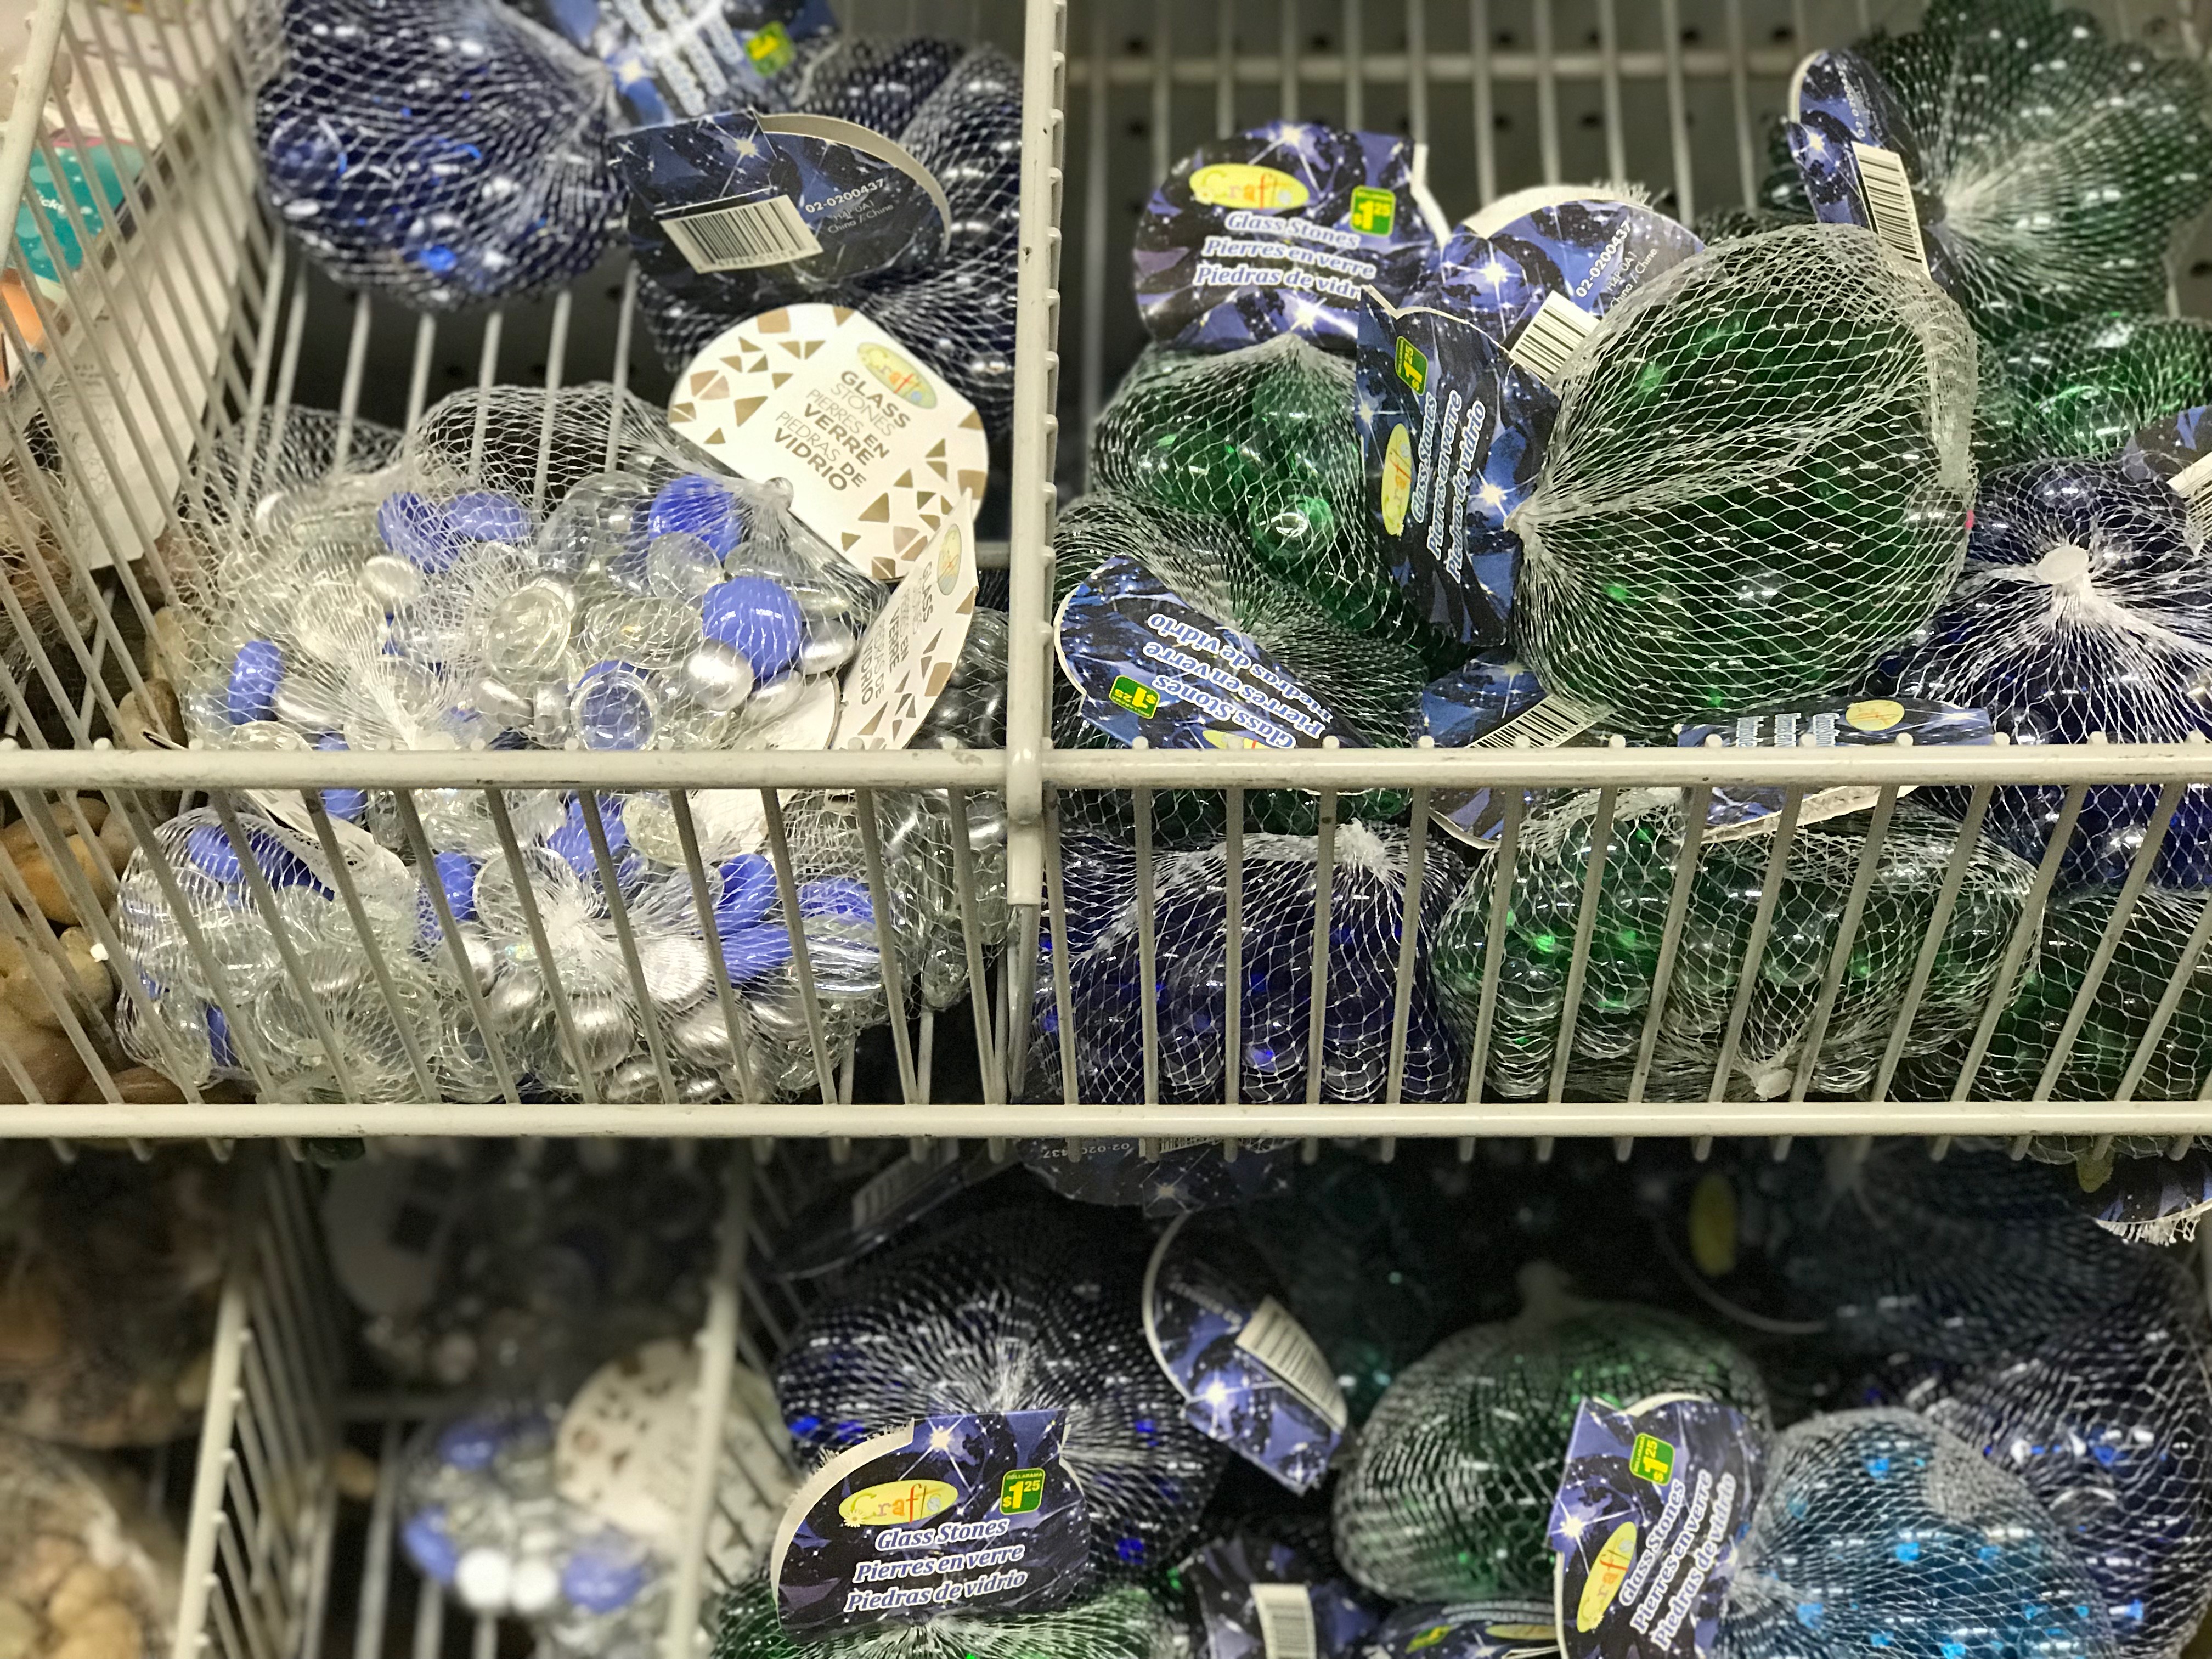
If you're Reggio-inspired already, then you've probably incorporated loose parts into your practice. I love using the dark, smooth Dollar Store pebbles for story-stones, letters and numbers, and even as math manipulatives.
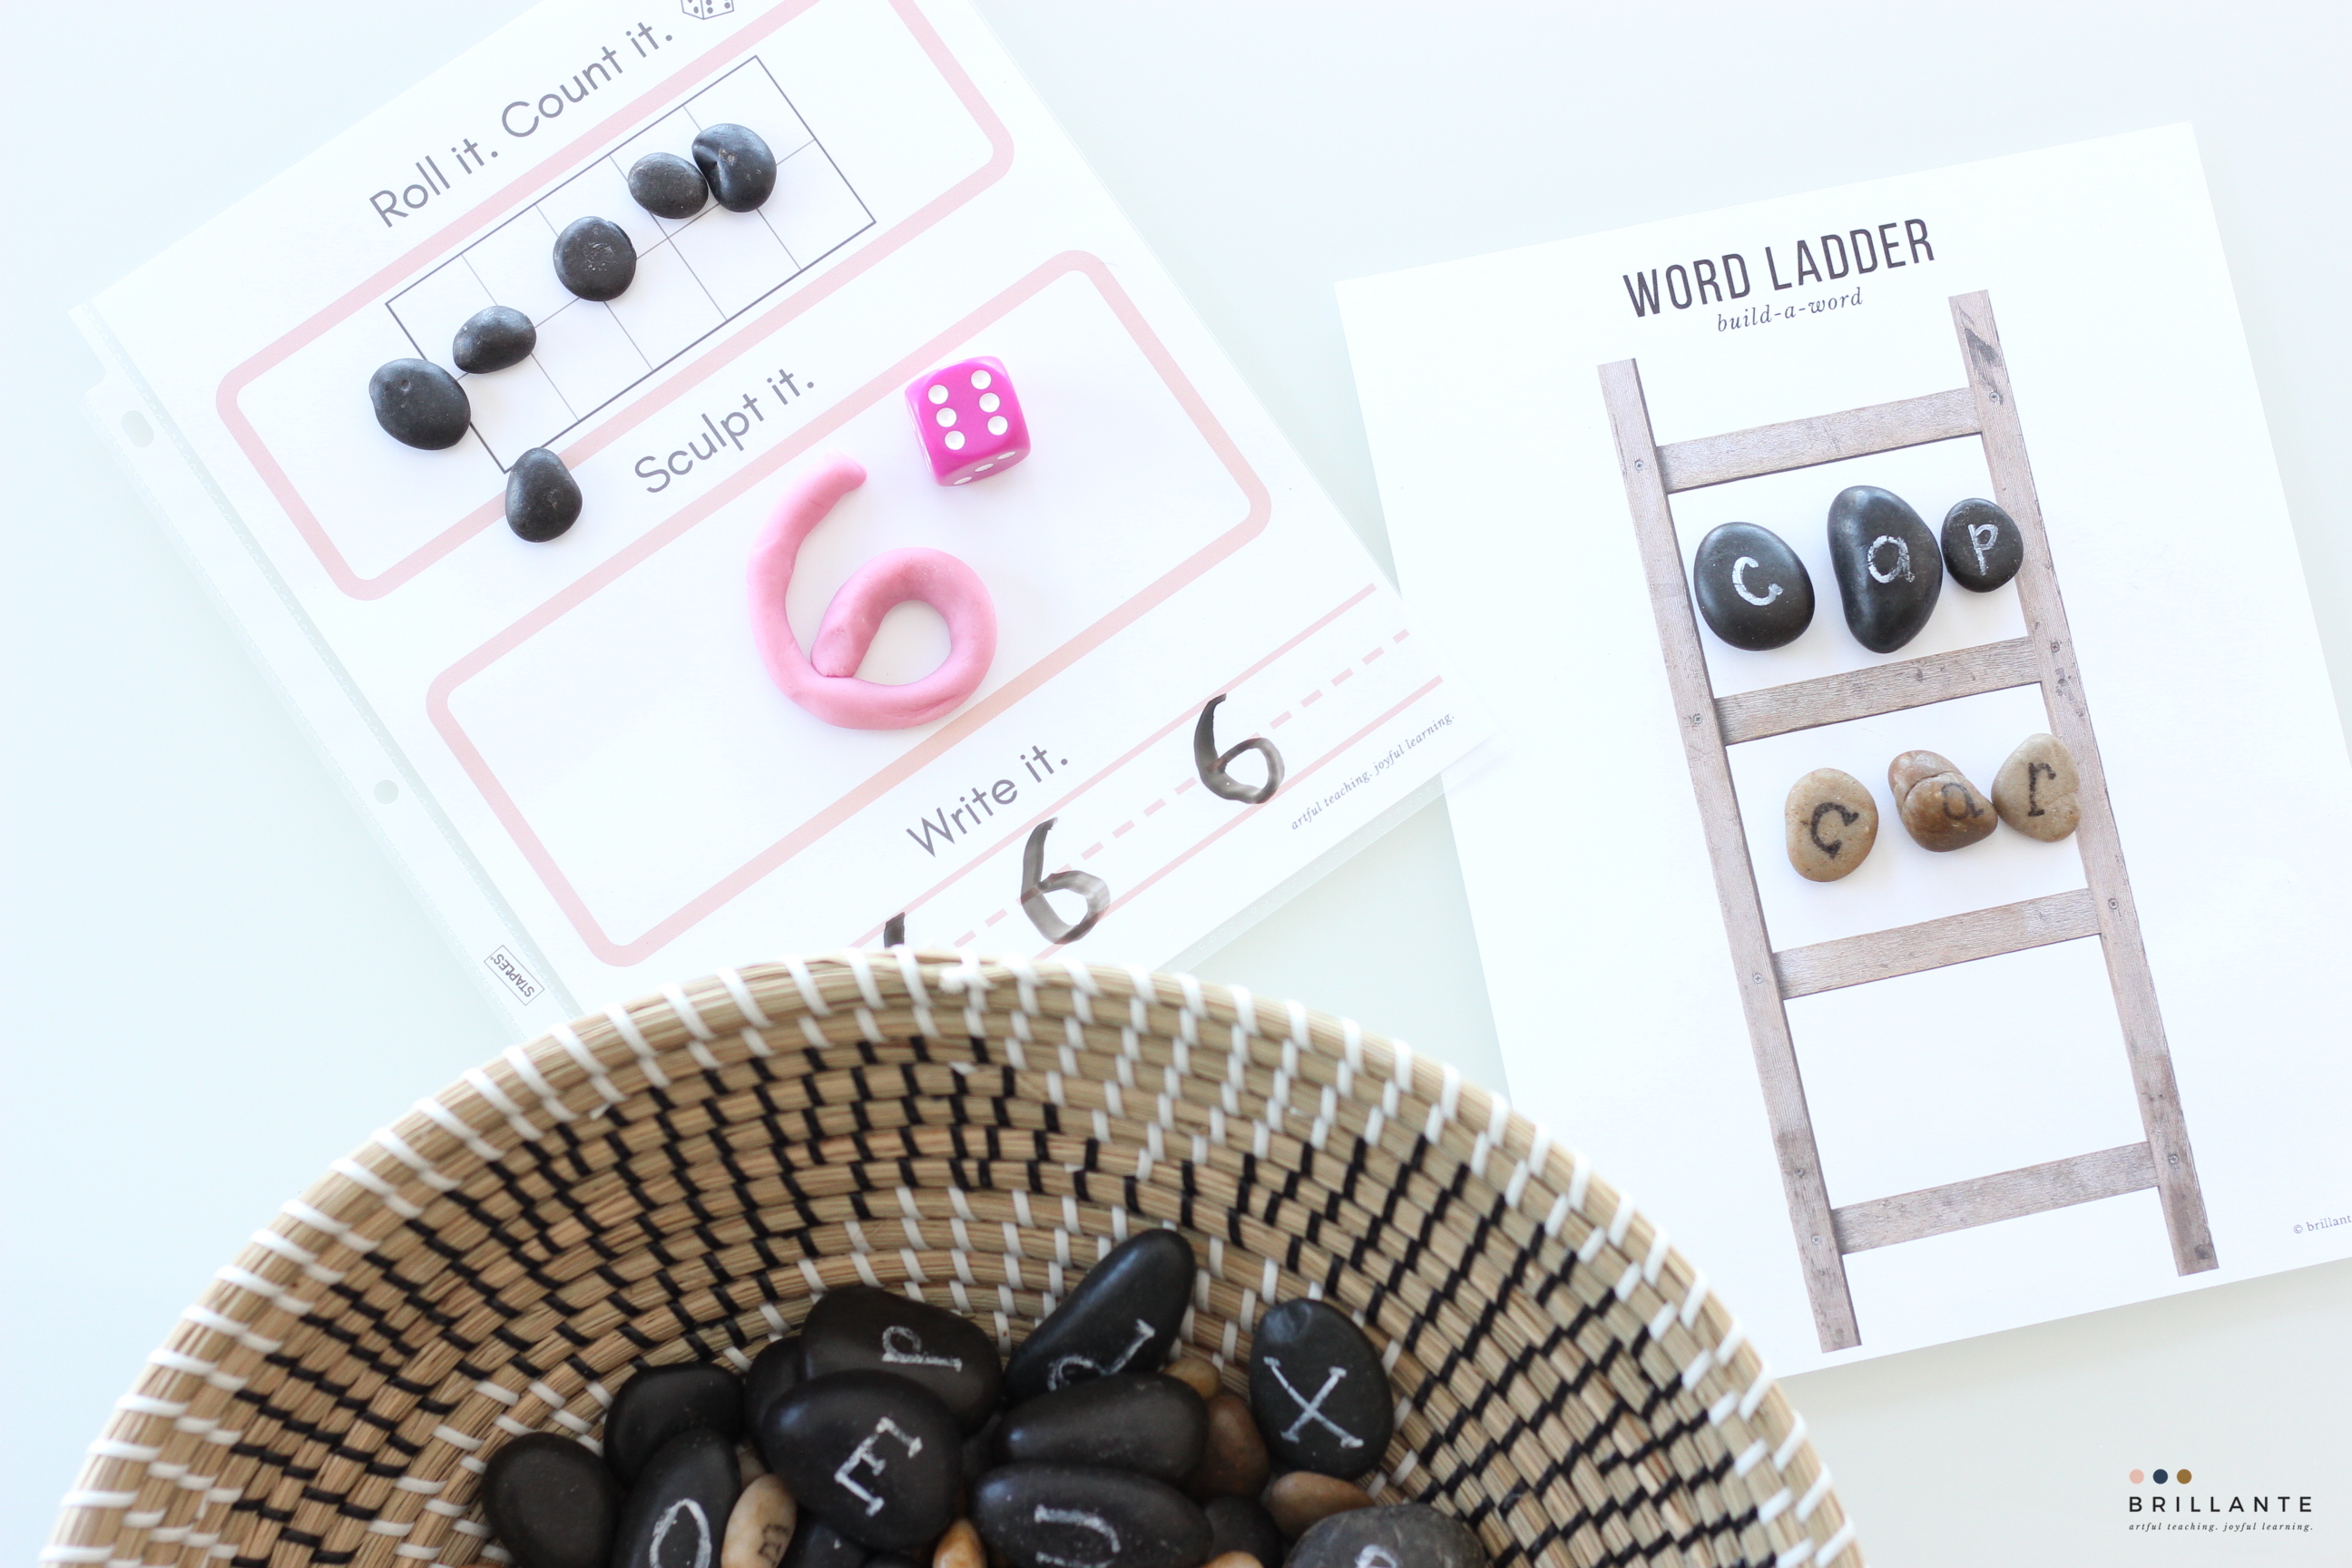
For letter and number recognition, just get a chalk marker (Available at Michaels or any craft store), and draw the numbers and letters directly on the stone. Spray with fixative (hairspray or spray varnish) to get it to stick, and not rub off.
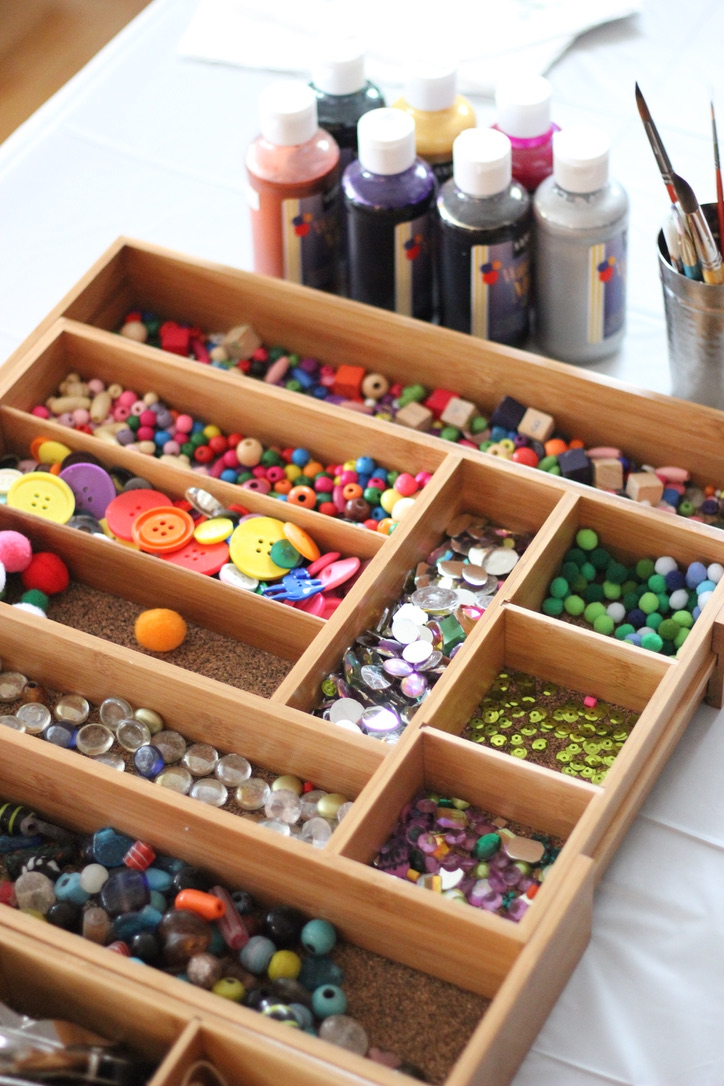
Beads, shells feathers, pom poms and gems can be used as art media, or in small-world play landscapes, created by children.
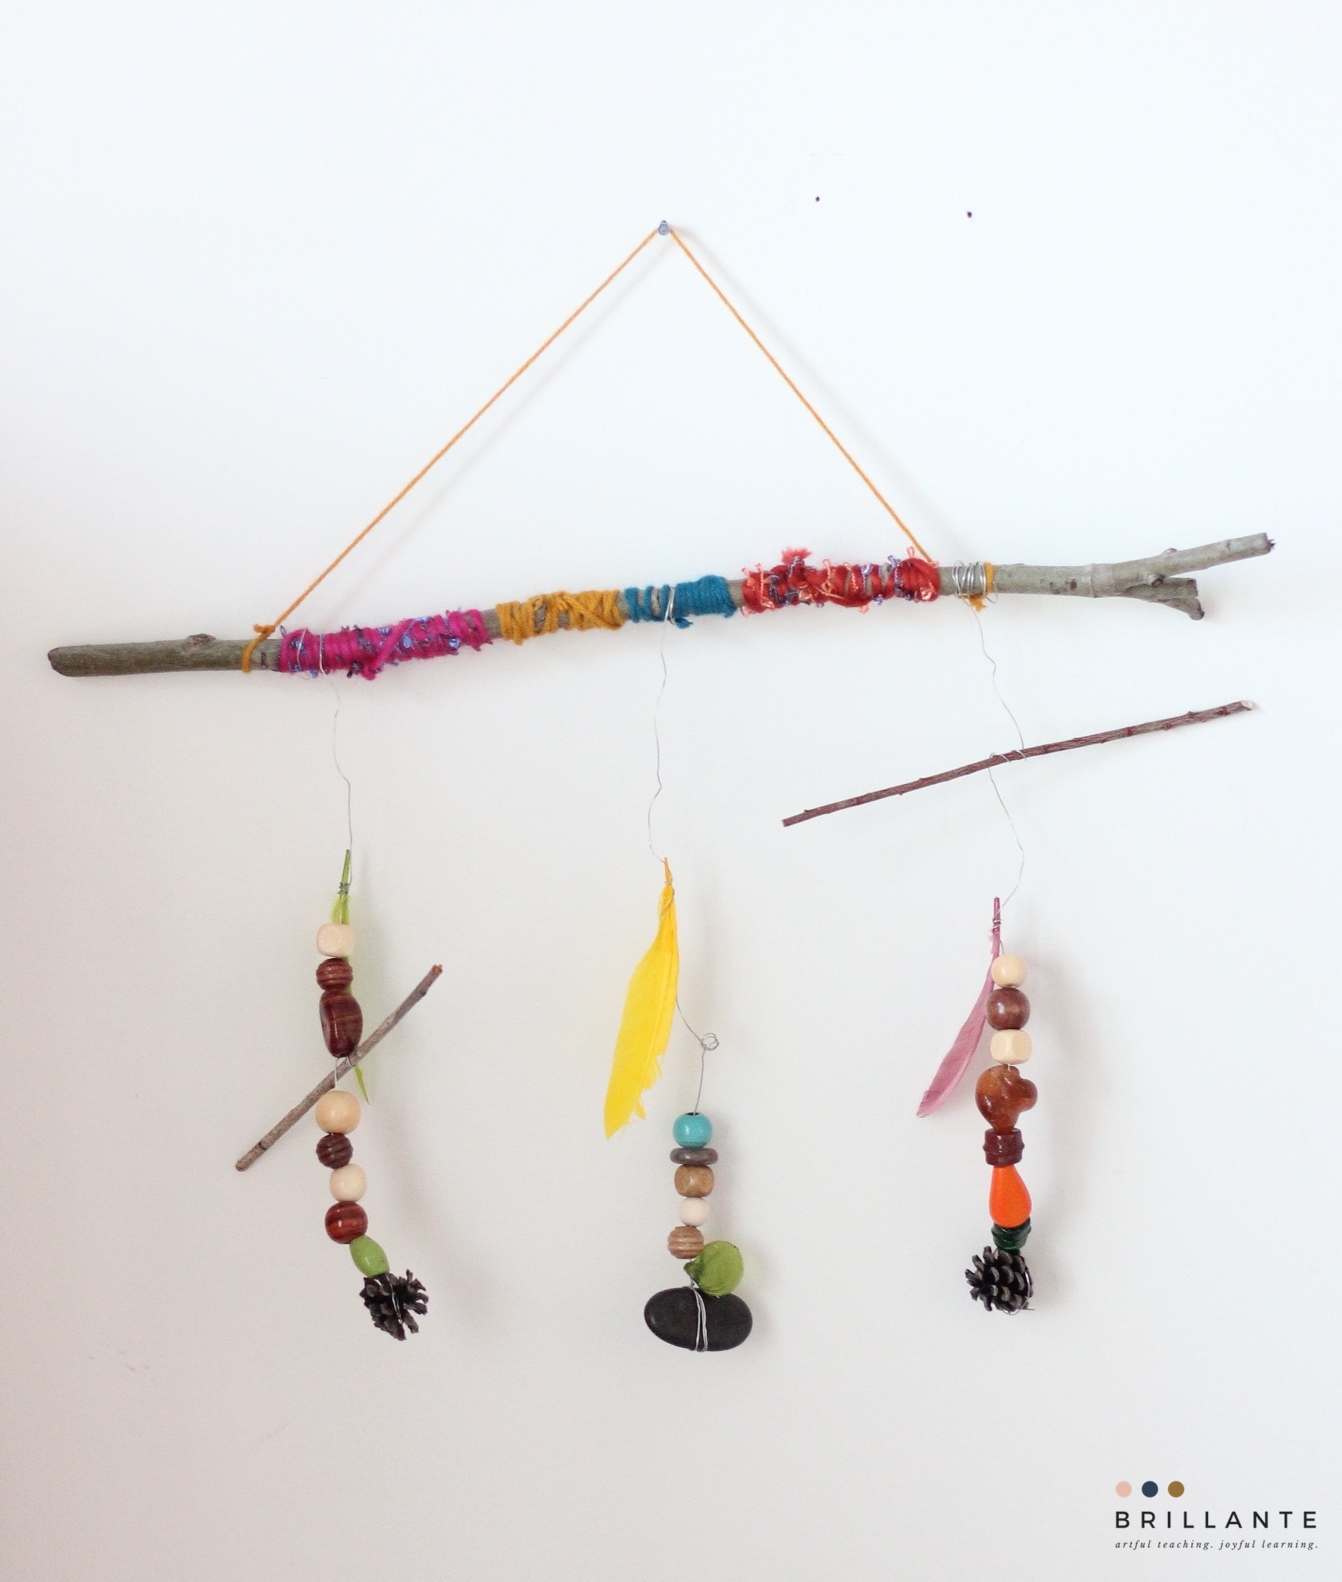
Here is a nature-inspired mobile made with a hybrid of elements from nature, as well as Dollar Store finds.
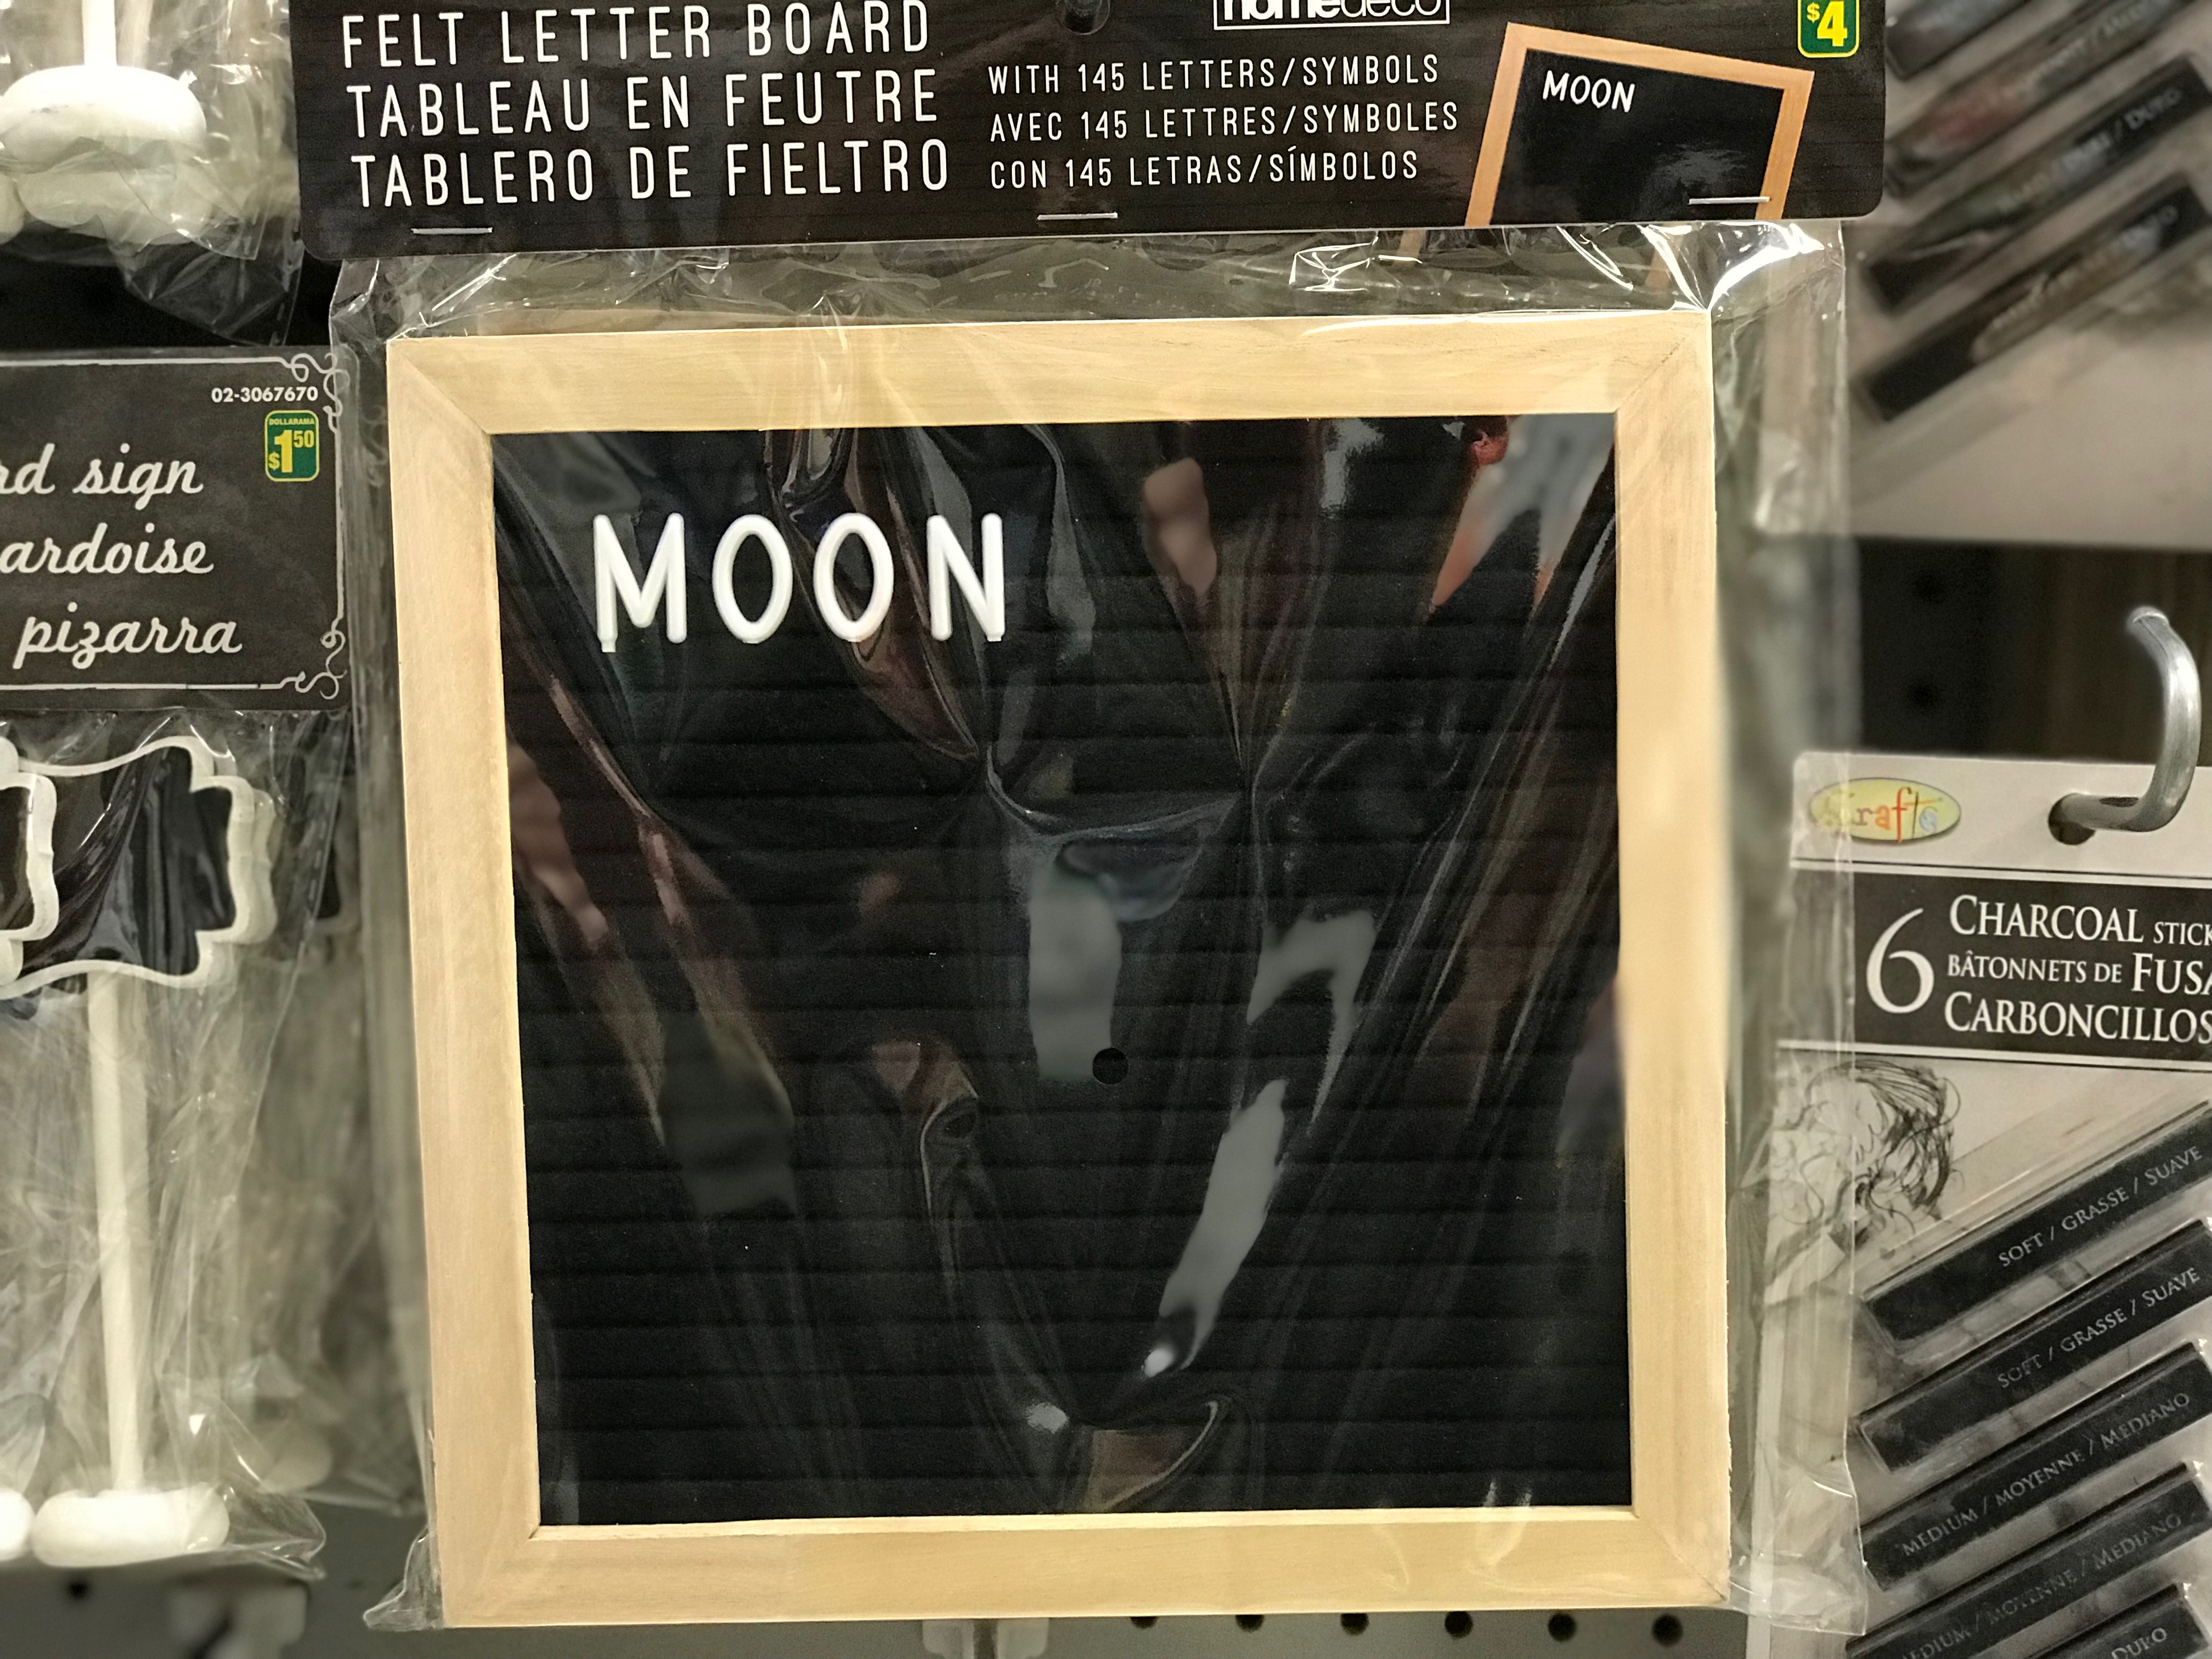
7. Mini Chalk Boards and Letter Boards | Cost: $1.25 - $4.00
How to use them
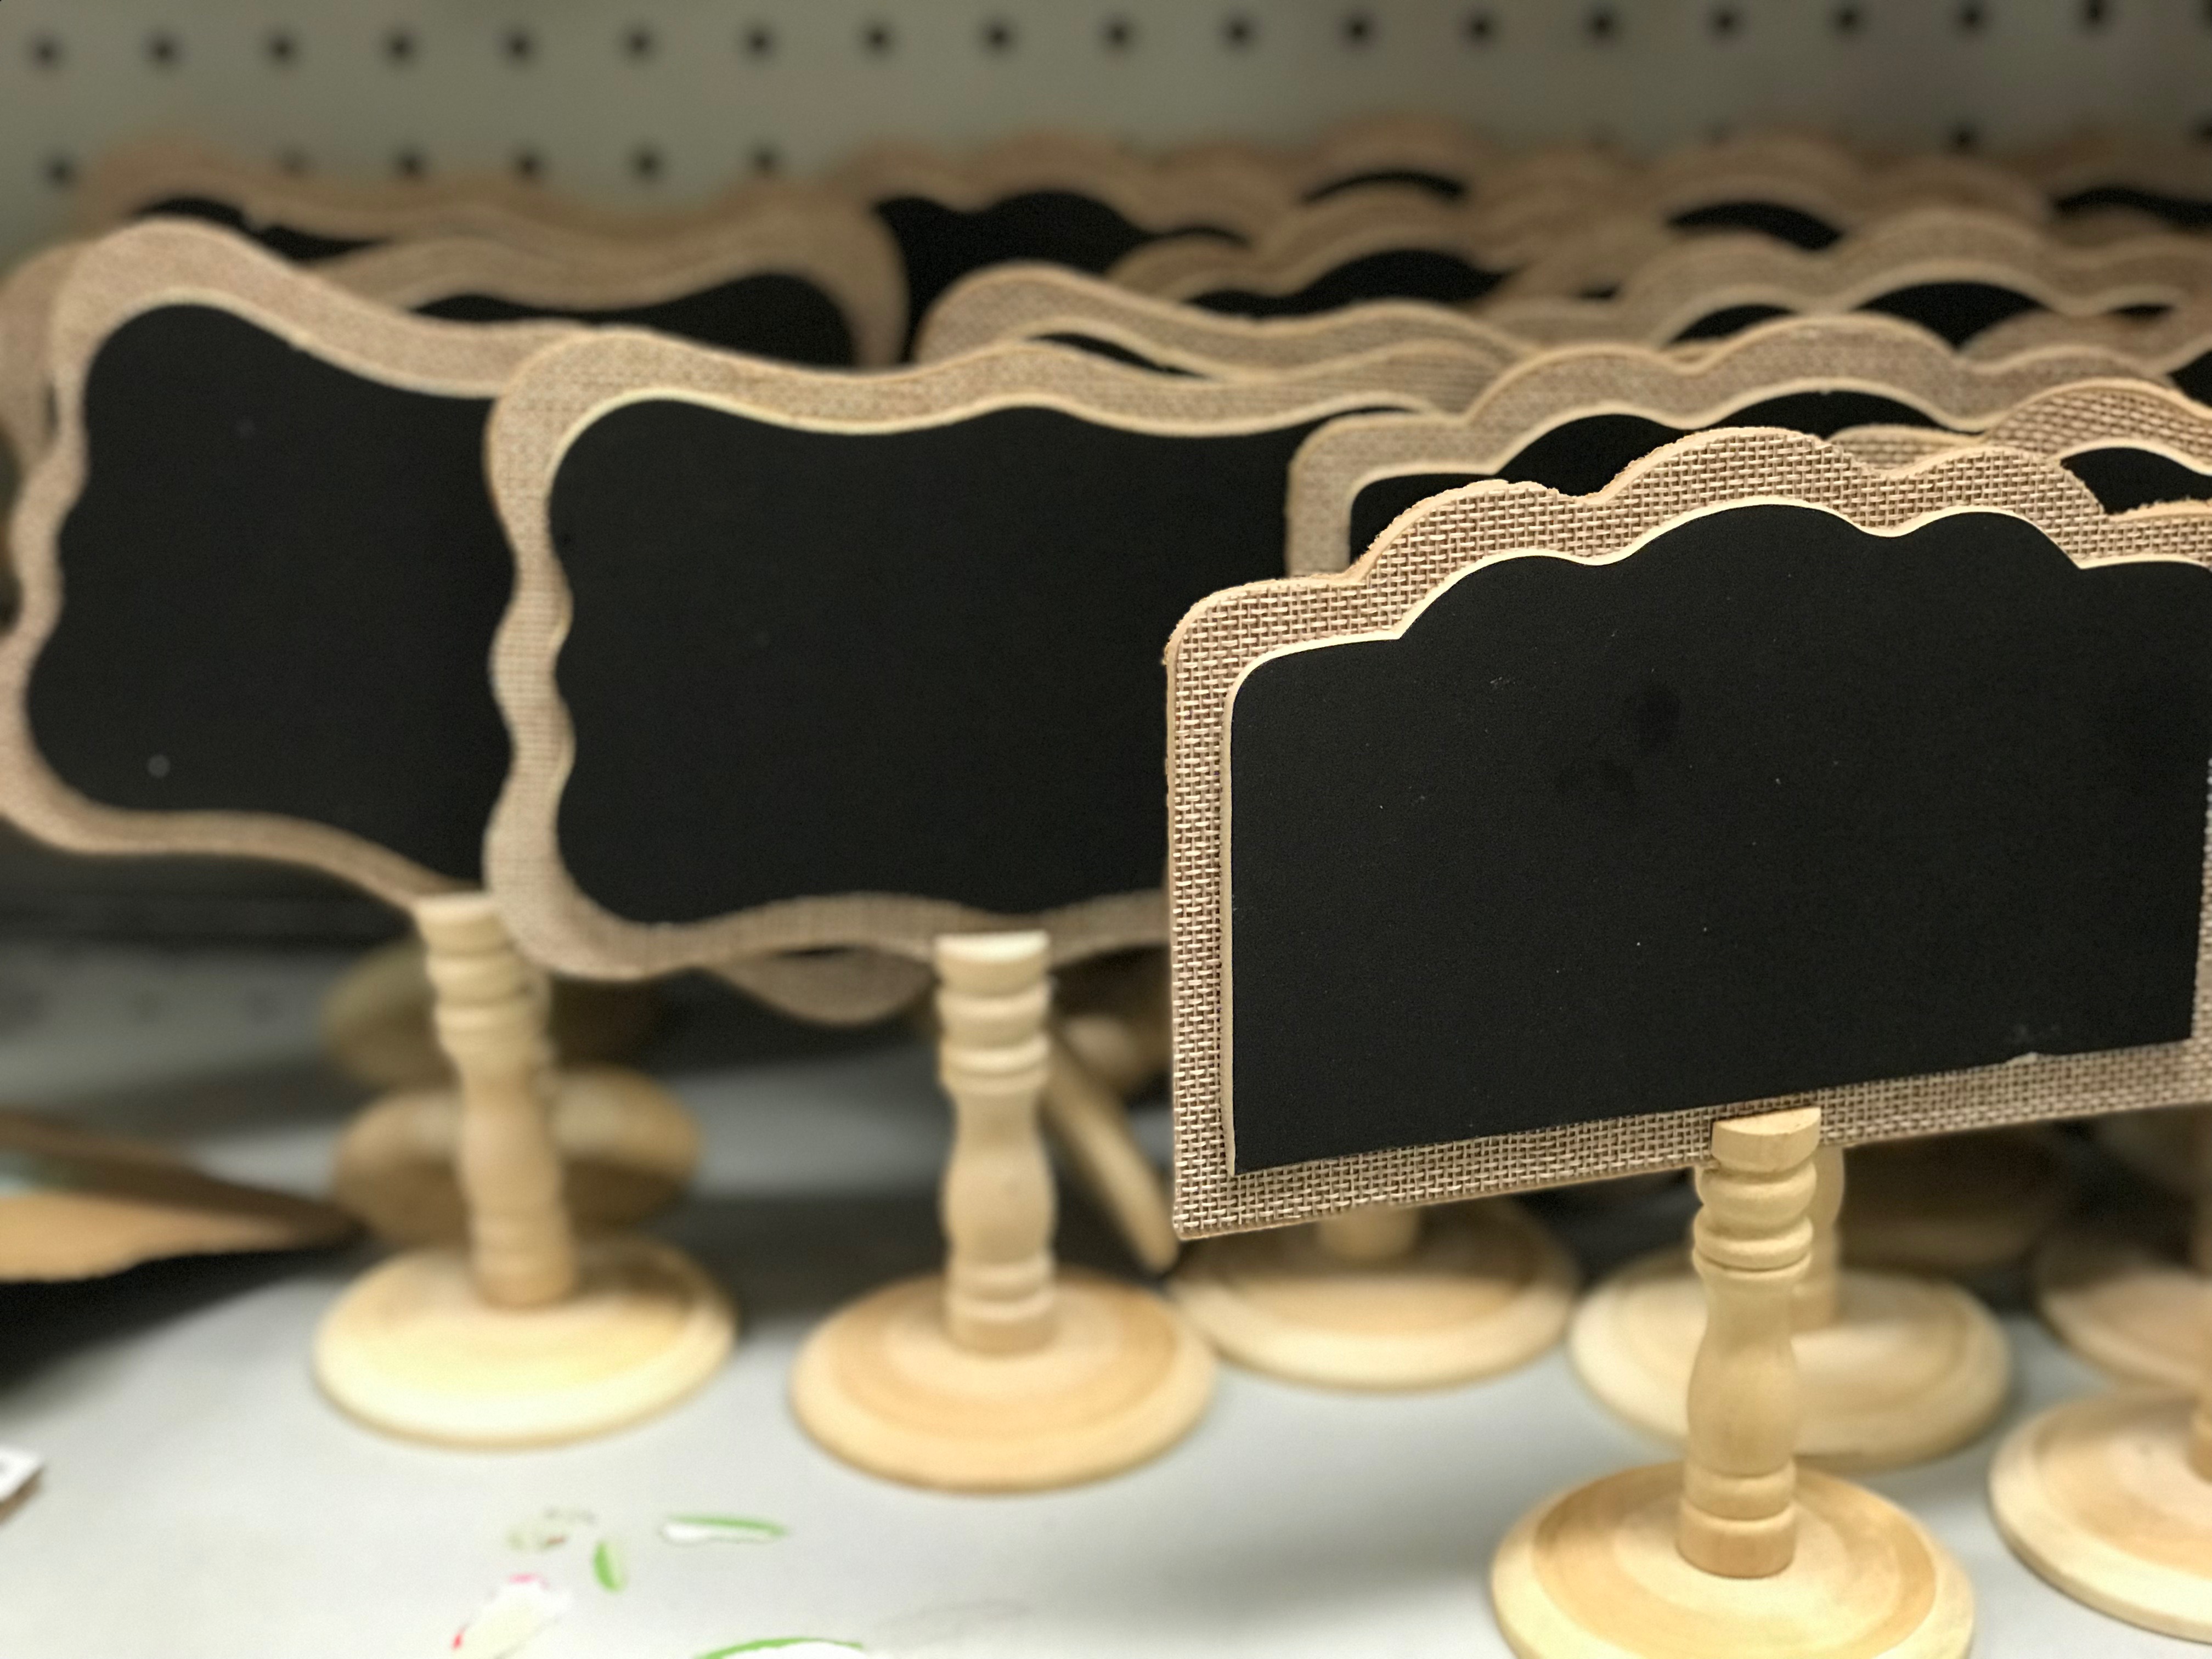
Oh.... the Dollar Store has come a LONG way. These fun little chalkboard stands and Yes! I said Letter Boards are the perfect way to draw your little learner in to a provocation or invitation to learn.

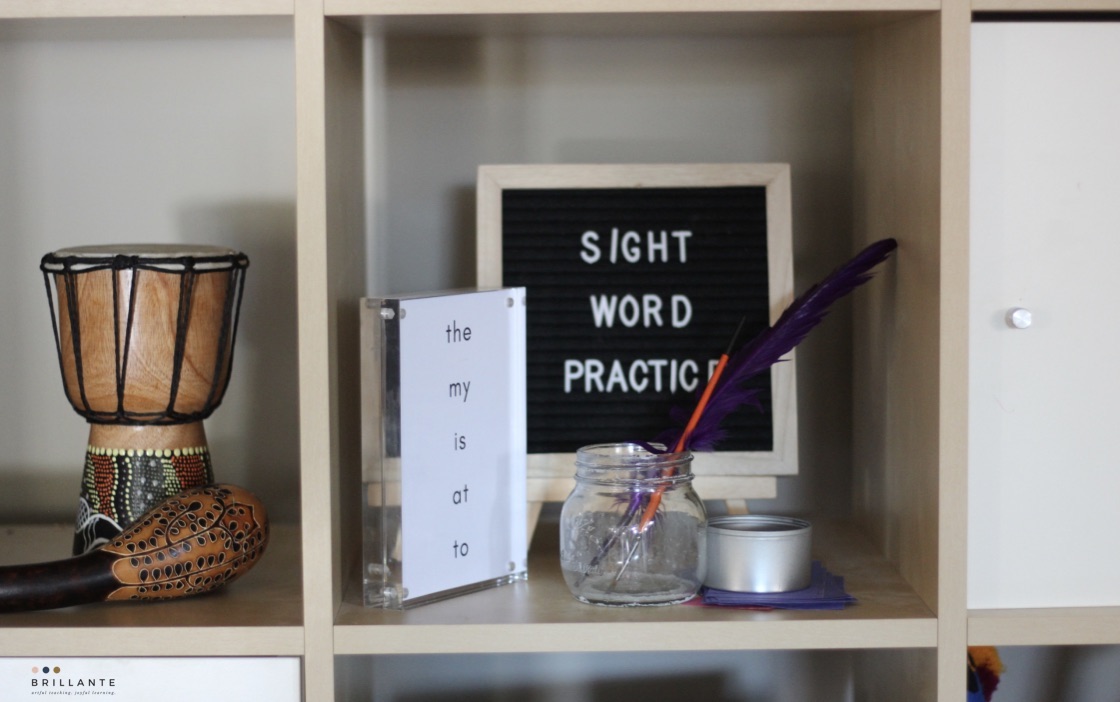
Letter Boards can be used in so many ways... Simple survey question for students as they enter in the morning {graph and chart responses: Do you like dogs or cats?}; a way to play with letters and sight words {have the students photograph them and their work as a selfie!}; or a simple invitation that stays put at a centre, like this one:
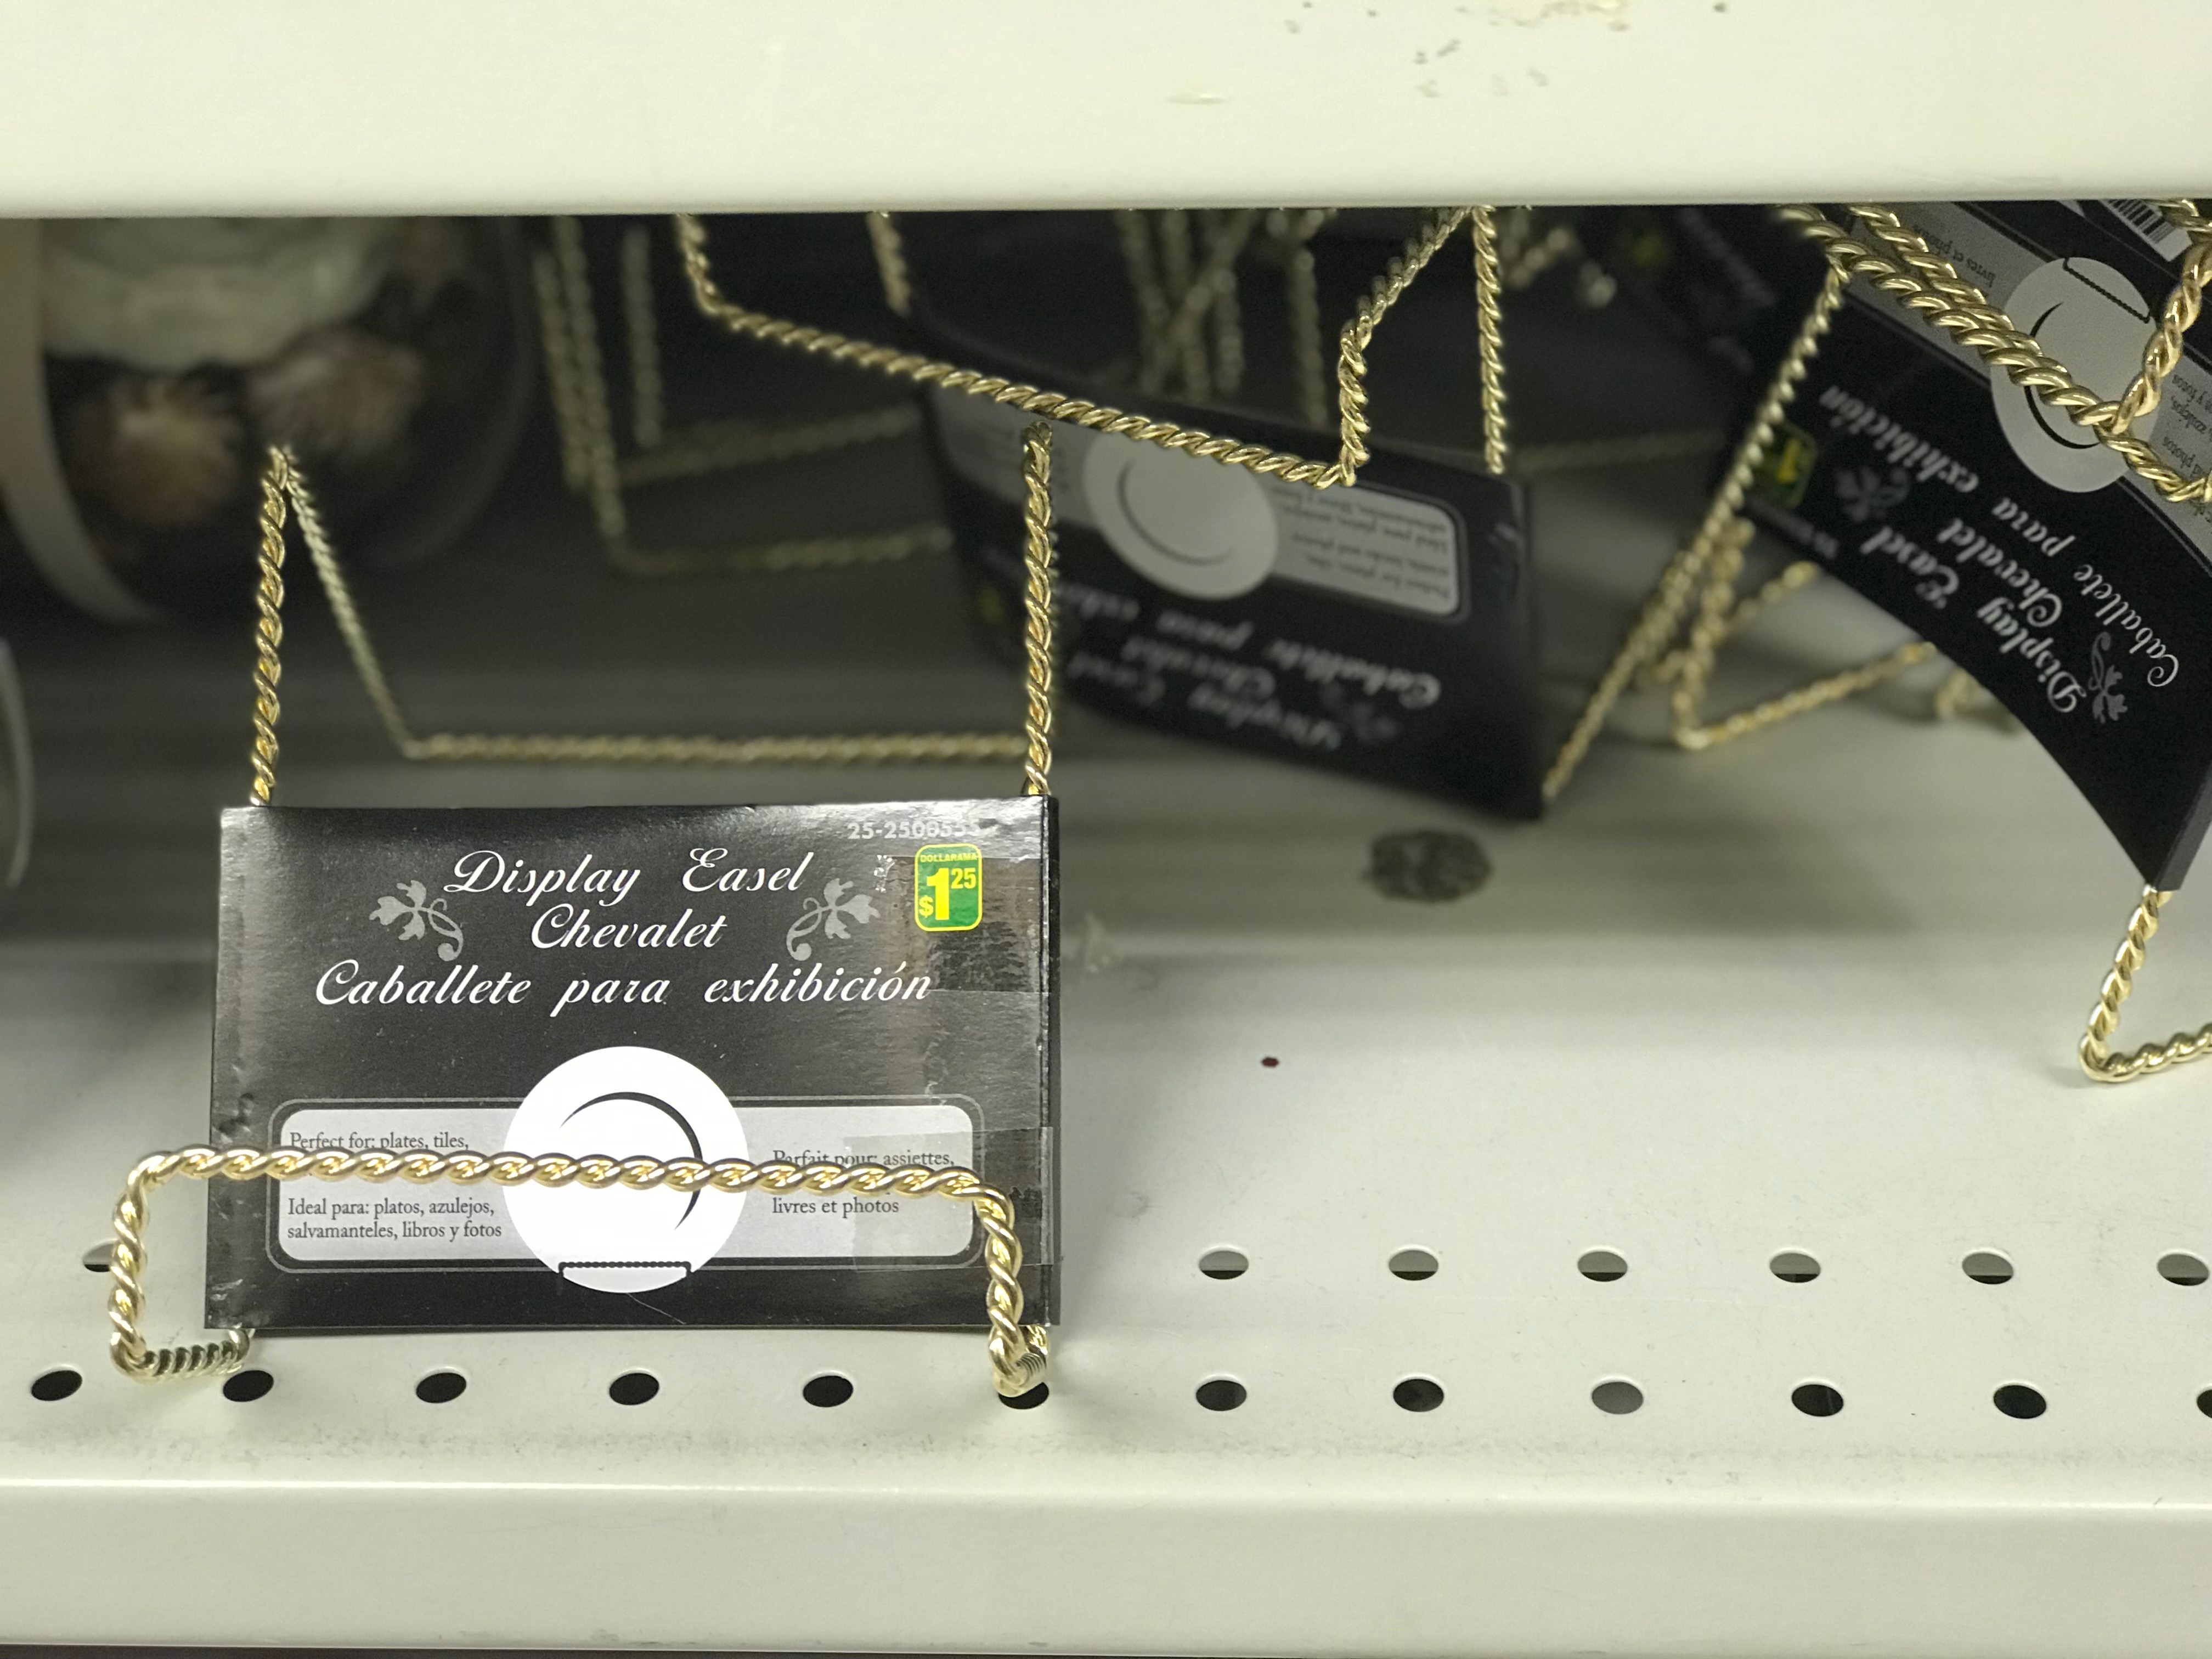
8. Book Stand / Easel | Cost: $1.25
How to use them
Inspiring books placed intentionally at each learning centre infuse literacy throughout the classroom. Books about structures and buildings placed in the Construction Zone, books about artists and fictional art stories placed in the Art Centre, and even recipe books placed at the Housekeeping Centre are wonderful ways to weave reading into play.
I love how Bela so thoughtfully pairs this story on her bookstand with her beautiful arrangement of authentic musical instruments.
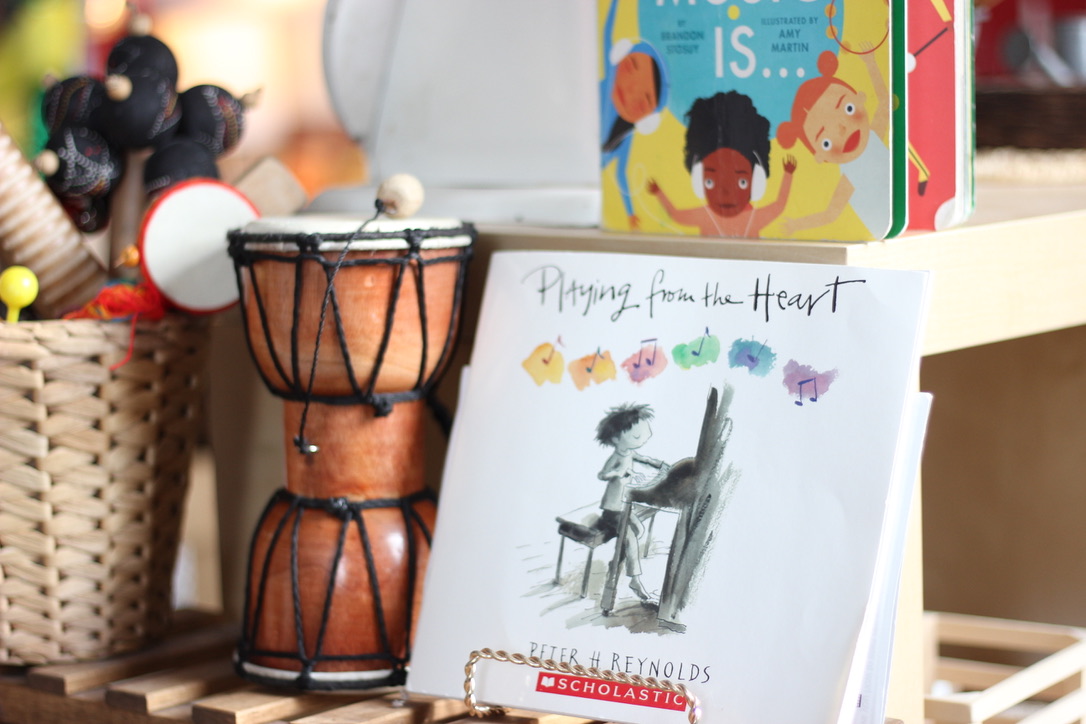
Photo of Bela Luis' classroom
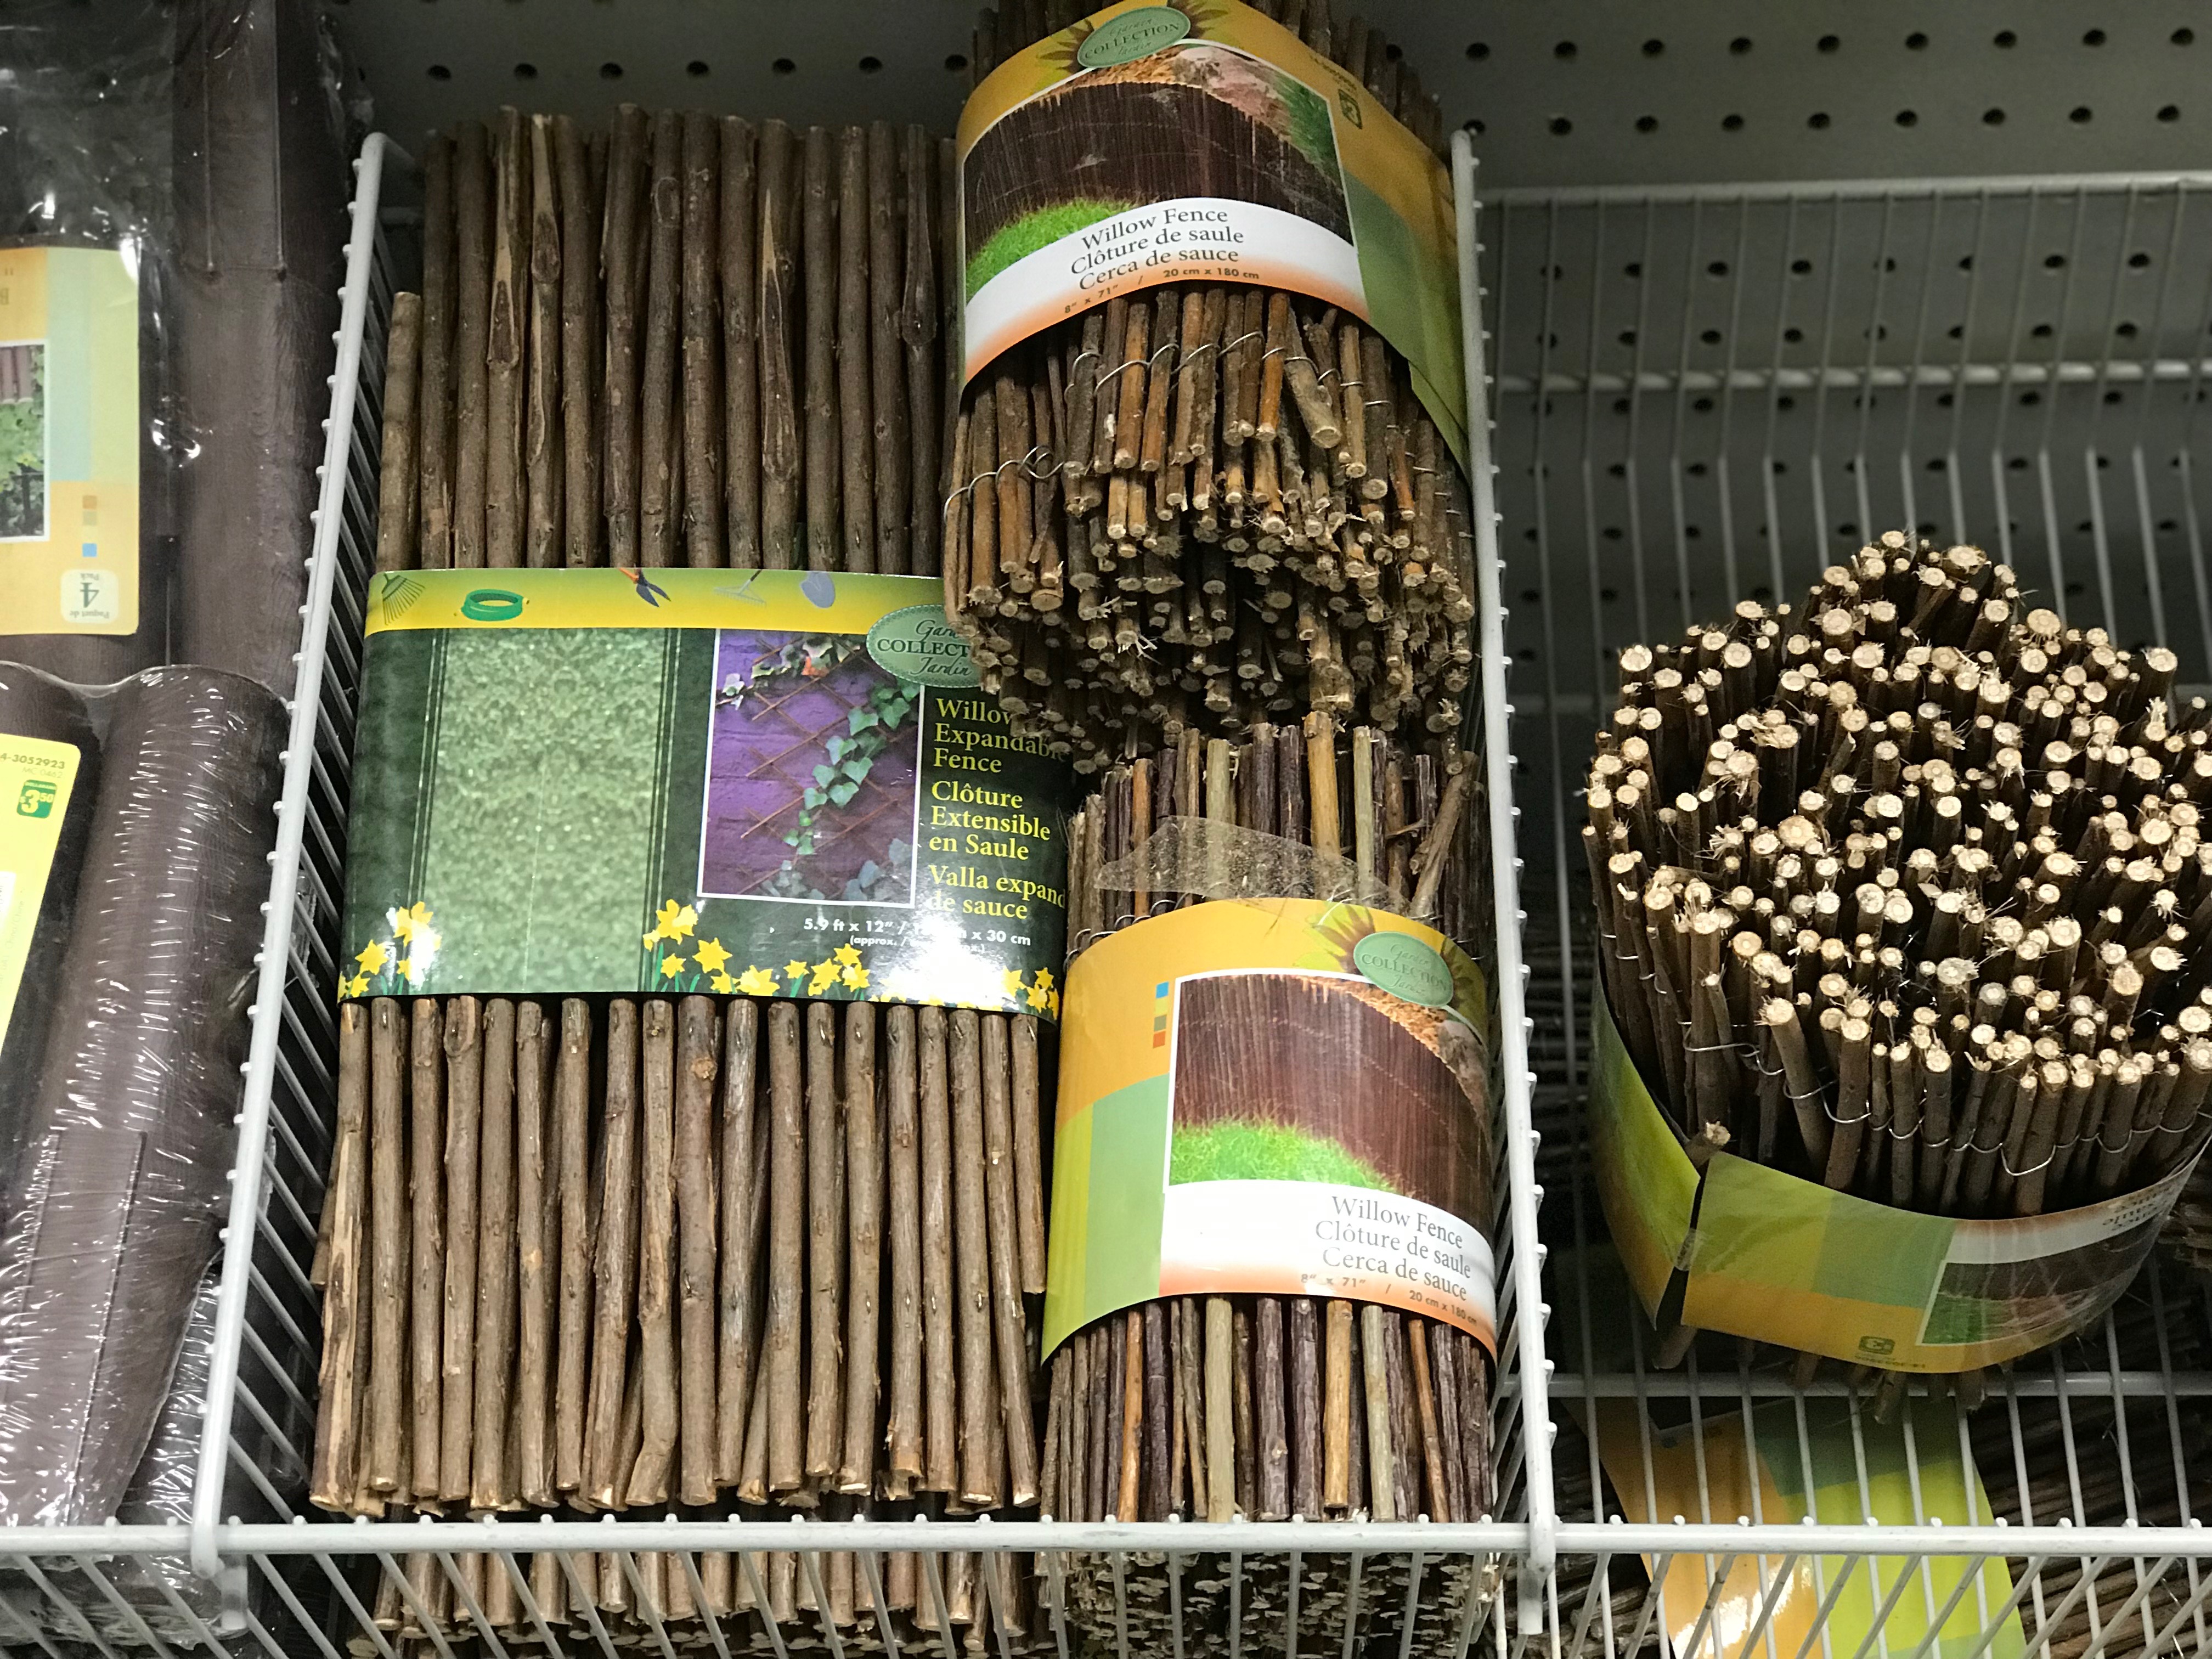
9. Willow Expandable Fence | Cost: $3.00
How to use them
These willow fences make great room dividers, and create separation between learning centres. Defining space is important because it slows children down, helping them to be intentional about the purpose of each "zone," and allows opportunities for small group work, individual learning and whole class instruction. Dividers can also visually map out quieter zones {writing, manipulative play} from louder or messier zones {construction/dramatic play and sensory}. *This hack is especially for the classroom teachers reading this blog post!*
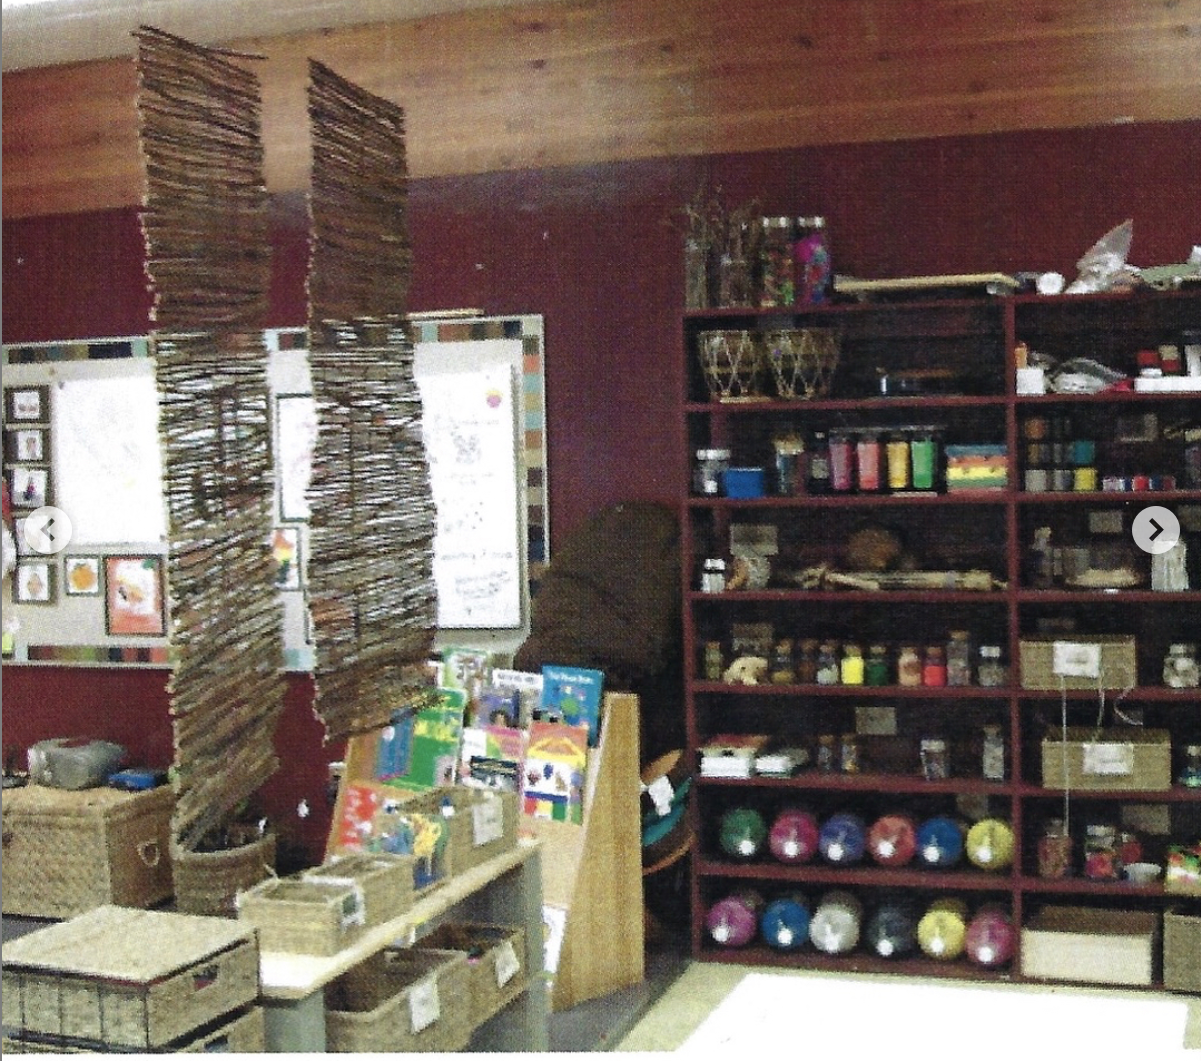
An old photo of my classroom with willow dividers, dividing the writing centre from the whole-group instruction area.
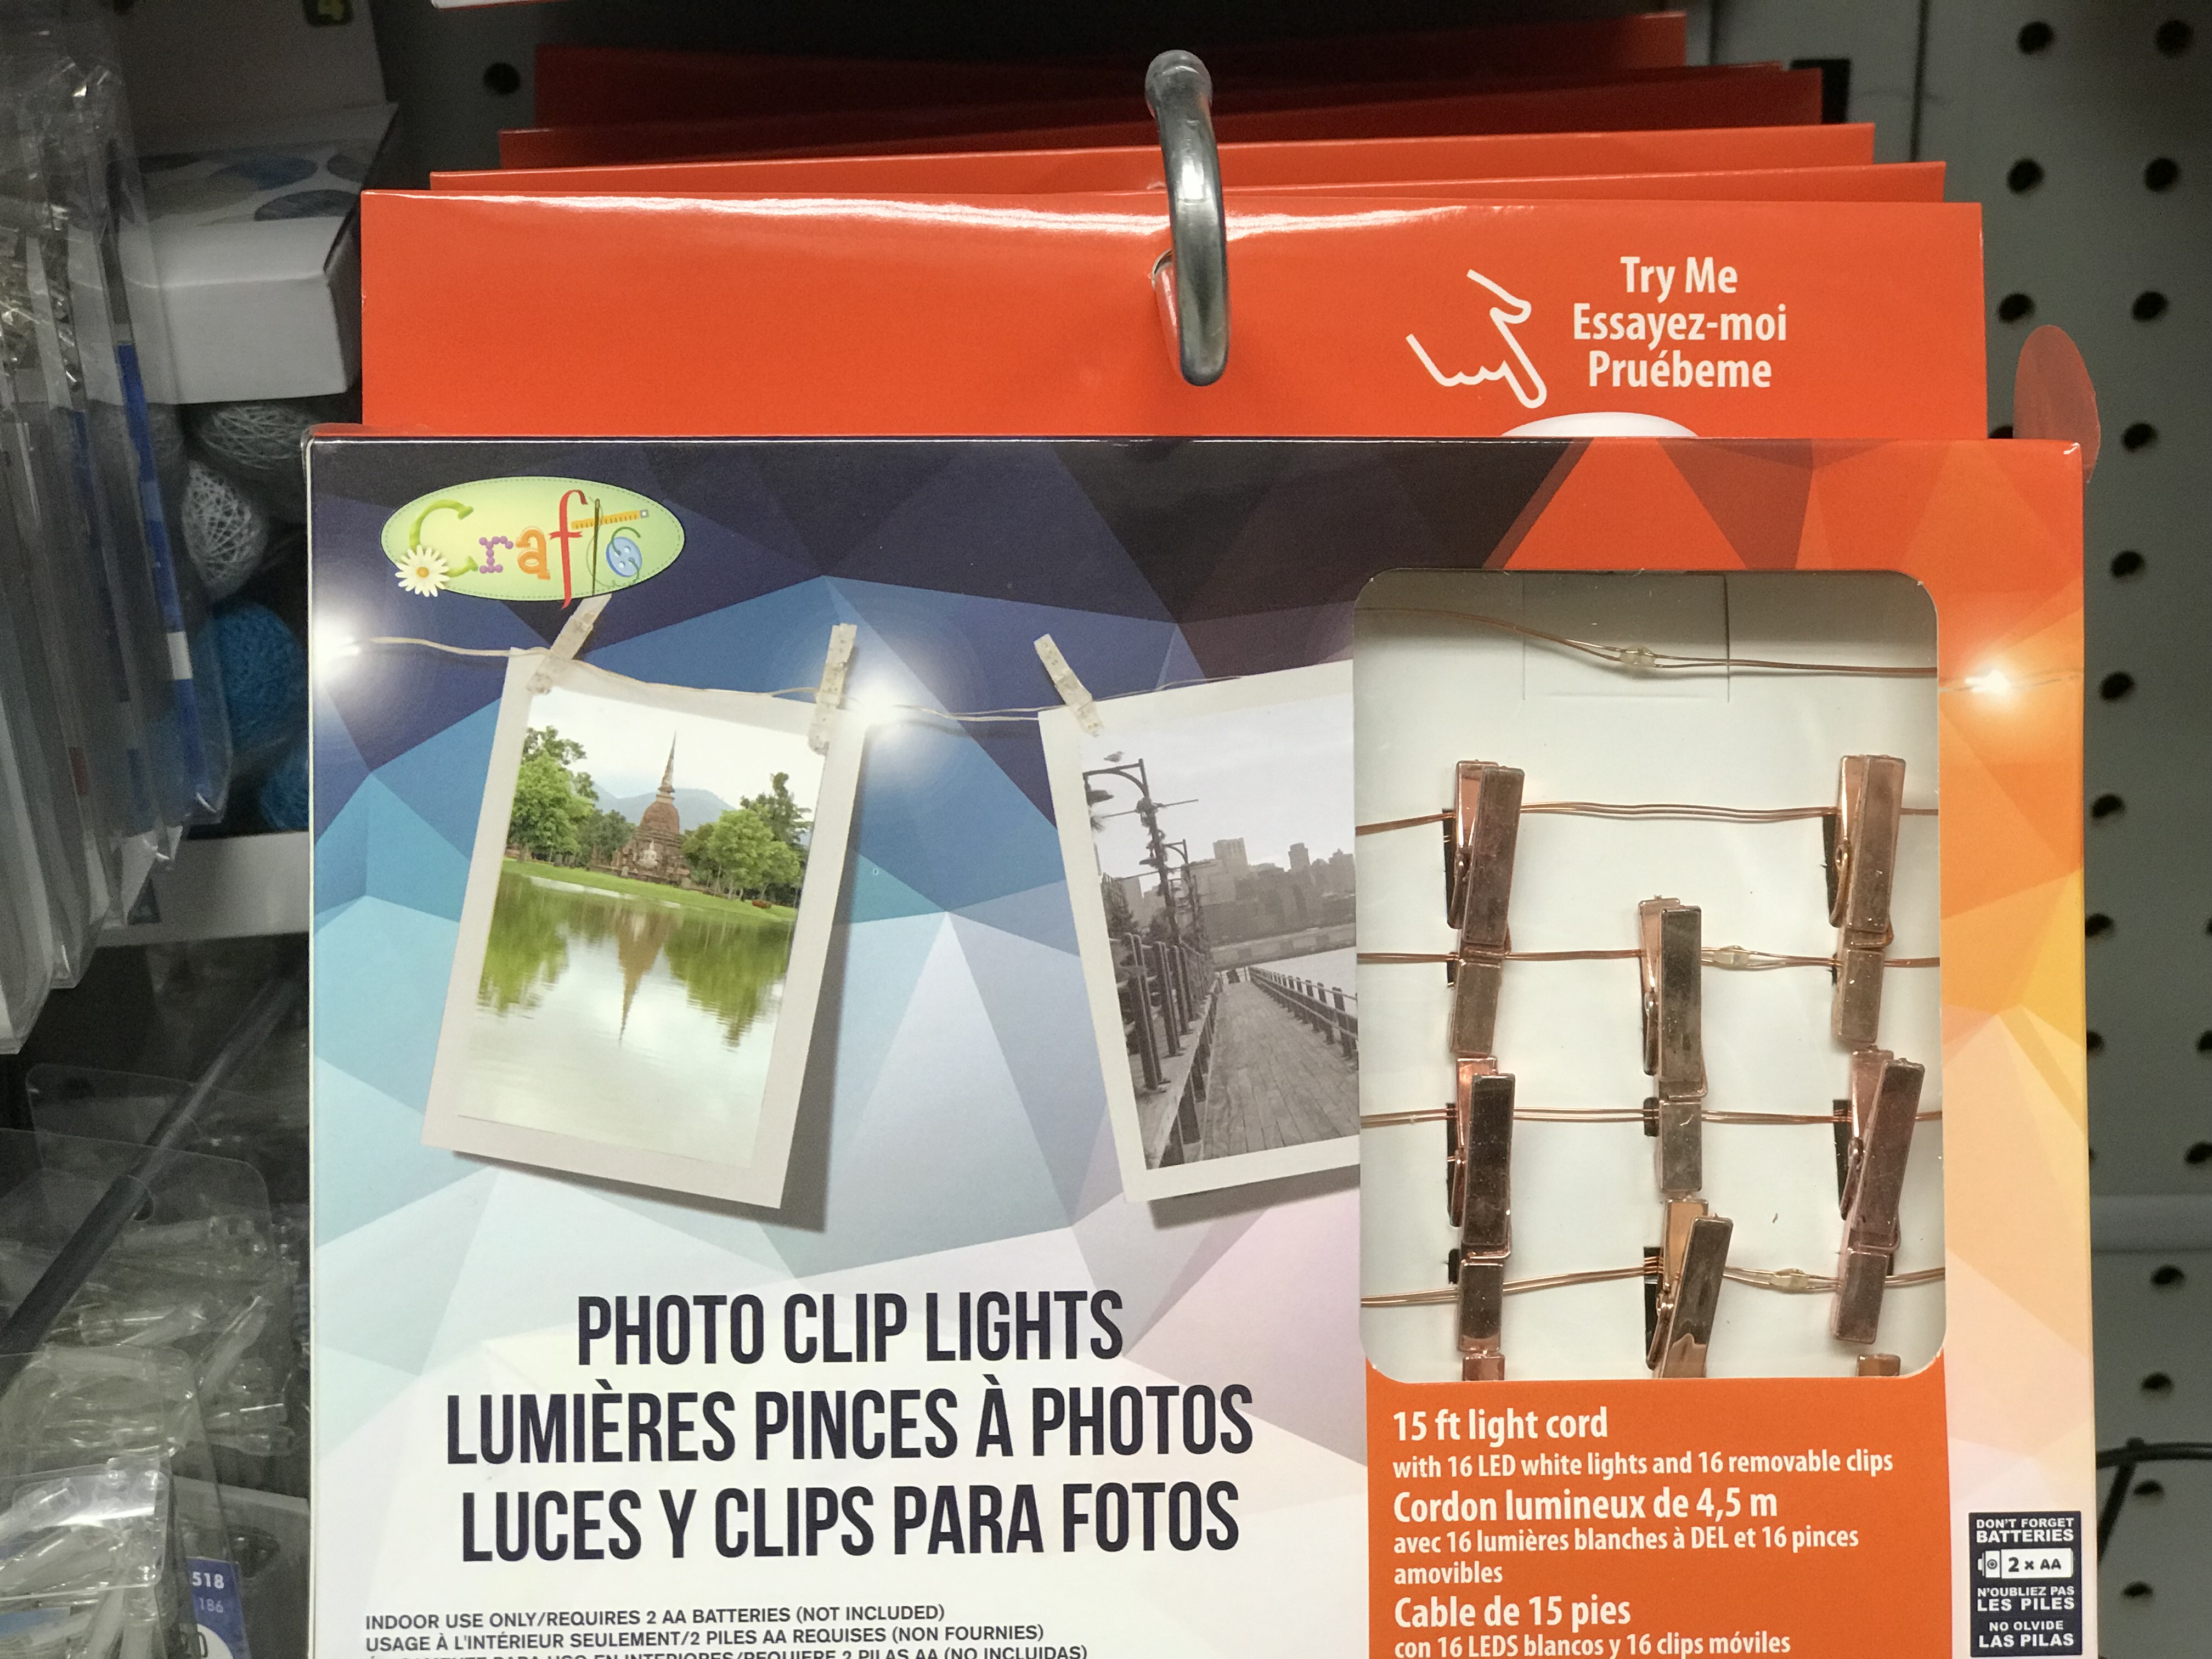
10. Twinkle Lights | Cost: $3.00 - $5.00
How to use them
Most classrooms today are designed with fluorescent lighting, which can be hard on the eyes {and brain!}
Ambient lighting provides a soothing and calming atmosphere, and are especially wonderful in nooks like reading corners, chill-zones and provocation tables. You can purchase simple string lights, or ones that come with clips {pictured above} to hilight children's artwork. {picture a handmade alphabet, lit up with mini-lights in your space!}
I love how this classroom created an illusion of softness with gauzy drapes suspended from driftwood branches, as well as the mini lights that compliment the ambiente.
 Image Source: Pinterest
The reality of being a home educator or classroom teacher today means limited budgets and large expectations. A bit of an oxymoron, if you ask me. But with thoughtful and intentional use of existing materials, child-made decor elements and thrifty Dollar Store or Thrift Shop finds, you can use your creativity and ingenuity to create a learning environment that inspires your young learners, and makes you feel proud and passionate as their teacher.
To help you make your Dollar Store shopping trip seamless and straightforward, I've put together a SHOPPING LIST to bring with you so you can check off items as you put them in your basket.
If you have enjoyed this blog post, and are planning on homeschooling this fall, I invite you to check out my Year-Long, All-in-One, Monthly Curriculum for K-1. It is play-based learning with a plan, and it comes bundled with a companion implementation course, where I support you with implementation over six weeks, to help you overcome your worries, weariness and overwhelm about starting your journey, to becoming the confident, skilled and inspiring educator you were meant to be.


